How to Build a Layered Wooden Fish Wine Rack with Your Laser Cutter
Learn how to plan, cut, and assemble a layered wooden fish wine rack. Tips on material choice, file formats, and finishing for a unique home bar.
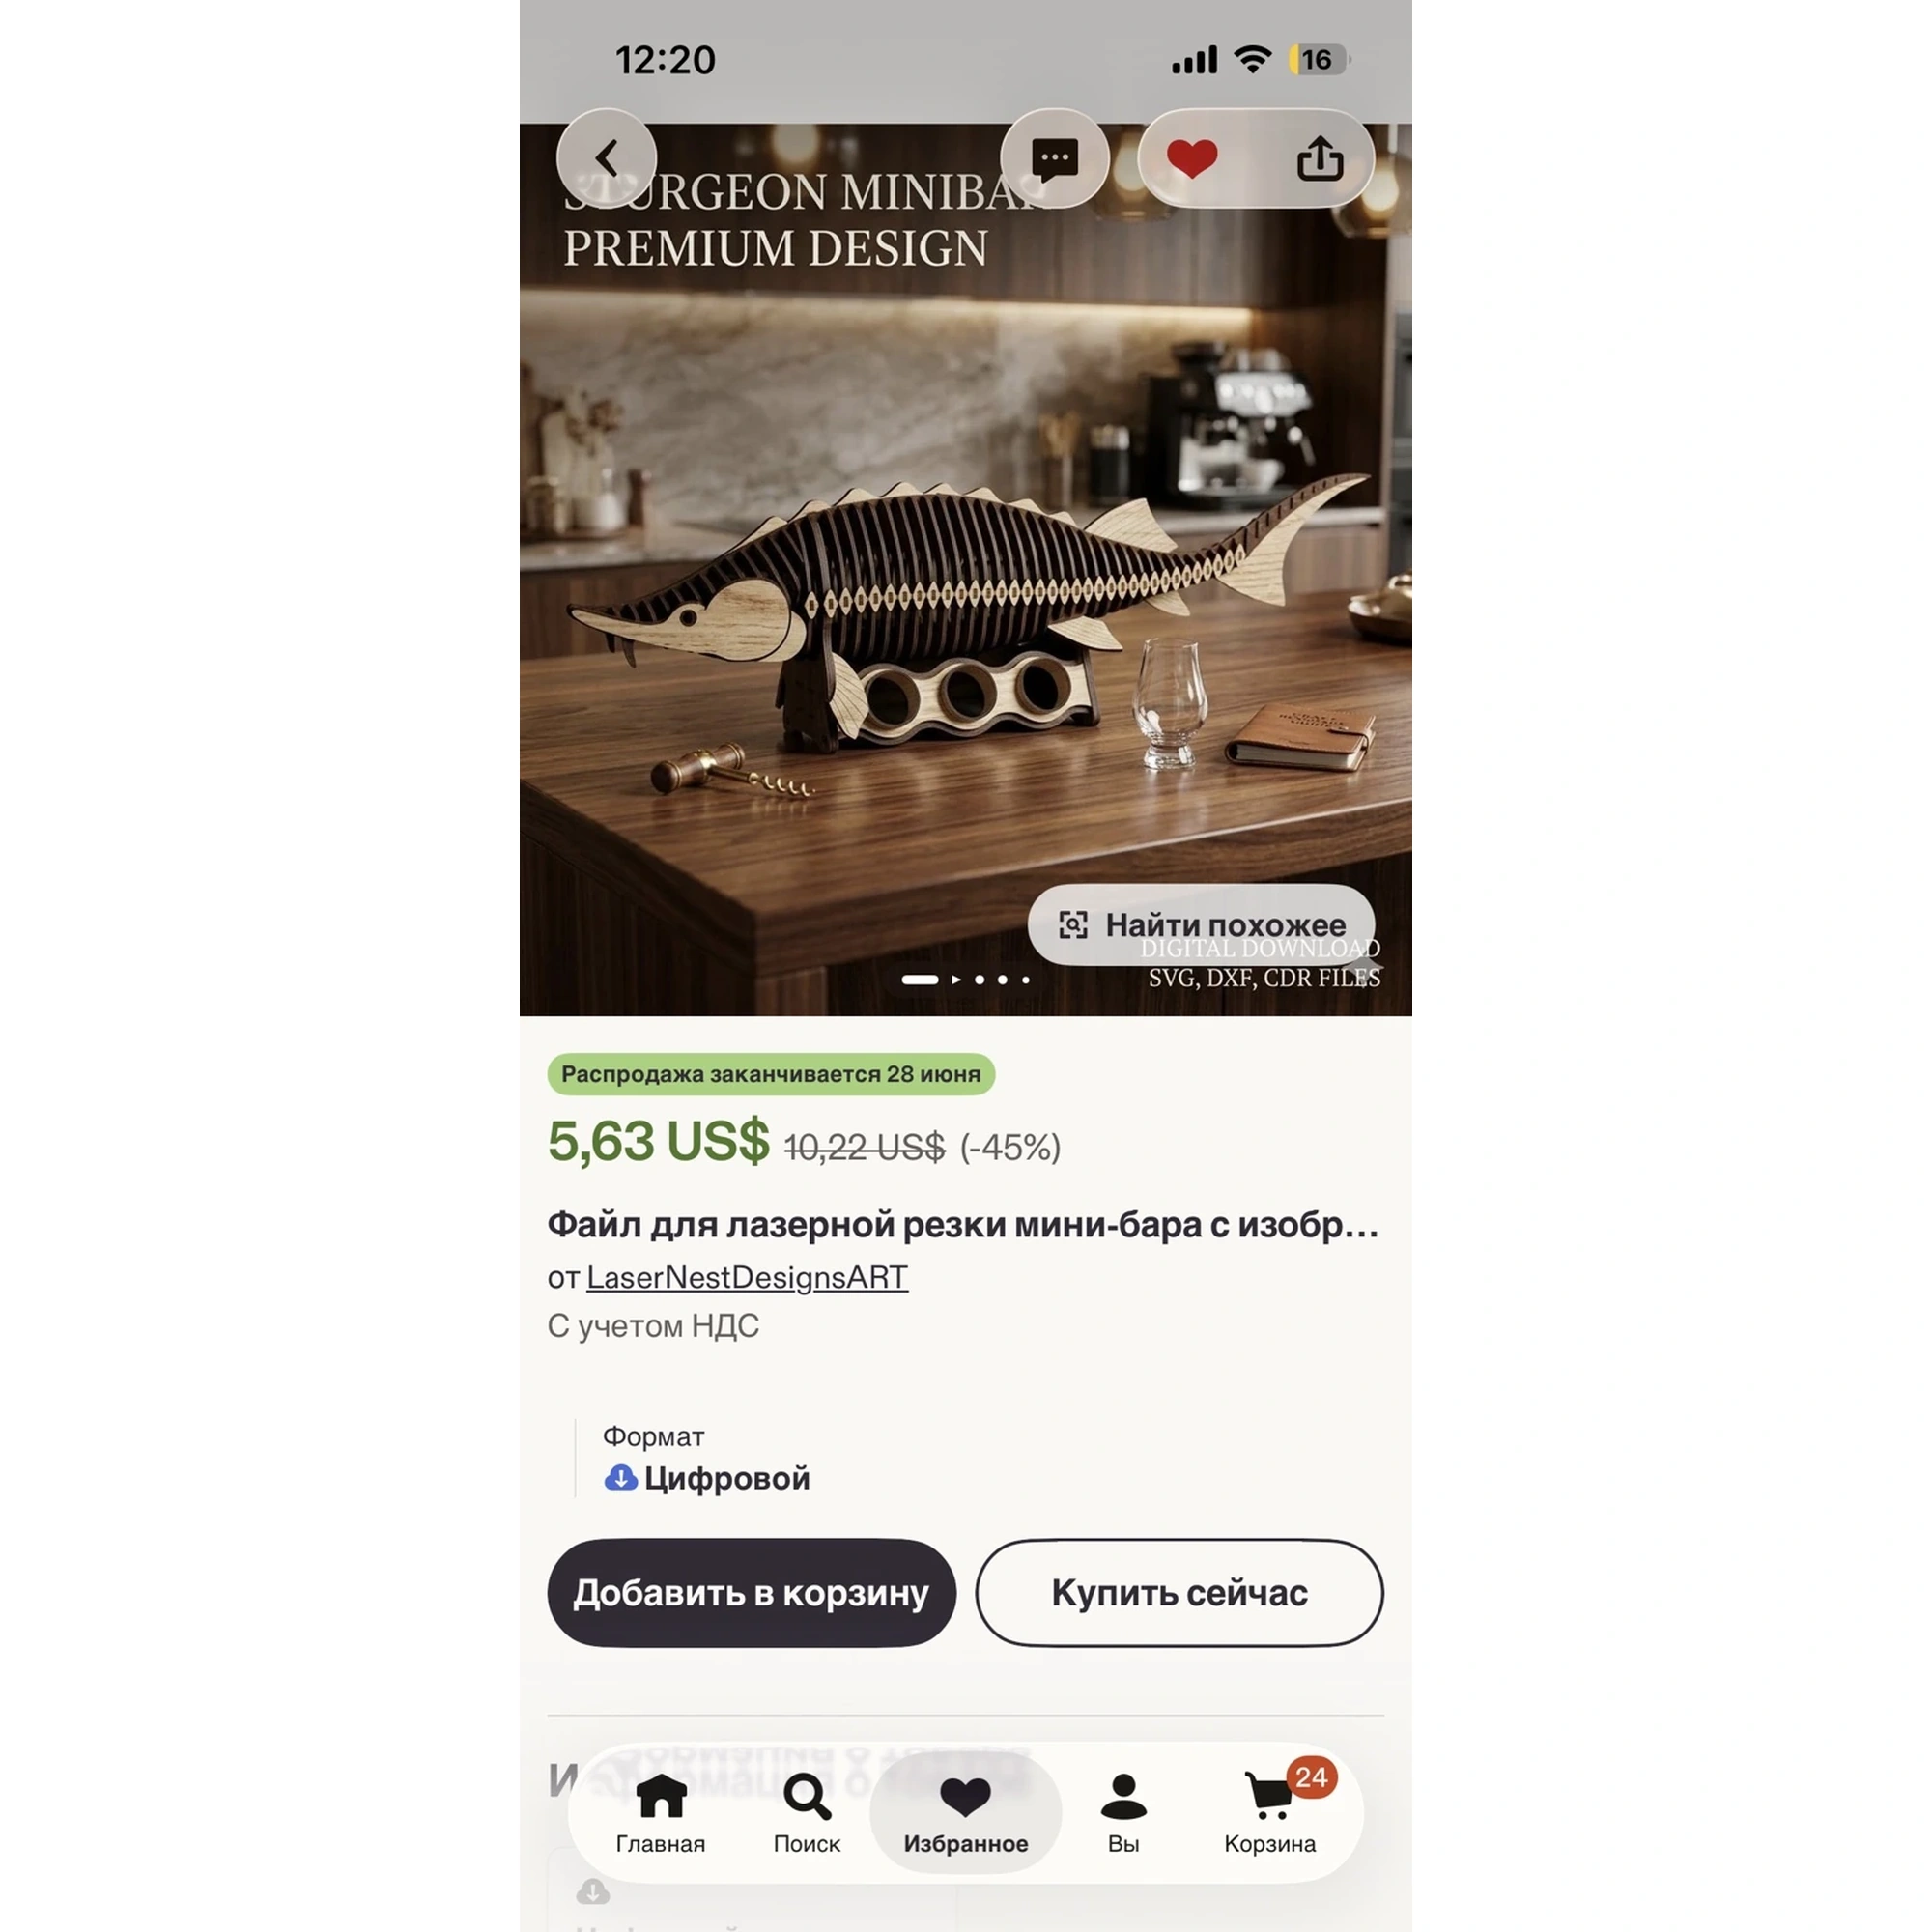
A layered wooden fish wine rack is a conversation piece that combines the charm of handcrafted decor with the practicality of a home bar accessory. Whether you’re a seasoned laser-cutting enthusiast or just getting comfortable with your machine, this project offers a satisfying mix of design, assembly, and finishing. In this guide, we’ll walk through the key considerations for building your own fish-shaped wine rack, from choosing materials to preparing your files and assembling the final piece. While we’ll use the Sturgeon Fish Minibar Laser Cut File as an example, the principles apply to any layered wooden wine rack project.
Why Choose a Layered Wooden Fish Wine Rack?
A fish wine rack is more than just a place to store bottles. It’s a sculptural piece that adds personality to a home bar, man cave, or dining area. The layered construction gives it depth and dimension, making it stand out from flat, cut-out designs. Each layer is cut from wood and stacked to create a 3D effect, often with the fish’s body, fins, and tail built up in stages.
For makers, this project is a great way to practice working with multiple layers and ensuring precise alignment. It also offers plenty of room for customization—you can stain the wood, paint the layers, or add a personal engraving. Because it’s a functional item, it also makes a thoughtful gift for someone who enjoys wine or unique decor.
Planning Your Project: Materials and Tools
Before you start cutting, it’s important to plan your project. The first step is selecting the right material. Most laser-cut wooden models, including wine racks, are designed for plywood. A common choice is thin plywood, which offers a good balance of strength and detail. However, you should always check the specific recommendations for your file. If you’re using the Sturgeon Fish Minibar file, it’s designed for layered wooden construction, and thin plywood is a typical choice for such projects.
You’ll also need a laser cutter that can handle the file format you’re using. The Sturgeon Fish Minibar file comes in SVG, DXF, CDR, and PDF formats, which are compatible with most laser-cutting software. Make sure your software can import the format you prefer. If you’re new to laser cutting, SVG is often the most versatile and widely supported.
Other tools you’ll need include:
- A cutting mat or work surface
- Wood glue (or a suitable adhesive for plywood)
- Sandpaper or a sanding block
- Clamps or weights for pressing layers together
- A finish of your choice (e.g., wood stain, sealant, or paint)
Preparing Your Laser Files
Once you have your materials, the next step is preparing your laser files. Open the file in your preferred design software. Check that all layers are properly aligned and that there are no stray lines or duplicate paths. If you’re using a file like the Sturgeon Fish Minibar, the design should be ready to cut, but it’s always a good idea to do a quick review.
Pay attention to the cut settings. For thin plywood, you’ll need to adjust the power and speed based on your machine and material. It’s wise to run a test cut on a small piece of scrap to ensure the settings produce clean cuts without excessive charring. Remember, every laser cutter is different, so don’t rely on generic settings—always test.
When cutting, keep the layers organized. Label each piece or keep them in separate containers so you know which part goes where. This will save you time during assembly.
Assembling the Fish Wine Rack
Assembly is where the project comes together. Start by dry-fitting the layers without glue to see how they align. This helps you identify any issues before you commit. Once you’re satisfied, apply wood glue to the contact surfaces and press the layers together. Use clamps or weights to hold them in place while the glue dries. Follow the glue manufacturer’s recommended drying time.
After the glue is set, you can sand any rough edges or seams. This is also the time to apply a finish. A clear sealant will protect the wood and bring out its natural grain, while a stain can add color and richness. If you want to paint the fish, you can do so before assembly or after, depending on the design. Some makers prefer to paint individual layers before gluing to avoid getting paint in the joints.
Finishing and Displaying Your Wine Rack
Once your wine rack is assembled and finished, it’s ready to display. Place it on a counter, shelf, or bar cart. The fish design is sure to draw attention. You can also personalize it with an engraving—many laser files include space for custom text or a monogram. If you’re giving it as a gift, consider adding a name or date.
To keep your wine rack looking its best, dust it regularly and avoid placing it in direct sunlight for extended periods, which can fade the finish. If you use a sealant, it will help protect against moisture and spills.
Troubleshooting Common Issues
Even with careful planning, you might run into issues. Here are a few common problems and how to solve them:
- Misaligned layers: If your layers don’t line up, check that you’re using the correct file and that your machine’s settings are consistent. Sometimes, the issue is with the material thickness—if your plywood is slightly thicker or thinner than expected, it can affect alignment.
- Charred edges: This usually means your power is too high or your speed is too slow. Adjust your settings and run a test cut.
- Difficulty fitting pieces together: If tabs and slots are too tight, you can sand them slightly. If they’re too loose, you may need to use more glue or add a filler.
Conclusion
Building a layered wooden fish wine rack is a rewarding project that combines creativity with practicality. By planning your materials, preparing your files, and taking your time with assembly, you can create a stunning piece that will be the highlight of any home bar. Whether you’re making it for yourself or as a gift, the result is sure to impress.
If you’re ready to start, consider the Sturgeon Fish Minibar Laser Cut File from LaserNestDesignsART. It includes SVG, DXF, CDR, and PDF formats, so you can use it with your preferred software. Happy cutting!