Designing Animal Puzzles for Laser Cutting: A Maker's Guide
Learn how to design and assemble wooden animal puzzles for laser cutting. Tips on material choice, interlocking parts, and finishing for gifts.
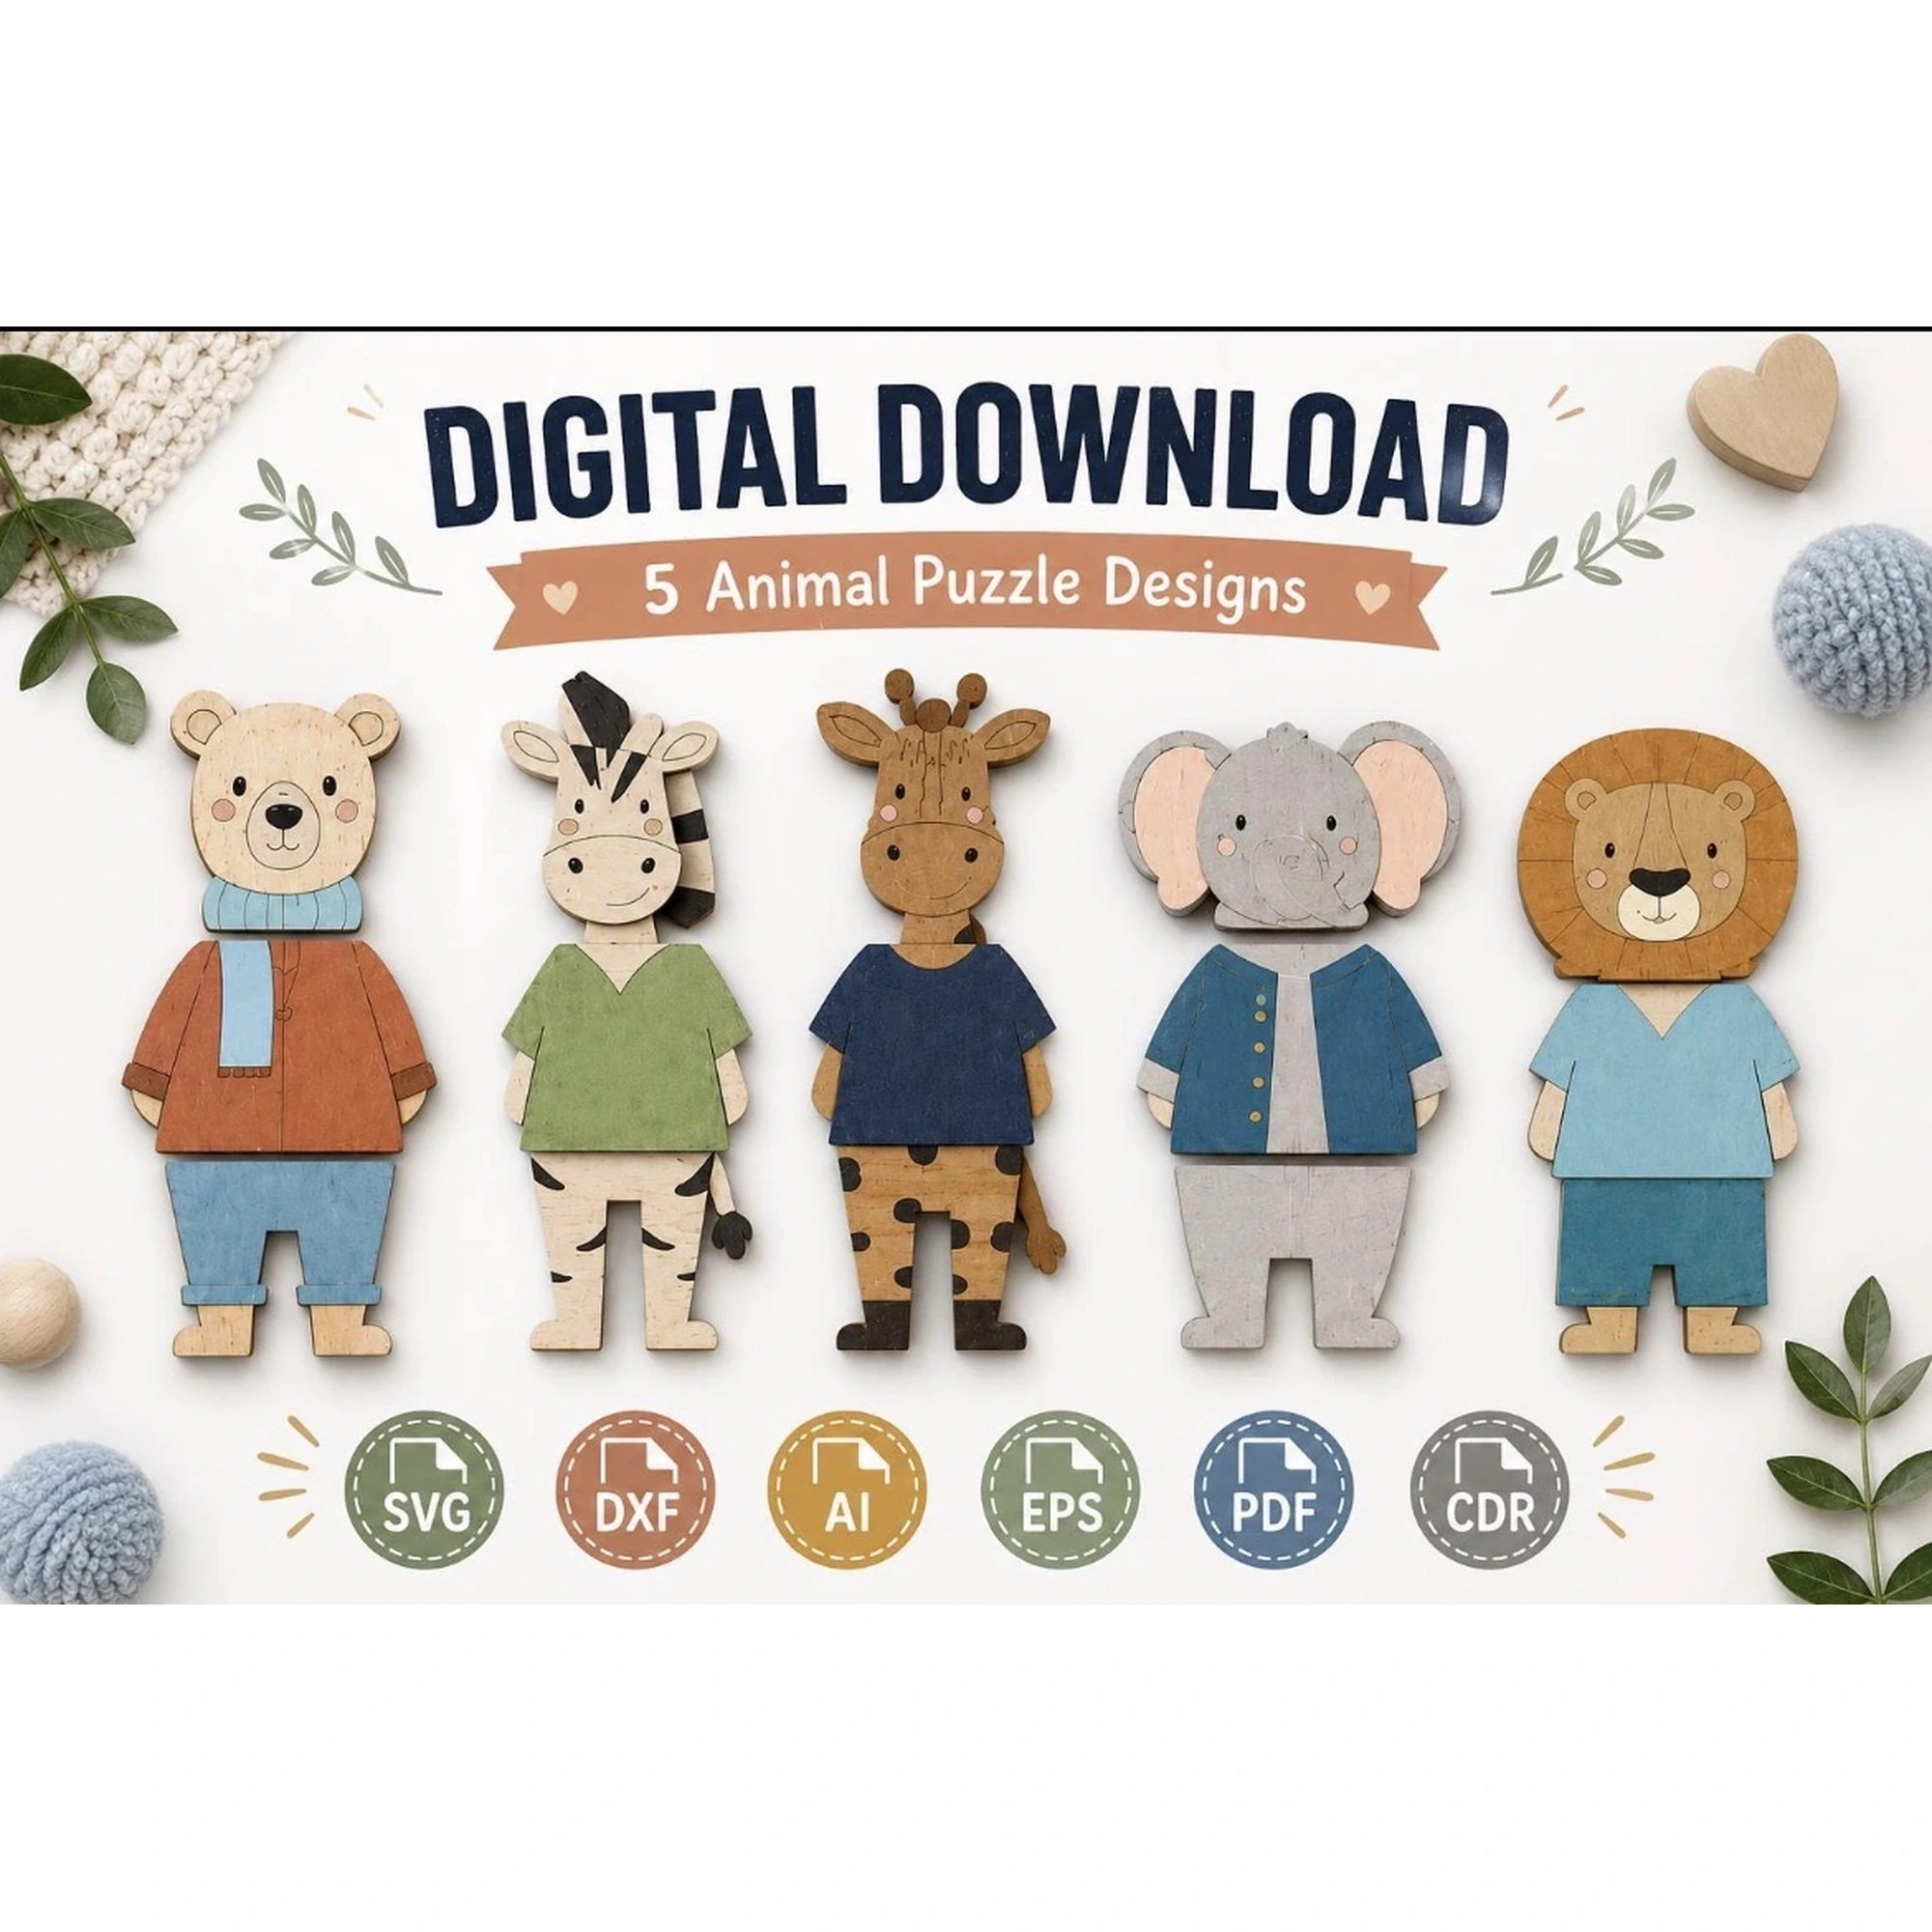
Animal puzzles are a timeless favorite for children and adults alike, and laser cutting makes it possible to create charming, durable wooden puzzles right in your own workshop. Whether you’re a hobbyist looking for a weekend project or a small craft business exploring new product ideas, designing and assembling animal puzzles offers a satisfying blend of creativity and precision.
In this guide, we’ll walk through the key considerations for designing animal puzzles for laser cutting, from choosing the right materials to planning the assembly. We’ll also share practical tips for finishing and personalizing your puzzles, so they become treasured gifts or bestsellers at your next craft fair.
Why Animal Puzzles Are a Great Laser Project
Animal puzzles are more than just toys; they’re educational tools that help children develop fine motor skills, hand-eye coordination, and problem-solving abilities. For makers, they offer a compact project that can be completed in a single cutting session, making them ideal for testing new materials or techniques.
From a business perspective, animal puzzles have broad appeal. Parents, grandparents, and educators are always on the lookout for high-quality, screen-free entertainment. A well-designed wooden puzzle can be sold at craft fairs, online marketplaces, or through local toy stores. Because they’re made from natural materials, they also appeal to eco-conscious consumers.
Choosing the Right Material for Your Puzzle
The most common material for laser-cut puzzles is plywood. When selecting plywood, look for sheets that are free of voids and have a consistent thickness. Baltic birch plywood is a popular choice because it cuts cleanly and has a smooth surface, but other hardwoods like maple or oak can also be used. Avoid materials with high resin content, as they may produce more smoke and residue.
If you’re planning to paint or stain your puzzle, consider using a material with a fine grain. This will ensure a smooth finish and allow the paint to adhere well. Always test a small piece first to see how the material reacts to your laser settings.
Designing Your Animal Puzzle
When designing an animal puzzle, the first step is to choose an animal that is recognizable and appealing. Simple shapes work best for young children, while more complex designs can challenge older kids. Consider the number of pieces: a puzzle with 5-10 large pieces is suitable for toddlers, while a puzzle with 20 or more smaller pieces is better for school-age children.
Using vector design software, you can create the outline of the animal and then divide it into puzzle pieces. The key is to ensure that each piece has a unique shape and that the pieces interlock securely. Avoid pieces that are too small or have thin sections that might break during cutting or assembly.
If you’re new to puzzle design, you might start with a simple animal like a fish or a bird. These shapes are easy to divide into pieces and offer plenty of room for creativity. You can also find inspiration from existing puzzle designs, but be sure to create your own original artwork to avoid copyright issues.
File Formats and Software Compatibility
Once your design is complete, you’ll need to export it in a format that your laser cutter can read. Common vector formats include SVG, DXF, AI, EPS, PDF, and CDR. Most laser cutting software, such as LightBurn or the software that comes with Glowforge and xTool machines, can import these formats.
SVG is a popular choice because it’s widely supported and easy to edit. DXF is another good option, especially if you’re working with CAD software. PDF files are also common and can be opened by many programs. When exporting, make sure to set the correct dimensions and scale so that your puzzle pieces fit together properly.
If you’re using a design that you’ve purchased, such as the Animal Puzzle SVG Bundle from LaserNestDesignsART, you’ll receive files in multiple formats, including SVG, DXF, AI, EPS, PDF, and CDR. This ensures compatibility with a wide range of software and machines.
Assembly and Finishing Tips
After cutting, you’ll need to assemble the puzzle. Use fine-grit sandpaper to smooth any rough spots, being careful not to round off the edges too much.
If you plan to paint the puzzle, do so before assembly. Use non-toxic, child-safe paints and sealants. Apply a thin coat of primer first, then paint the pieces in your chosen colors. Once the paint is dry, you can add a clear coat to protect the surface.
For a natural finish, you can apply a food-safe mineral oil or beeswax polish. This will enhance the wood grain and give the puzzle a soft sheen. Avoid using varnishes or lacquers that may contain harmful chemicals, especially if the puzzle is intended for young children.
Personalizing Your Animal Puzzle
One of the best ways to make your animal puzzle unique is to personalize it. You can customize the colors and patterns of the animal. For example, you could create a zebra with black and white stripes, or a ladybug with red wings and black spots. The possibilities are endless, and personalization adds a thoughtful touch that customers appreciate.
If you’re selling puzzles, offering personalization can be a great way to differentiate your products. You can use your laser cutter to engrave names or messages, and you can offer a choice of paint colors. Just be sure to price your products accordingly to cover the extra time and materials.
Safety and Quality Considerations
When cutting puzzles, always follow your laser cutter’s safety guidelines. Ensure proper ventilation and never leave the machine unattended while it’s running. Use a honeycomb or pin table to support the material and prevent warping.
Inspect each piece after cutting to ensure there are no burn marks or incomplete cuts. If you notice any issues, adjust your settings and test again. Quality control is especially important if you’re selling your puzzles, as customers expect a polished product.
Conclusion
Designing and making animal puzzles with a laser cutter is a rewarding project that combines creativity, precision, and practicality. Whether you’re crafting a gift for a loved one or adding a new product to your small business, the tips in this guide will help you create puzzles that are both beautiful and durable.
If you’re looking for ready-to-cut designs, consider the Animal Puzzle SVG Bundle from LaserNestDesignsART. This bundle includes five wooden animal character puzzle designs in multiple file formats, making it easy to get started. You can find it on our Etsy shop, where you’ll also discover other laser-cut project files for your next creation.
Happy making!