Designing Flat-Pack Furniture for Laser Cutting: A Maker's Guide
Learn how to design and assemble flat-pack plywood furniture for laser cutting. Tips on joinery, material choice, and finishing for sturdy results.
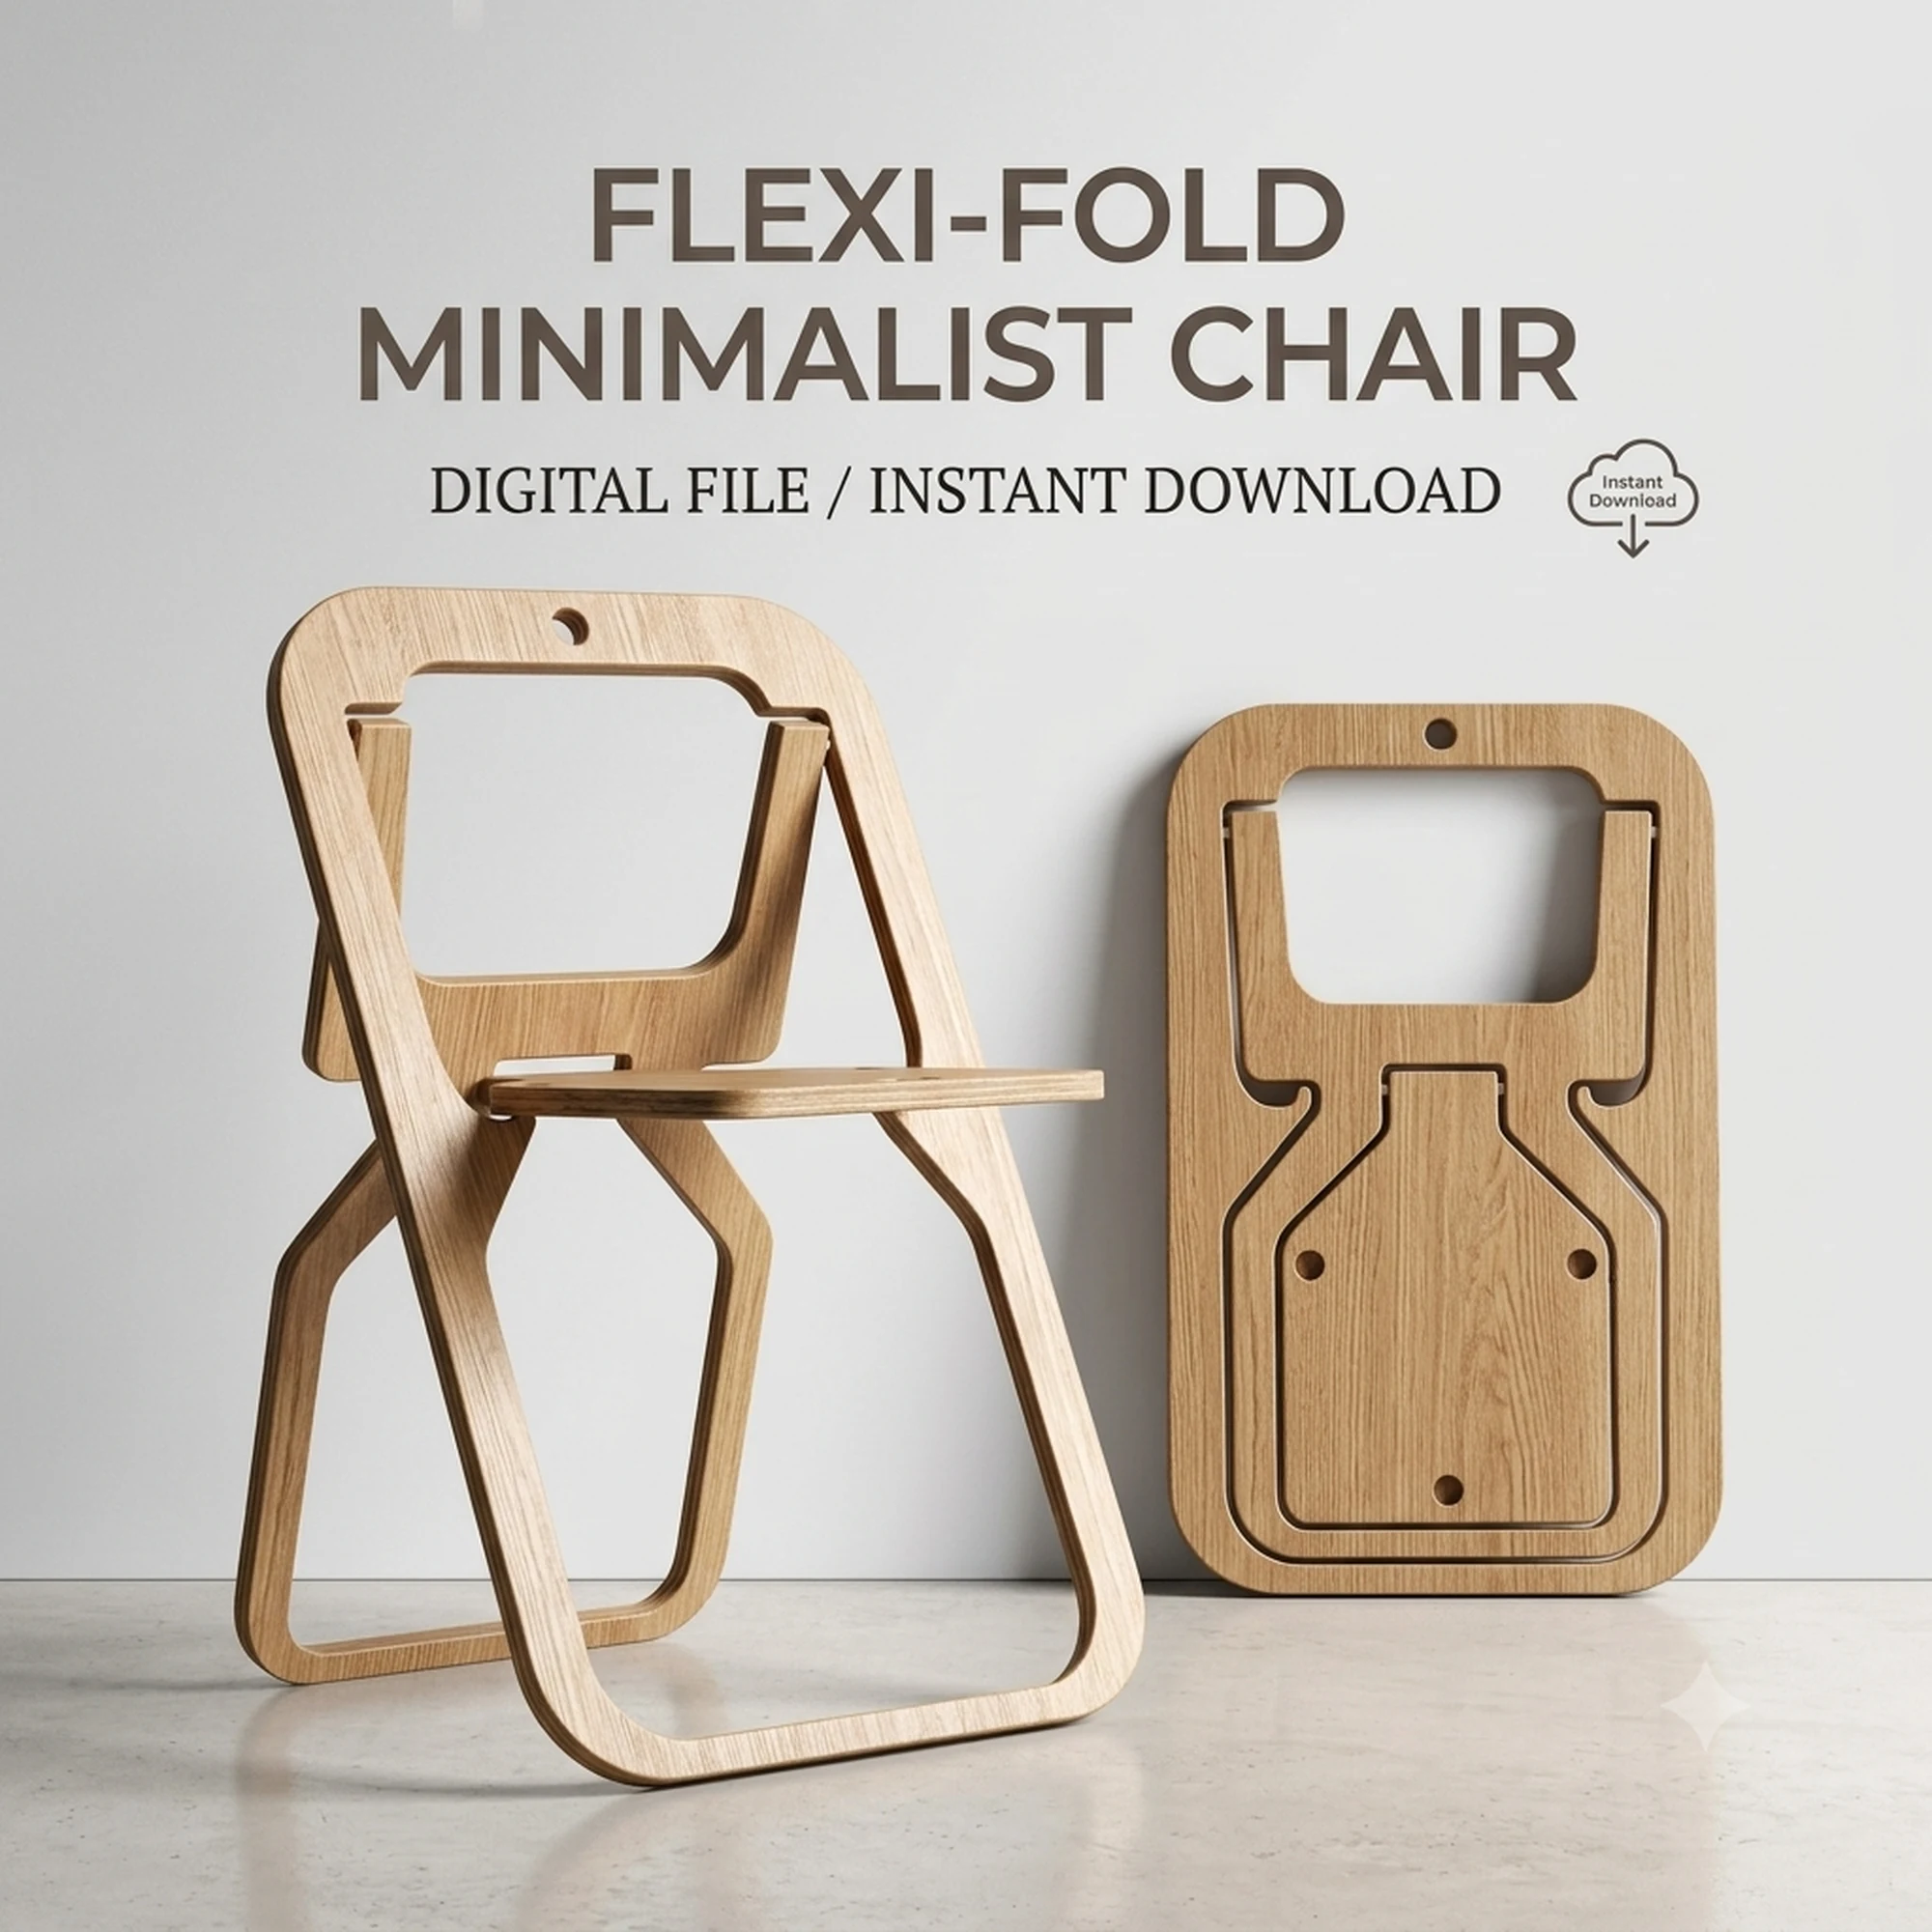
Flat-pack furniture has become a favorite project for laser-cutting makers who want to move beyond decorative wall art and small organizers. The appeal is obvious: a single sheet of plywood can hold all the parts for a functional chair, stool, or shelf, and the pieces slot together with clever joinery instead of screws and glue. For makers who have already mastered layered signs and interlocking toys, a full-size furniture piece is a natural next challenge.
This guide walks through the key decisions you’ll face when designing or assembling flat-pack furniture for laser cutting. Whether you’re planning your own project or working with a digital file, understanding material behavior, joint design, and assembly order will save you time, material, and frustration.
Why Flat-Pack Furniture Works for Laser Cutting
Laser cutting is well suited to flat-pack furniture because the process can produce precise, repeatable parts with tight tolerances. When you cut a tab-and-slot joint, the laser removes a consistent kerf—the width of material lost along the cut line—so parts fit together predictably. This precision is what makes it possible to design a chair that assembles without fasteners and still holds together under weight.
Another advantage is material efficiency. A well-designed flat-pack file nests all the parts onto a single sheet, minimizing waste. For makers who buy plywood in standard sizes, this means you can cut a complete piece of furniture from one board, which is both economical and satisfying.
Flat-pack furniture also ships and stores flat, which is a bonus if you sell your work at craft fairs or online. Customers can transport it easily, and assembly becomes part of the experience—a bit like a grown-up puzzle.
Choosing the Right Material for Furniture Projects
Material selection is the most important decision in any furniture project. Unlike decorative items that hang on a wall, furniture must bear weight and withstand repeated use. The material you choose affects strength, durability, and how the joints hold together.
Baltic birch plywood is a popular choice among makers because it has a smooth, void-free core and consistent thickness. Voids—gaps in the inner plies—can weaken a joint or cause a cut line to wander, so a high-quality plywood is worth the investment. The surface also takes engraving and finishing well, which is useful if you want to add a personal touch.
Material thickness is another critical factor. A chair designed for one thickness will not work with a different thickness unless the file is adjusted. The slot widths, tab sizes, and overall dimensions all depend on the material thickness. If you’re using a digital file, check the recommended thickness before you buy material. If you’re designing your own project, decide on the thickness early and keep it consistent throughout the design.
Plywood is not the only option. MDF (medium-density fiberboard) is cheaper and has a uniform surface, but it is heavier and less strong. Solid wood can be used, but it is more expensive and may have internal stresses that cause warping. For most makers, high-quality plywood is the best balance of cost, strength, and workability.
Designing for Assembly: Joinery and Tolerances
The heart of flat-pack furniture is the joinery. Tab-and-slot joints are the most common for laser-cut furniture because they are simple to design and assemble. A tab on one part fits into a slot on another, and friction holds the pieces together. For a more permanent joint, you can add a dab of wood glue, but many designs rely on the press-fit alone.
When designing your own joints, you need to account for the laser kerf. The kerf is the width of material removed by the laser beam, and it varies with the machine, lens, and material. If you design a slot exactly the same width as the tab, the joint will be too tight because the laser removes material from both sides of the cut. You need to add a small clearance—typically a fraction of a millimeter—to the slot width. The exact value depends on your setup, so it’s wise to cut test pieces before committing to a full sheet.
Another consideration is the orientation of the parts. Plywood is stronger along the grain, so you should orient structural parts so the grain runs in the direction of the load. For a chair leg, the grain should run vertically. If you’re using a digital file, the designer has already made these decisions, but it’s good to understand why they matter.
Assembly order is also part of the design. A well-designed flat-pack file will have a logical sequence where parts support each other as you build. If you’re designing your own, think about how the pieces will go together. You may need to add temporary supports or design the joints so that the structure becomes rigid only when the last piece is inserted.
Working with Digital Files: What to Look For
If you’re using a purchased digital file, such as the Flexi-Fold Minimalist Chair CNC Files from LaserNestDesignsART, you’ll receive a CDR file. CDR is a vector format used by CorelDRAW, and it’s common in the laser-cutting community. Before you cut, you’ll need to open the file in software that supports CDR, such as CorelDRAW or a compatible program. If your workflow uses LightBurn or another laser controller, you may need to import the file and check that the vectors are clean.
When you open the file, check for overlapping lines, open paths, or duplicate vectors. These can cause the laser to cut in the wrong places or waste time. Use your software’s node editor to clean up any issues. Also, verify that the file is sized correctly for your material. If the file is designed for a specific sheet size, you may need to scale it or rearrange the parts to fit your stock.
Preparing Your Material and Machine
Before you cut, prepare your material. Plywood should be flat and free of moisture. Store it in a dry place for a few days before cutting to minimize warping. If the sheet has a protective film, decide whether to remove it before cutting. Some makers leave the film on to reduce smoke marks, but it can also affect the fit of joints if it adds thickness.
Set your laser parameters based on the material and thickness. You’ll need to adjust power, speed, and frequency to achieve a clean cut without excessive charring. If you’re unsure, cut a small test piece first. This is especially important for furniture, where a poor cut can ruin a large sheet.
After cutting, remove the parts from the sheet and sand any rough edges. The laser leaves a slight taper on the cut edge, which can affect joint fit. A quick pass with fine sandpaper on the tabs and slots can make assembly smoother.
Assembly Tips for a Sturdy Result
Assemble the furniture on a flat, clean surface. Start with the largest parts and work your way to the smaller ones. If the joints are tight, use a rubber mallet or a block of wood and a hammer to tap them together. Avoid forcing parts, as this can crack the plywood.
For a permanent piece, apply wood glue to the tabs before inserting them. Wipe away any excess glue with a damp cloth. Clamp the assembly and let it dry according to the glue manufacturer’s instructions. If the design is meant to be foldable or disassembled, skip the glue and rely on the friction fit.
After assembly, check for wobble. If the piece is not stable, you may need to adjust the joint tolerances or add a brace. Some designs include a locking pin or wedge that tightens the joints. If your file doesn’t have one, you can add a small dowel or screw to reinforce a critical joint.
Finishing and Protecting Your Furniture
Once assembled, you can finish the piece to protect it and enhance its appearance. A clear coat of polyurethane or varnish will protect the wood from moisture and wear. If you want to add color, you can stain or paint the parts before assembly. Painting before assembly is easier because you can reach all surfaces, but it can affect joint fit if the paint adds thickness. Test on a scrap piece first.
For a natural look, apply a food-safe oil if the furniture will be used for dining. For a child’s chair, use a non-toxic finish. Always follow the manufacturer’s safety instructions and allow adequate drying time.
Troubleshooting Common Issues
If your joints are too loose, the clearance is too large. You can add a thin shim or apply glue to fill the gap. If the joints are too tight, sand the tabs or widen the slots slightly. If the parts warp after cutting, the material may have been too moist or the cut pattern released internal stresses. Store the finished piece in a dry, stable environment.
If the laser leaves excessive charring, adjust your settings or use a lower power with more passes. You can also use masking tape on the surface to reduce smoke marks.
Conclusion
Flat-pack furniture is a rewarding project that combines precision cutting with thoughtful design. By choosing the right material, understanding joinery, and preparing your files carefully, you can create sturdy, functional pieces that showcase your skills. Whether you’re designing your own or using a digital file like the Flexi-Fold Minimalist Chair, the principles are the same. Start with a small project, test your settings, and enjoy the process of turning a flat sheet into a three-dimensional piece of furniture.