Designing Layered Photo Memory Boxes for Laser Cutting
Learn how to design and assemble layered photo memory boxes for laser cutting. Tips on layer planning, material choice, and finishing.
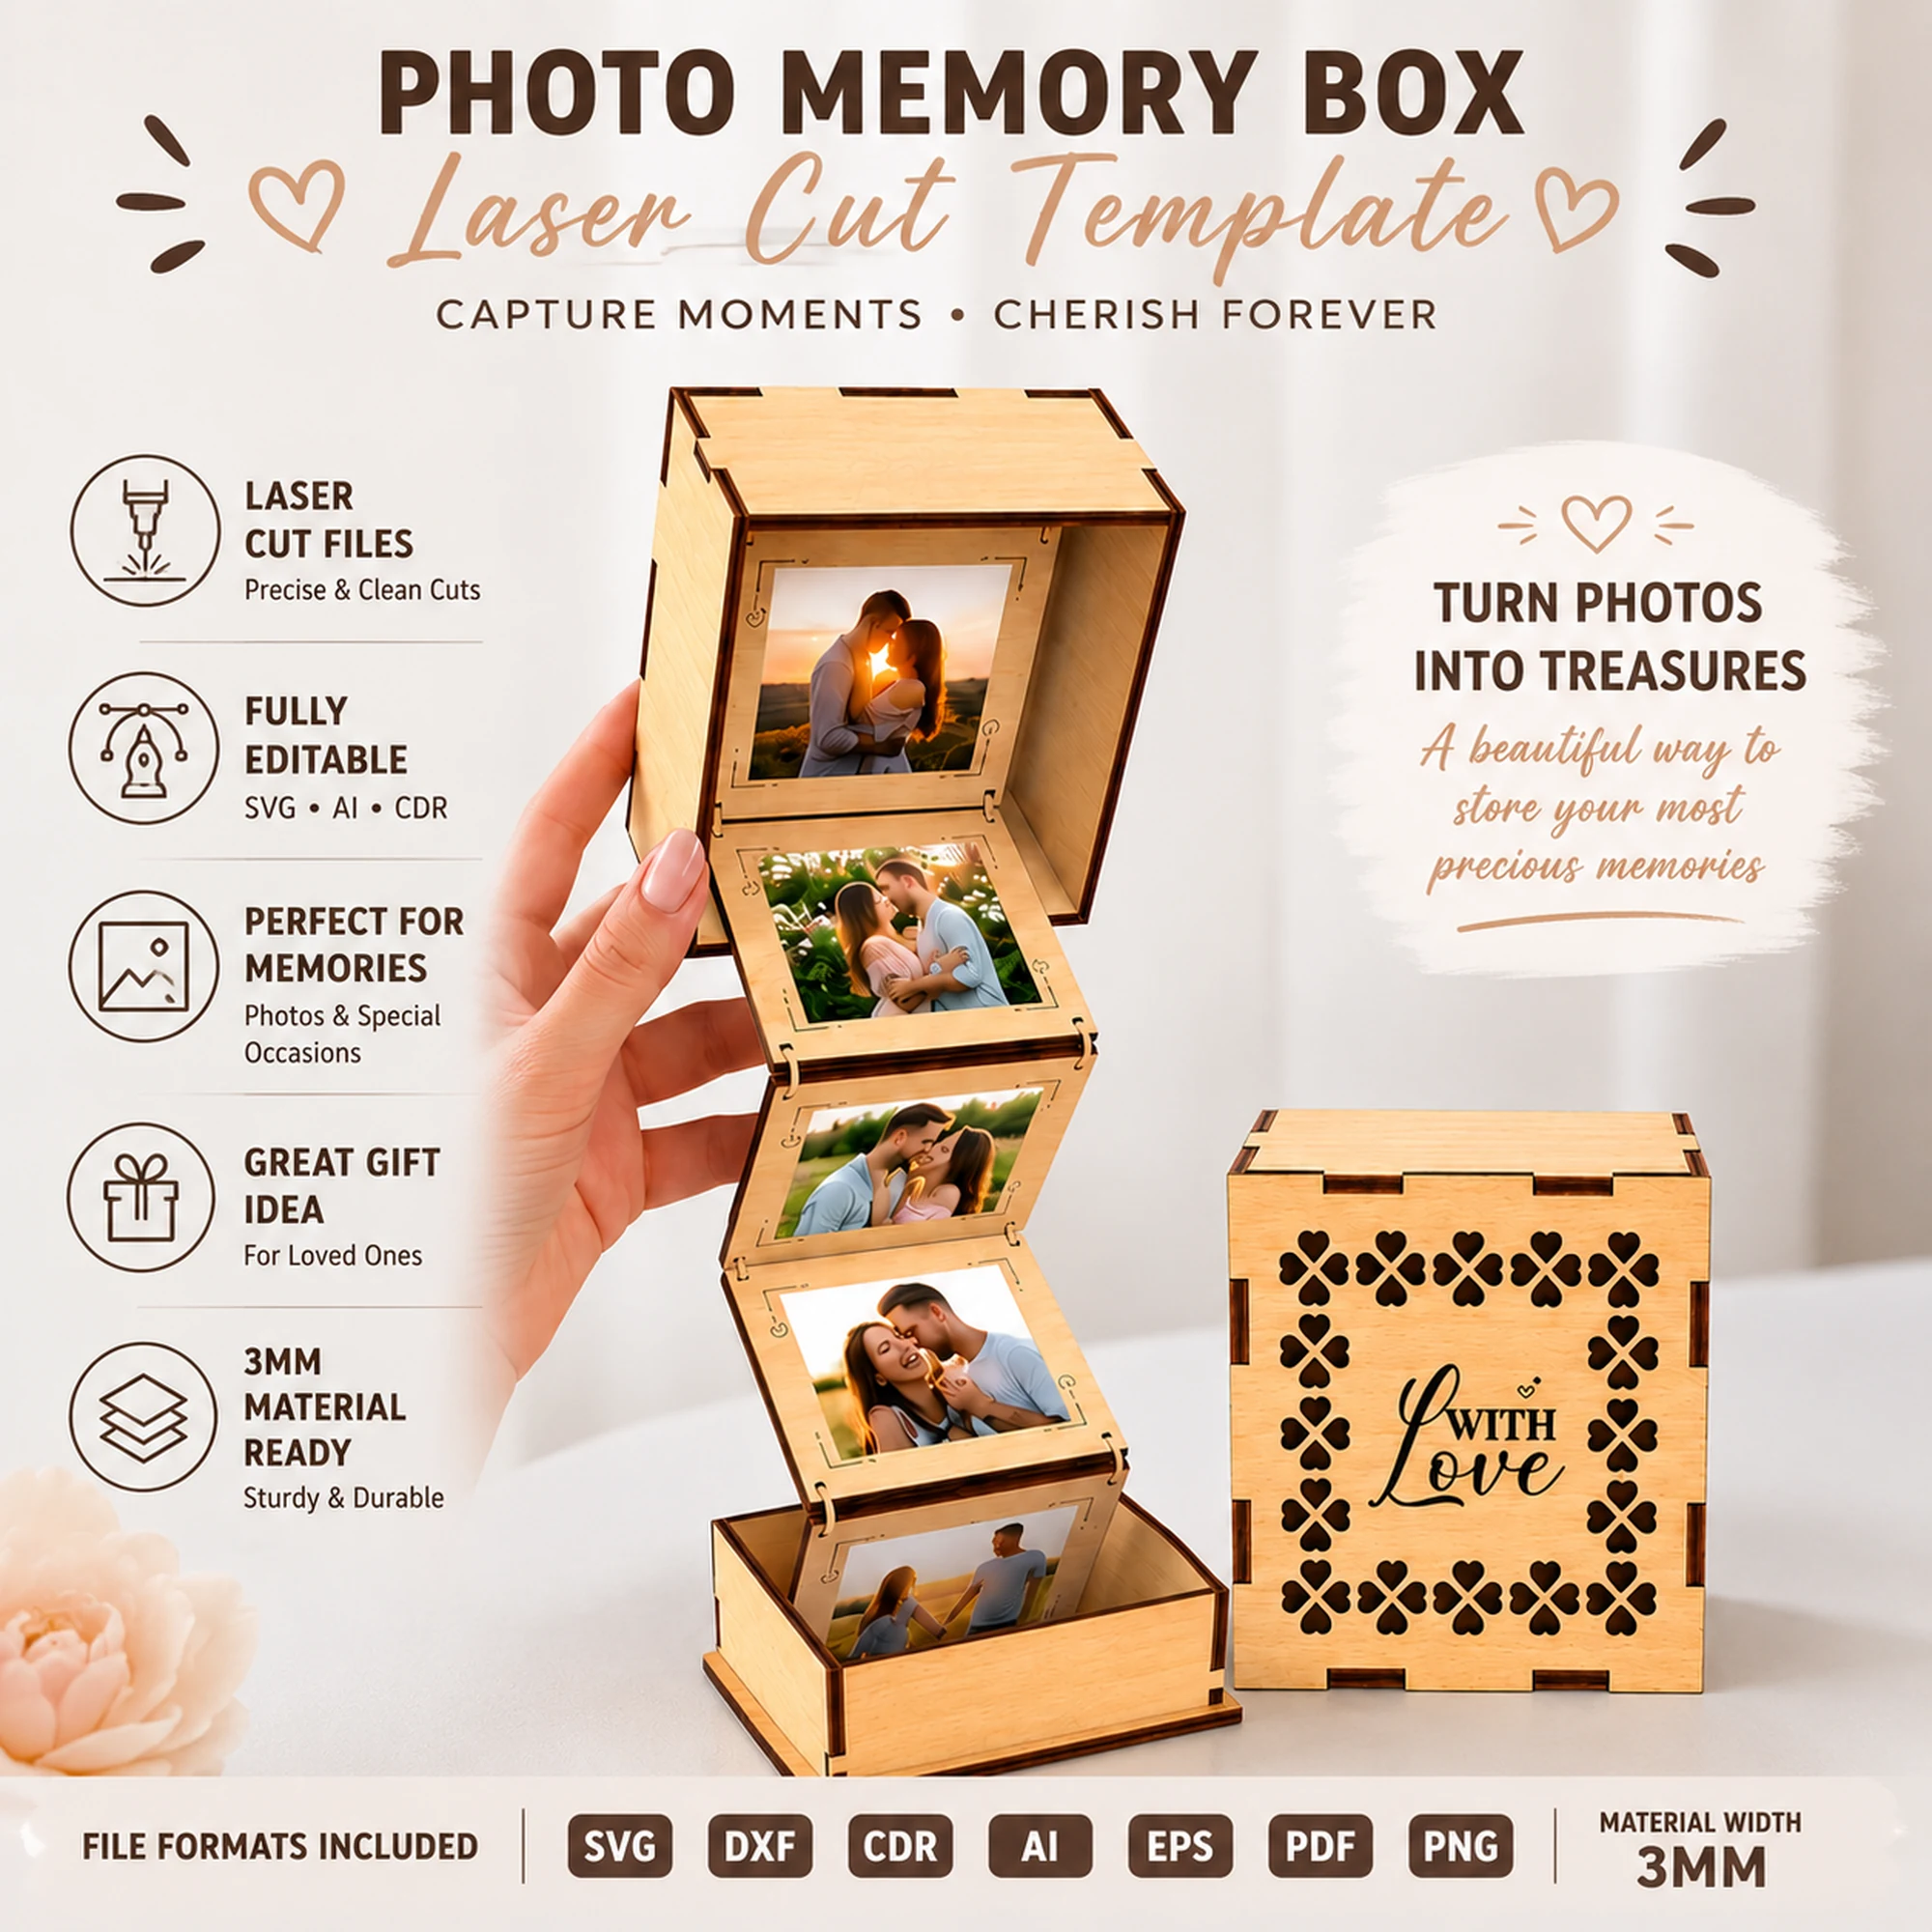
Layered photo memory boxes are a wonderful way to preserve photographs and small keepsakes in a tangible, handcrafted form. Unlike a simple frame, a memory box offers multiple compartments and layers, inviting you to curate a small collection of memories. For laser-cutting makers, these boxes are a rewarding project that combines thoughtful design with practical assembly. In this guide, we’ll explore how to approach designing and building a layered photo memory box, from planning the layers to choosing materials and finishing touches.
Why Choose a Layered Photo Memory Box?
A layered photo memory box is more than just a container; it’s a storytelling piece. Each layer can hold a different photo, a ticket stub, a pressed flower, or a small trinket. The depth and structure of the box allow you to create a three-dimensional collage that can be displayed on a shelf or table. For makers, this project offers a chance to experiment with layering, joinery, and personalization. Whether you’re crafting a gift for a loved one or adding a unique piece to your own home, a memory box is a versatile and meaningful project.
Planning Your Layers and Compartments
The key to a successful layered memory box is thoughtful planning. Before you cut anything, sketch out your design and decide how many layers you want. Each layer can be a tray with cutouts for photos or small items. Consider the size of the photos you want to display—standard prints, polaroids, or even smaller. The compartments should be sized to fit your keepsakes snugly but not too tightly.
When designing your layers, think about the visual flow. You might want a top layer with a large opening for a main photo, with smaller compartments around it. Or you could create a series of shallow trays that stack, each with its own theme. The number of layers will affect the overall height of the box, so keep that in mind for your material thickness and cutting plan.
Choosing the Right Material
For a layered photo memory box, plywood is a popular choice because it’s sturdy and has a nice edge finish. The thickness of your material will determine the depth of each layer. If you’re using a thin plywood, each layer will be relatively shallow, which is suitable for thin items like photos and paper. For thicker keepsakes, you might need a thicker material or adjust your design.
When selecting plywood, look for a smooth surface that will take engraving or painting well. Baltic birch is a favorite among makers for its consistent layers and minimal voids. However, any good-quality plywood will work. Always test your settings on a scrap piece first to ensure clean cuts and engravings.
Designing the Layers
If you’re designing your own memory box, you’ll need to create vector files for each layer. Start with the base, which is a solid piece that forms the bottom of the box. Then design each subsequent layer as a frame with cutouts. The cutouts can be simple rectangles or more creative shapes like hearts or circles. Remember to include tabs or slots if you want the layers to interlock, or you can simply stack them and glue them together.
For those who prefer ready-made designs, there are laser cut files available that include multiple layers. For example, the Exploding Photo Box Laser Cut Files from LaserNestDesignsART include ten layered templates for photos and keepsakes. These files come in SVG, DXF, AI, EPS, PDF, and CDR formats, making them compatible with most laser cutting software. You can use these templates as a starting point and customize them with your own engravings or paint.
Assembly Tips
Once your pieces are cut, dry-fit them together before applying any glue. This will help you see how the layers align and whether any adjustments are needed. If you’re using tabs and slots, make sure they fit snugly. If you’re gluing, use a wood glue that dries clear and apply it sparingly to avoid excess squeeze-out.
When assembling, work on a flat surface and use clamps or weights to hold the layers together while the glue dries. Check that the corners are square and that the layers are flush. After the glue is set, you can sand any rough edges and apply a finish.
Personalization and Finishing
One of the joys of making a memory box is personalizing it. You can engrave a name, a date, or a special message on the top layer or the base. You can also paint the layers in different colors or stain the wood to match your decor. If you’re using photos, consider printing them on cardstock and cutting them to fit the compartments. You can also add small hinges and a clasp to make the box open and close like a book.
For a polished look, apply a clear coat of varnish or wax to protect the wood and give it a subtle sheen. If you’ve painted the layers, make sure the paint is fully dry before assembling.
Conclusion
Layered photo memory boxes are a delightful project for laser-cutting makers. They combine practical storage with creative expression, and they make heartfelt gifts. By planning your layers carefully, choosing the right materials, and adding personal touches, you can create a keepsake that will be treasured for years. Whether you design your own or use a template, the process is rewarding and the result is always unique.
If you’re ready to start, consider exploring the Exploding Photo Box Laser Cut Files to see how a pre-designed set can simplify your workflow. With ten templates to choose from, you’ll have plenty of options for creating a personalized memory box that fits your style.