Designing Layered Wood Signs for Laser Cutting: A Maker’s Guide
Learn how to design beautiful layered wood signs for laser cutting. Tips on material choice, layer planning, and assembly for durable home decor.
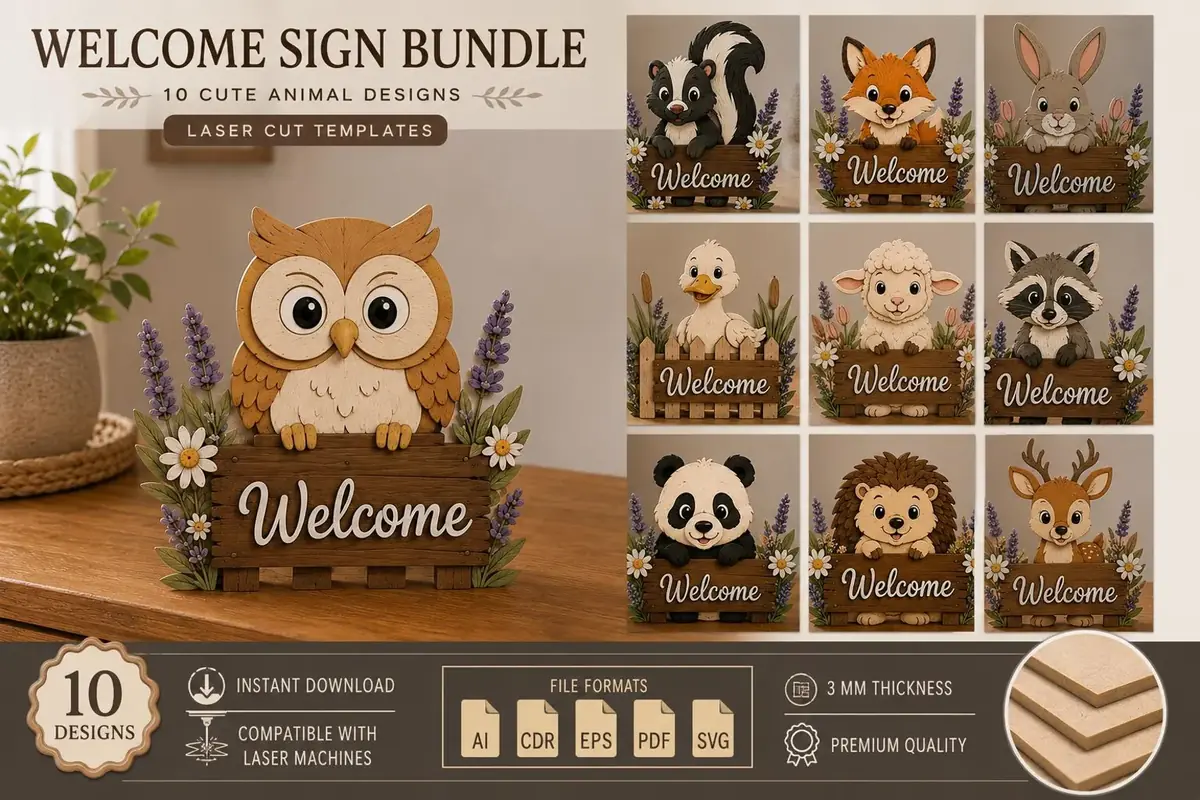
Layered wood signs are a staple in laser cutting home decor. Their dimensional look and farmhouse charm make them popular for door hangers, wall art, and gifts. Whether you are new to laser cutting or looking to refine your designs, understanding the fundamentals of layered construction will help you create pieces that are both beautiful and durable.
Choosing Materials for Layered Signs
The foundation of any layered sign is the wood you choose. Plywood is a common choice because it is affordable and available in various thicknesses. Baltic birch plywood offers a smooth surface and consistent thickness, which is ideal for intricate cuts. It also has a fine grain that takes paint and stain evenly. Alternatively, standard hardwood plywood can work, but watch for voids in the inner plies that can affect cut quality.
MDF (medium-density fiberboard) is another option; it cuts cleanly and has no grain, making it suitable for painted signs. However, MDF can produce more dust and may require sealing before painting to prevent a fuzzy surface. It is also heavier than plywood, so consider the weight if creating large wall art.
For the backer board, a thicker piece provides stability and a solid foundation. The upper layers can be thinner to create depth without excessive weight. Always check your laser cutter’s specifications for maximum material thickness and ensure the wood is flat and warp-free to guarantee accurate alignment during assembly. Storing wood flat and using a moisture meter can help avoid issues. When sourcing, look for sheets that are free of knots and defects that could interfere with cutting.
Planning Your Layer Structure
A typical layered sign consists of a backer board, one or more middle layers, and a top layer. The backer is the largest piece and serves as the base. Middle layers add dimension and can be used to create shadow effects or separate elements. The top layer often contains the main text or graphic.
When designing, consider the order of assembly. Each layer should have registration marks or tabs to help align them during gluing. In your vector software, create a separate layer for each physical layer. Use different colors to distinguish them—for example, red for the backer, blue for the middle, and green for the top. This makes it easy to export individual files for cutting.
Pay attention to the total depth created by stacking layers. Ensure that any text or details on the top layer are large enough to be read and not too thin to break. As a general rule, avoid overly thin strokes that could snap during cutting or handling. Test cuts on scrap material can help you dial in the perfect thickness to detail ratio.
Consider using offsets to create a slight border around top elements, which can mimic a shadow when stained a darker color. This technique adds visual depth without needing an extra layer. Recessing the middle layer can also create a frame effect that highlights the top design.
Designing Vector Files for Laser Cutting
Start with a clear concept. Sketch your design on paper or use vector software like Adobe Illustrator, Inkscape, or CorelDRAW. For layered signs, it is helpful to work with the actual dimensions of your project. Set your document to the size of the backer board.
Create the backer as a solid shape with rounded corners if desired. Then, design the middle layer(s) as separate shapes that will sit on top. Use the offset tool to create a slight border around elements if you want a shadow effect. For text, convert fonts to paths to avoid missing font issues, and then unify or simplify the text shapes to reduce node count. Too many nodes can increase cutting time and produce less clean edges. Smoothing tools can help refine curves.
Ensure your design accounts for the kerf—the width of the laser beam. Slightly adjusting dimensions or using the kerf compensation feature in LightBurn can improve the fit between layers. For interlocking parts, a slight clearance might be needed.
Export each layer as a separate file in a format your laser cutter supports, such as SVG or DXF. Many makers prefer SVG for its scalability and compatibility. If you are using LightBurn, you can import SVG files directly and even group layers for cutting order. For Glowforge, SVG or PDF work well. Always include a PDF version for easy previewing and sharing with clients.
Assembly and Finishing Tips
After cutting, dry-fit all layers to check alignment before gluing. Sand any rough edges lightly with fine-grit sandpaper, taking care not to round over edges that should stay crisp. If you plan to paint, it’s often easier to do so before assembly. Use painter’s tape to mask off areas you want to keep natural, or apply a wood conditioner to help stain absorb evenly.
Use wood glue or a clear-drying craft glue for bonding. Apply a thin, even layer to avoid squeeze-out that can mar the surface. Clamp the layers together with even pressure, using wax paper between the clamp and wood to prevent sticking. Wipe away any excess glue immediately with a damp cloth. Allow the glue to cure fully according to the manufacturer’s instructions—rushing can cause misalignment.
For a professional finish, consider adding a clear topcoat like polyurethane or lacquer. This protects the wood from moisture and UV damage while giving a subtle sheen. A wax finish can create a soft, matte look that’s easy to buff. If you want a distressed, farmhouse vibe, lightly sand the top layer after painting to reveal the underlying wood or a contrasting paint color. Experiment with layering paint colors and sanding through for an authentic aged effect.
Product Example: Welcome Sign Collection
If you prefer ready-to-cut designs, the Welcome Sign Collection from LaserNestDesignsART offers layered templates in SVG, DXF, CDR, and PDF formats. These files are designed for home decor and feature farmhouse-style elements. They can be a great starting point for practicing layered assembly or for creating gifts. The instant download format allows you to start cutting right away after purchase on Etsy.
Final Thoughts
Layered wood signs are a rewarding project for laser cutting enthusiasts. By carefully choosing materials, planning your layers, and designing clean vector files, you can create dimensional signs that stand out. Experiment with different wood types, paint colors, and layer counts to develop your own style. With practice, you’ll master the techniques that make layered designs pop. Happy making!