How to Make a Wooden Dinosaur Night Light with Your Laser Cutter
Learn how to plan, cut, and assemble a wooden dinosaur night light. Tips on materials, lighting, and finishing for a charming kids' room decor project.
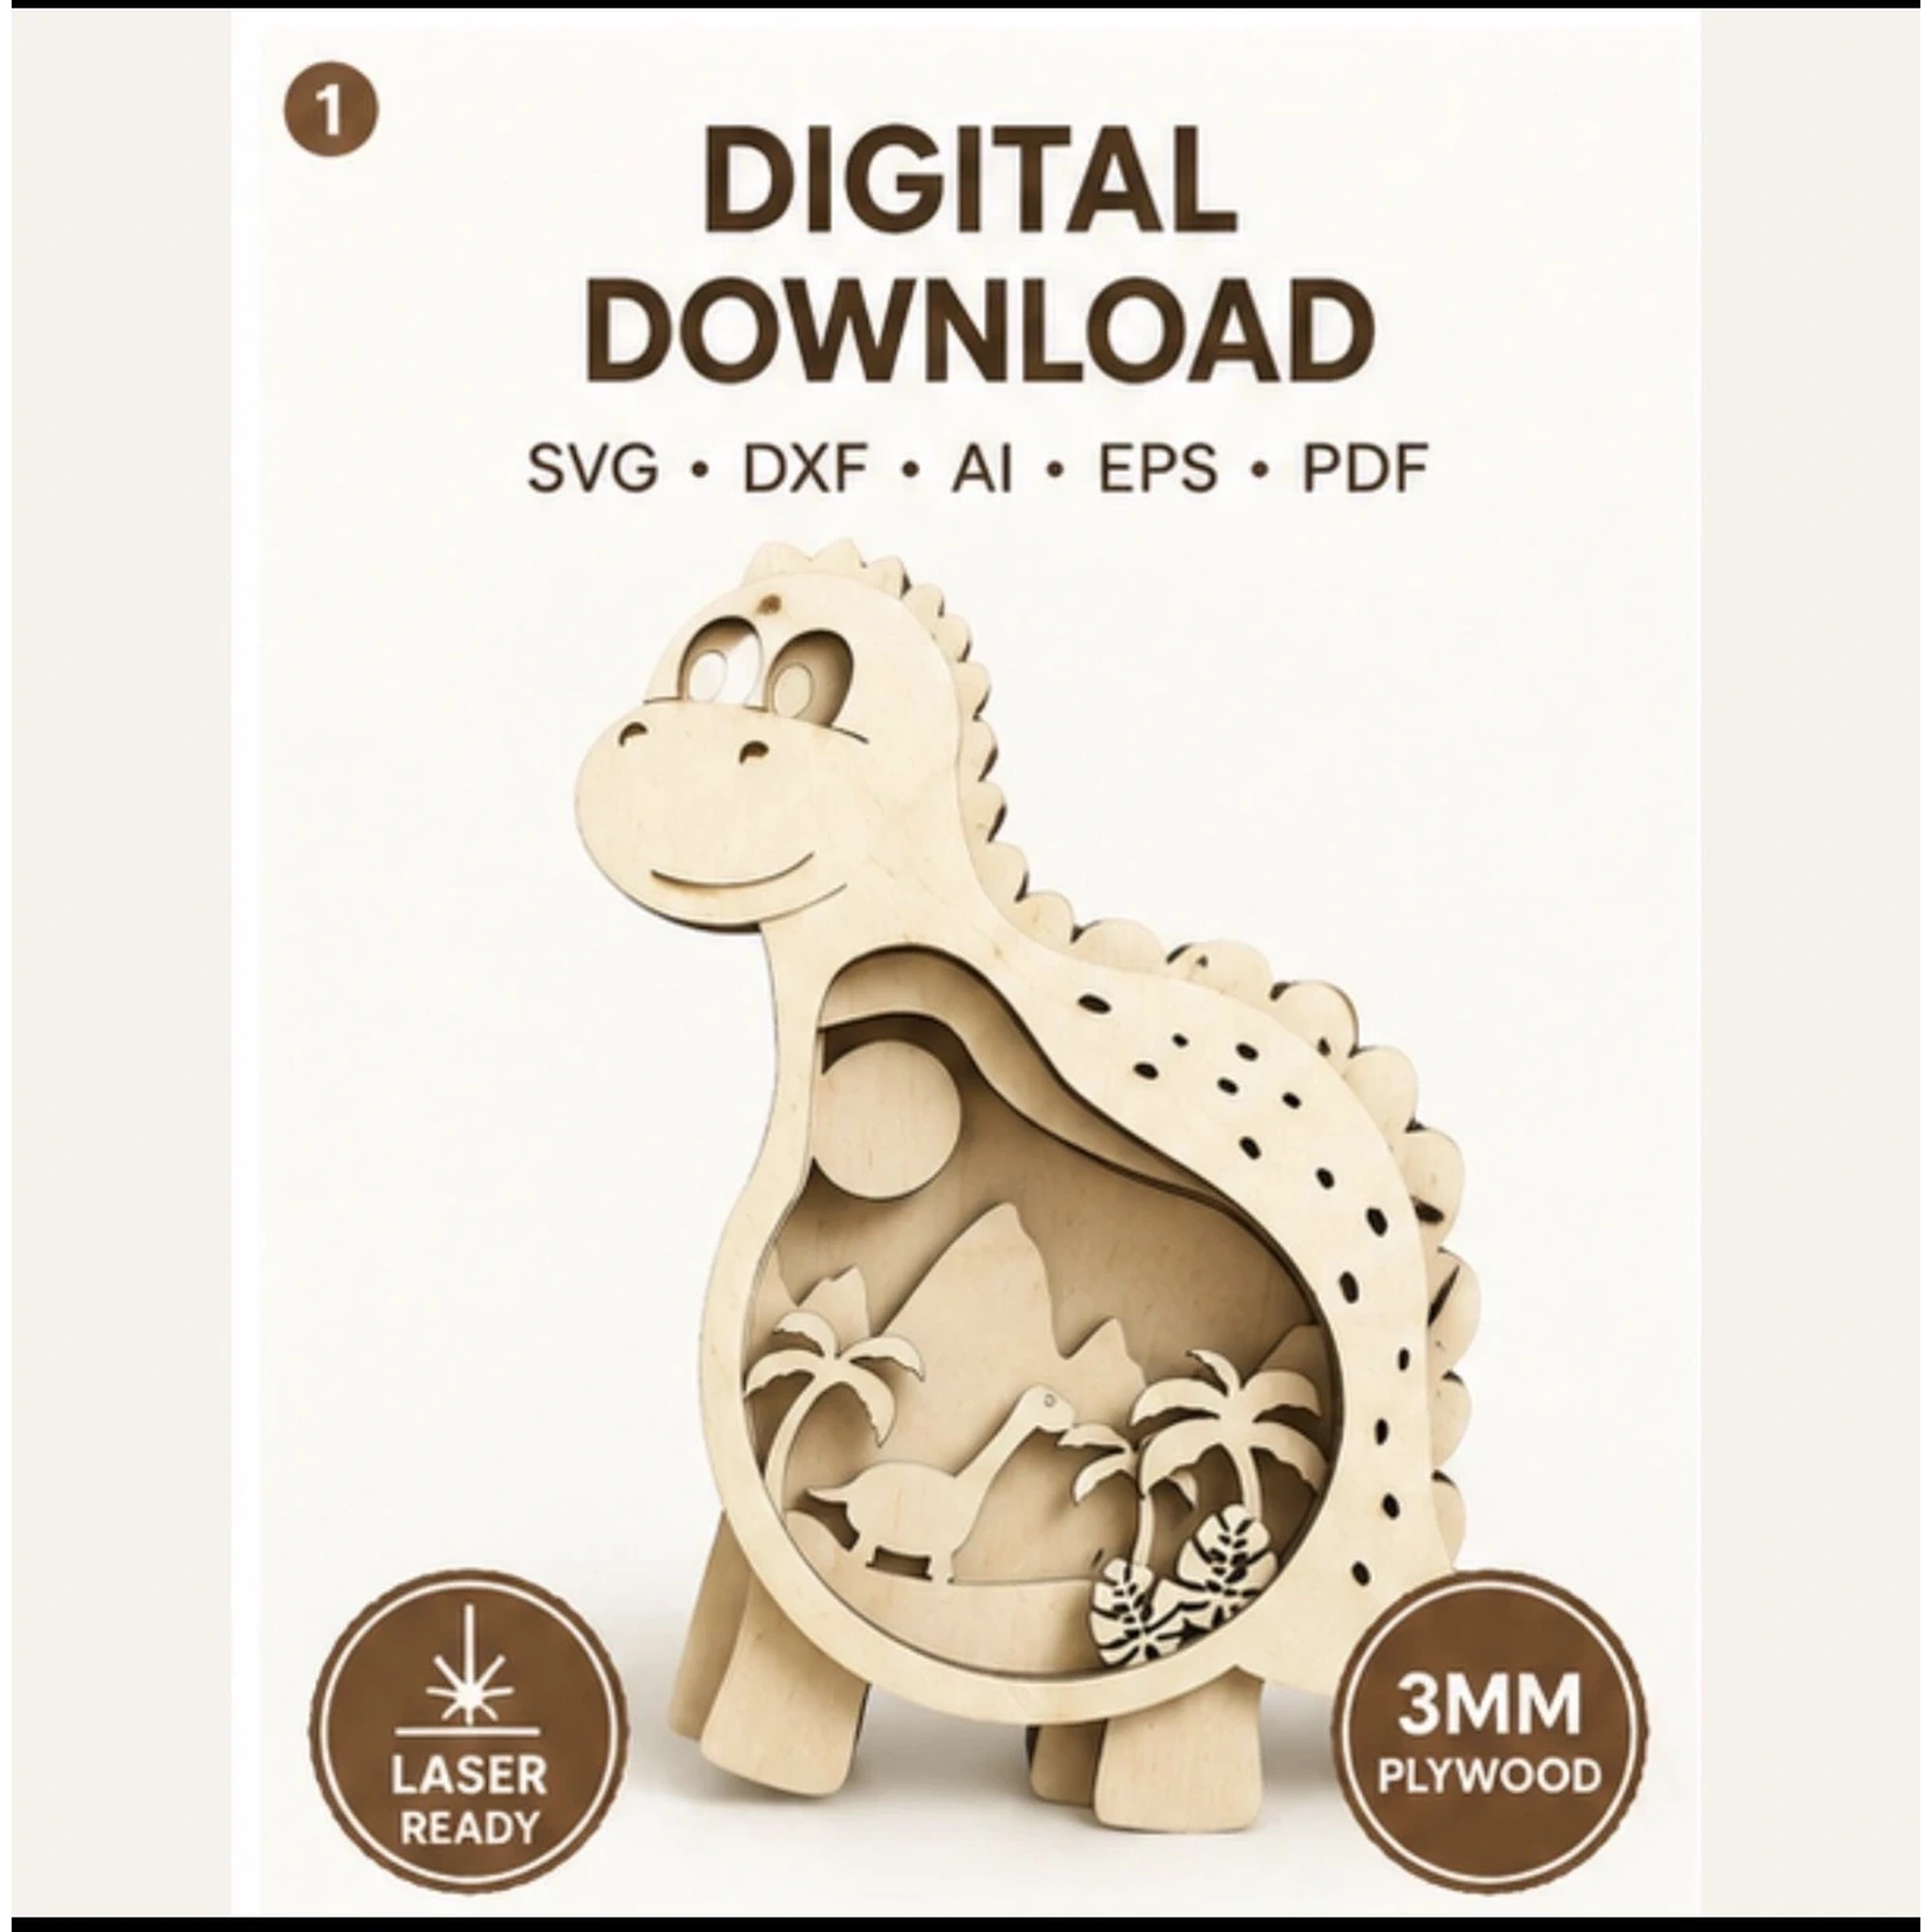
A dinosaur night light is one of those projects that feels both playful and practical. It can turn a plain shelf into a tiny prehistoric scene, and it makes a thoughtful gift for a child who loves dinosaurs. If you have a laser cutter and a few sheets of wood, you can create a warm, glowing piece of decor that looks store-bought but carries a handmade touch.
This guide walks through the entire process, from choosing materials to adding the light source. Whether you are new to laser cutting or have a few projects under your belt, you will find practical tips to help you avoid common mistakes and get a clean result.
Why a Wooden Dinosaur Night Light Makes a Great Project
A dinosaur night light is more than just a lamp. It is a small sculpture that can become a focal point in a nursery, a child’s bedroom, or even a cozy reading nook. The layered wood construction gives it depth, and the light shining through the cut details creates a soft, inviting glow.
For makers, this project is a good way to practice working with multiple layers and precise alignment. It also offers room for creativity: you can choose different wood finishes, add a name, or adjust the color of the light to match a room’s theme.
Because the design is built from flat pieces, it stores flat before assembly, which is convenient if you are making several as gifts or for a small craft business. The digital files include SVG, DXF, and PDF formats, so you can use them with a variety of laser cutting software and machines.
Choosing the Right Wood and Preparing Your Files
The material you choose affects both the look and the cutting experience. For a night light, you want wood that is thin enough to let light pass through the engraved or cut areas, but sturdy enough to hold its shape. Many makers use thin plywood for similar projects because it balances strength and light transmission. However, you should always test with your specific material and machine.
Before you cut, open the SVG, DXF, or PDF file in your preferred software. Check that all layers are visible and that the design fits within your machine’s work area.
It is a good idea to do a small test cut on a scrap piece of the same wood. This lets you confirm that your power and speed settings produce clean cuts without excessive charring. Different woods and thicknesses require different settings, so do not assume that one set of numbers will work for every sheet.
Assembling the Dinosaur Night Light
Once your pieces are cut, dry-fit them together before applying any glue. This helps you see how the layers align and whether any tabs need a little sanding. Most layered designs use a slot-and-tab system, so the pieces should fit snugly but not too tightly.
When you are satisfied with the fit, apply a thin layer of wood glue to the contact points. Use a small brush or a toothpick to avoid excess glue, which can seep out and mar the surface. Press the layers together and hold them for a few seconds, or use clamps if needed. Allow the glue to dry completely before handling the piece further.
If the design includes a slot for the light source, make sure it is clear of debris. You may need to clean the slot with a small file or sandpaper to get a smooth fit.
Adding the Light: LED Options and Safety
The light source is what brings the dinosaur to life. A small LED module is a popular choice because it runs cool and uses little power. You can find LED lights that are battery-operated, which makes the night light portable and safe for a child’s room. Some makers use a small puck light or a string of fairy lights tucked inside the base.
When choosing an LED, consider the color temperature. Warm white gives a cozy, amber glow, while cool white can look more clinical. You might also experiment with colored LEDs to match a theme, such as a soft green for a jungle vibe.
Always follow the manufacturer’s instructions for the LED module. If you are using a plug-in light, ensure the cord is routed safely and that the wood does not overheat. LEDs generally stay cool, but it is wise to check the temperature after the light has been on for a while.
Finishing Touches: Sanding, Sealing, and Personalizing
After assembly, sand any rough edges with fine-grit sandpaper. This smooths the wood and prepares it for finishing. You can leave the wood natural for a light, airy look, or apply a clear sealant to protect it from dust and moisture. If you want to add color, consider using wood stain or a light coat of paint. Keep in mind that paint on the interior surfaces may block light, so you might want to leave the areas around the light source unpainted.
Personalizing the night light is a nice touch. You could engrave a child’s name on the base or add a small date. Many laser cutters can engrave directly on wood, so you can do this before assembly. If you are making the night light as a gift, this personalization makes it extra special.
Troubleshooting Common Issues
Even with careful planning, you might run into a few hiccups. Here are some common problems and how to solve them:
- Pieces do not fit together: Check that you are using the correct material thickness. If the wood is slightly thicker than the design expects, the tabs may be too tight. Sand the tabs lightly or adjust the file if you have editing software.
- Light does not shine through: The wood may be too thick or the cut details too shallow. Try using a thinner wood or increasing the power for the engraved areas. Also, make sure the light source is positioned directly behind the cutout.
- Charred edges: This usually means the power is too high or the speed is too slow. Lower the power or increase the speed, and test on scrap wood until you get a clean cut.
- Warped pieces: Thin wood can warp if it absorbs moisture. Store your wood flat in a dry place, and consider sealing both sides of the finished piece.
Creative Variations and Gift Ideas
Once you have mastered the basic dinosaur night light, you can explore variations. Change the wood species for a different color, or add a second layer to create a shadow-box effect. You could also make a matching set of different dinosaurs to create a whole prehistoric scene.
As a gift, a dinosaur night light is perfect for baby showers, birthdays, or holidays. It is a unique alternative to a store-bought lamp, and it shows that you put thought and effort into the present. If you sell your crafts, these night lights can be a popular item at craft fairs or in your online shop.
Where to Find the Dinosaur Lantern Laser Cut File
If you are ready to start this project, the Dinosaur Lantern Laser Cut File from LaserNestDesignsART is a great option. It includes SVG, DXF, and PDF formats, so you can use it with most laser cutting software. The design is intended for a wooden night light, and the file is available for instant download from the Etsy shop.
Remember to always test your settings and materials before cutting the final piece. With a little patience and practice, you will have a charming dinosaur night light that brings a smile to any child’s face.
Happy making!