Displaying Photos in Laser-Cut Wooden Frames: Creative Ideas and Tips
Discover creative ways to display photos in laser-cut wooden frames, from rotating designs to personalized gifts. Perfect for makers and crafters.
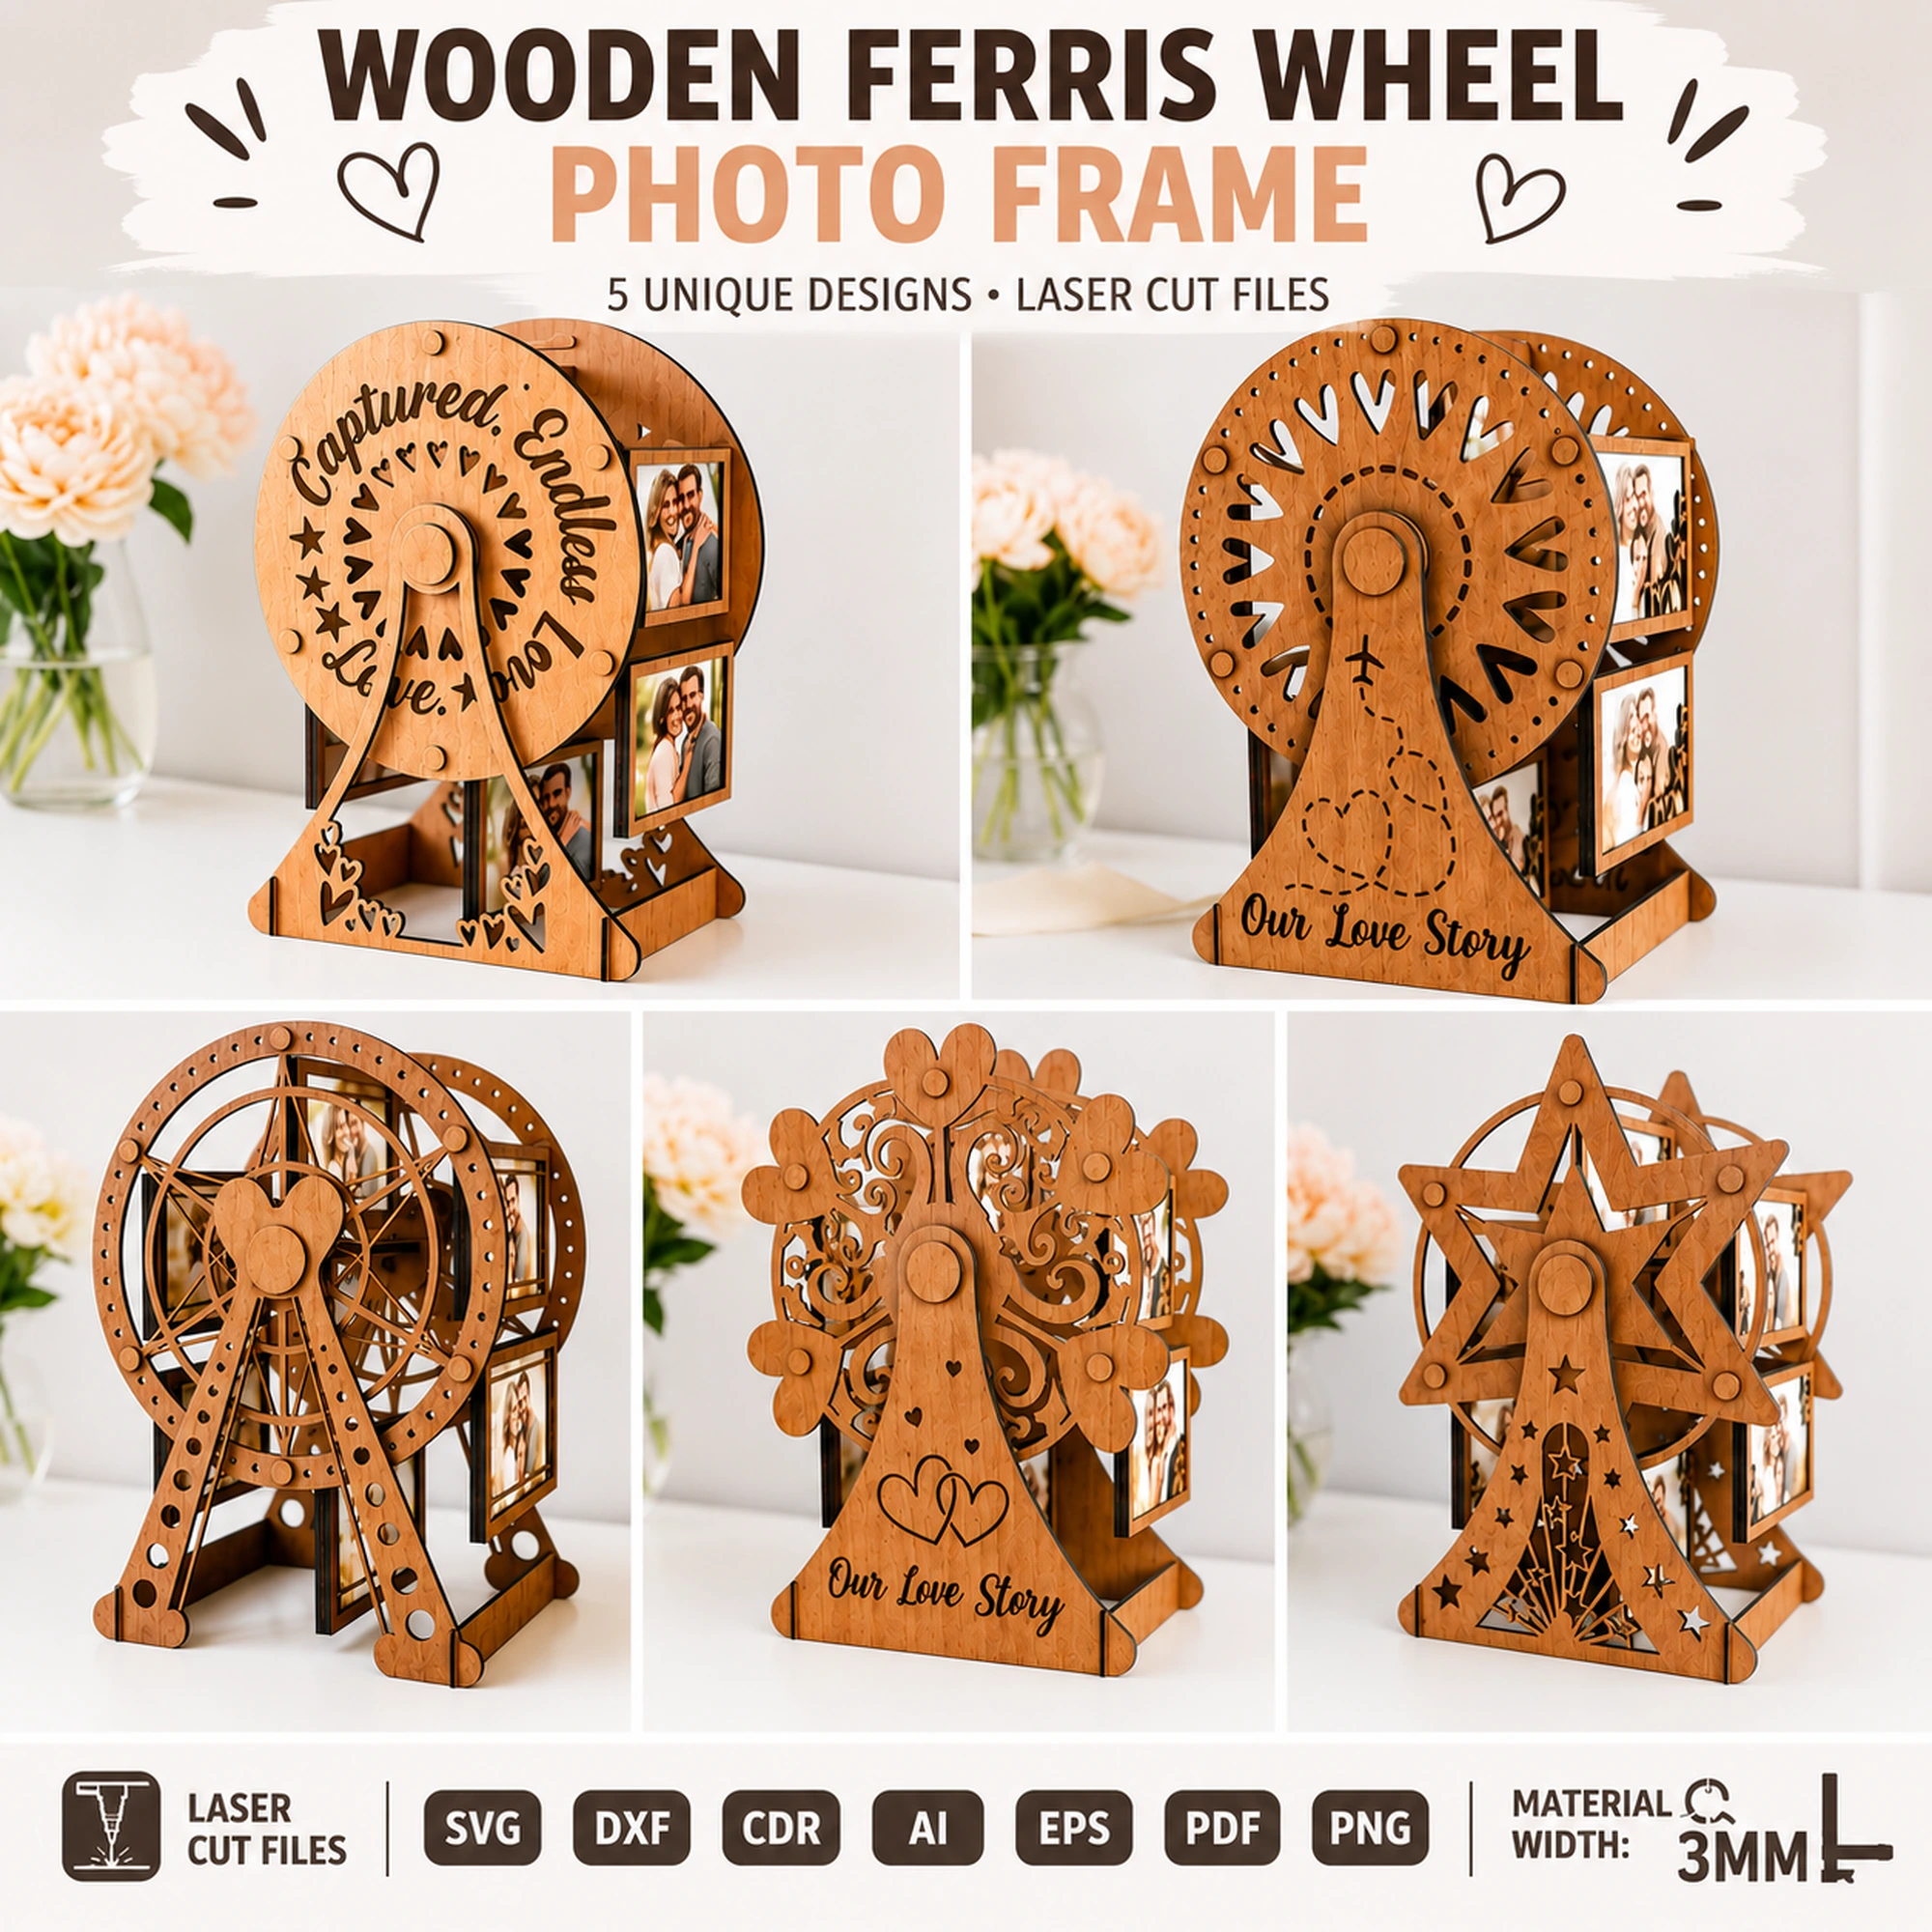
Laser-cut wooden photo frames offer a unique way to showcase your favorite memories. Unlike standard frames, these designs can be intricate, layered, and even interactive, turning a simple photo into a conversation piece. Whether you’re a seasoned maker or just starting out, understanding how to display photos in these frames can elevate your projects and delight recipients.
In this guide, we’ll explore creative ways to use laser-cut wooden frames, from rotating designs to personalized gifts. We’ll also cover practical tips for choosing photos, assembling frames, and caring for the finished piece. By the end, you’ll have plenty of ideas to inspire your next project.
Why Choose Laser-Cut Wooden Photo Frames?
Laser-cut wooden frames stand out because they combine craftsmanship with personalization. The precision of laser cutting allows for detailed patterns, intricate cutouts, and precise slots that fit together seamlessly. Wood adds warmth and a natural aesthetic that complements any decor.
One of the most exciting features of some laser-cut frames is their ability to hold multiple photos. For example, the Wooden Ferris Wheel Photo Frame Bundle includes rotating wooden picture display designs. This means you can showcase several photos in a single, eye-catching piece. The rotating mechanism adds an interactive element, making it a memorable gift or a striking addition to your own home.
Creative Display Ideas for Laser-Cut Frames
Rotating Photo Displays
Rotating frames, like the ferris wheel design, are perfect for displaying a series of photos. You can use them to tell a story, show a progression (like a child’s growth), or simply rotate through favorite memories. The movement draws attention and encourages interaction, making it ideal for living rooms, offices, or entryways.
Themed Photo Collages
Laser-cut frames often have themed shapes, such as animals, vehicles, or geometric patterns. Use these to create a cohesive display. For instance, a ferris wheel frame could hold photos from a carnival or amusement park visit. A tree-shaped frame might showcase family photos, while a heart-shaped frame could hold pictures of a loved one.
Seasonal and Holiday Displays
Swap photos seasonally to keep your decor fresh. In the winter, display holiday memories; in the summer, show beach vacations. Laser-cut frames make it easy to change photos, especially if they use slots or clips rather than permanent adhesives.
Gift Giving
Laser-cut wooden frames make thoughtful, personalized gifts. Fill them with photos that hold special meaning for the recipient—family, friends, pets, or memorable trips. The handmade quality of the frame adds a personal touch that store-bought frames can’t match.
Choosing the Right Photos
Photo Size and Orientation
Before printing photos, check the frame’s design to determine the size and orientation of each photo slot. Some frames may hold standard sizes, while others might have custom dimensions. If you’re using a digital file, you can adjust the photo size in your editing software to fit the slot dimensions you measure from the design.
Image Quality
For best results, use high-resolution images. A low-resolution photo may look pixelated when printed, especially if the frame requires a larger print. Aim for at least 300 DPI for crisp, clear prints.
Color and Contrast
Consider the wood tone of the frame. Darker woods may make dark photos harder to see, while lighter woods can wash out bright images. Choose photos with good contrast to ensure they stand out against the wood.
Assembling Your Laser-Cut Photo Frame
Preparing Your Workspace
Before assembly, clear a flat, clean area. Gather any tools you might need, such as wood glue, a small hammer (if the design uses pins), and a soft cloth for cleaning.
Dry Fit First
Always do a dry fit before applying glue. This means assembling the pieces without adhesive to ensure everything fits correctly. This step helps you identify any issues early and understand how the pieces go together.
Gluing and Securing
Once you’re satisfied with the dry fit, apply wood glue to the joints. Use a small brush or toothpick to apply glue precisely. Press the pieces together and wipe away any excess glue with a damp cloth. For rotating parts, ensure they move freely before the glue sets. You may need to hold pieces in place with clamps or rubber bands until the glue dries.
Inserting Photos
After the frame is assembled and dry, insert your photos. Some frames have slots or grooves; others may require you to attach photos with small clips or adhesive dots. Make sure photos are centered and secure.
Caring for Your Wooden Photo Frame
Cleaning
Dust your frame regularly with a soft, dry cloth. Avoid using water or harsh chemicals, as they can damage the wood. If needed, you can use a slightly damp cloth, but dry it immediately.
Protecting the Wood
To keep the wood looking its best, consider applying a clear finish, such as a wood sealer or wax. This protects against moisture and UV damage. Always test any finish on a scrap piece first.
Storing and Handling
When not in use, store the frame in a cool, dry place. Avoid exposing it to direct sunlight for extended periods, as this can fade the wood and photos.
Personalizing Your Frame
Engraving and Painting
Many laser-cut frames can be personalized with engraving or painting. You can engrave names, dates, or special messages directly onto the wood. Painting the frame in your favorite colors can also add a unique touch. Use acrylic paints and seal with a clear coat.
Adding Embellishments
Consider adding small embellishments like beads, ribbons, or metallic accents to enhance the design. Just be sure they don’t interfere with the frame’s function.
Troubleshooting Common Issues
Photos Don’t Fit
If photos are too large, trim them with scissors or a paper cutter. If they’re too small, you can add a mat or backing to fill the space.
Rotating Parts Stick
If rotating parts don’t move smoothly, check for excess glue or debris. Sand the contact points lightly and apply a small amount of lubricant, like beeswax, to the moving parts.
Wood Splits or Cracks
If a piece cracks during assembly, you can often repair it with wood glue. Clamp the piece until the glue dries. For future projects, ensure your material is dry and free of defects.
Conclusion
Laser-cut wooden photo frames are a wonderful way to display your favorite memories. Whether you choose a rotating ferris wheel design or a simple layered frame, the possibilities are endless. By selecting the right photos, assembling carefully, and adding personal touches, you can create a stunning piece that will be treasured for years.
If you’re ready to start your next project, consider the Wooden Ferris Wheel Photo Frame Bundle from LaserNestDesignsART. It includes rotating designs and comes in SVG, DXF, CDR, AI, EPS, PDF, and PNG formats, making it easy to use with your preferred software. Visit our Etsy shop to learn more and bring your photo display ideas to life.