Ferris Wheel Photo Frame File Format Workflow: SVG, DXF, CDR, AI, EPS, PDF, PNG
A practical guide to choosing among the SVG, DXF, CDR, AI, EPS, PDF, and PNG files included with the Wooden Ferris Wheel Photo Frame Bundle.
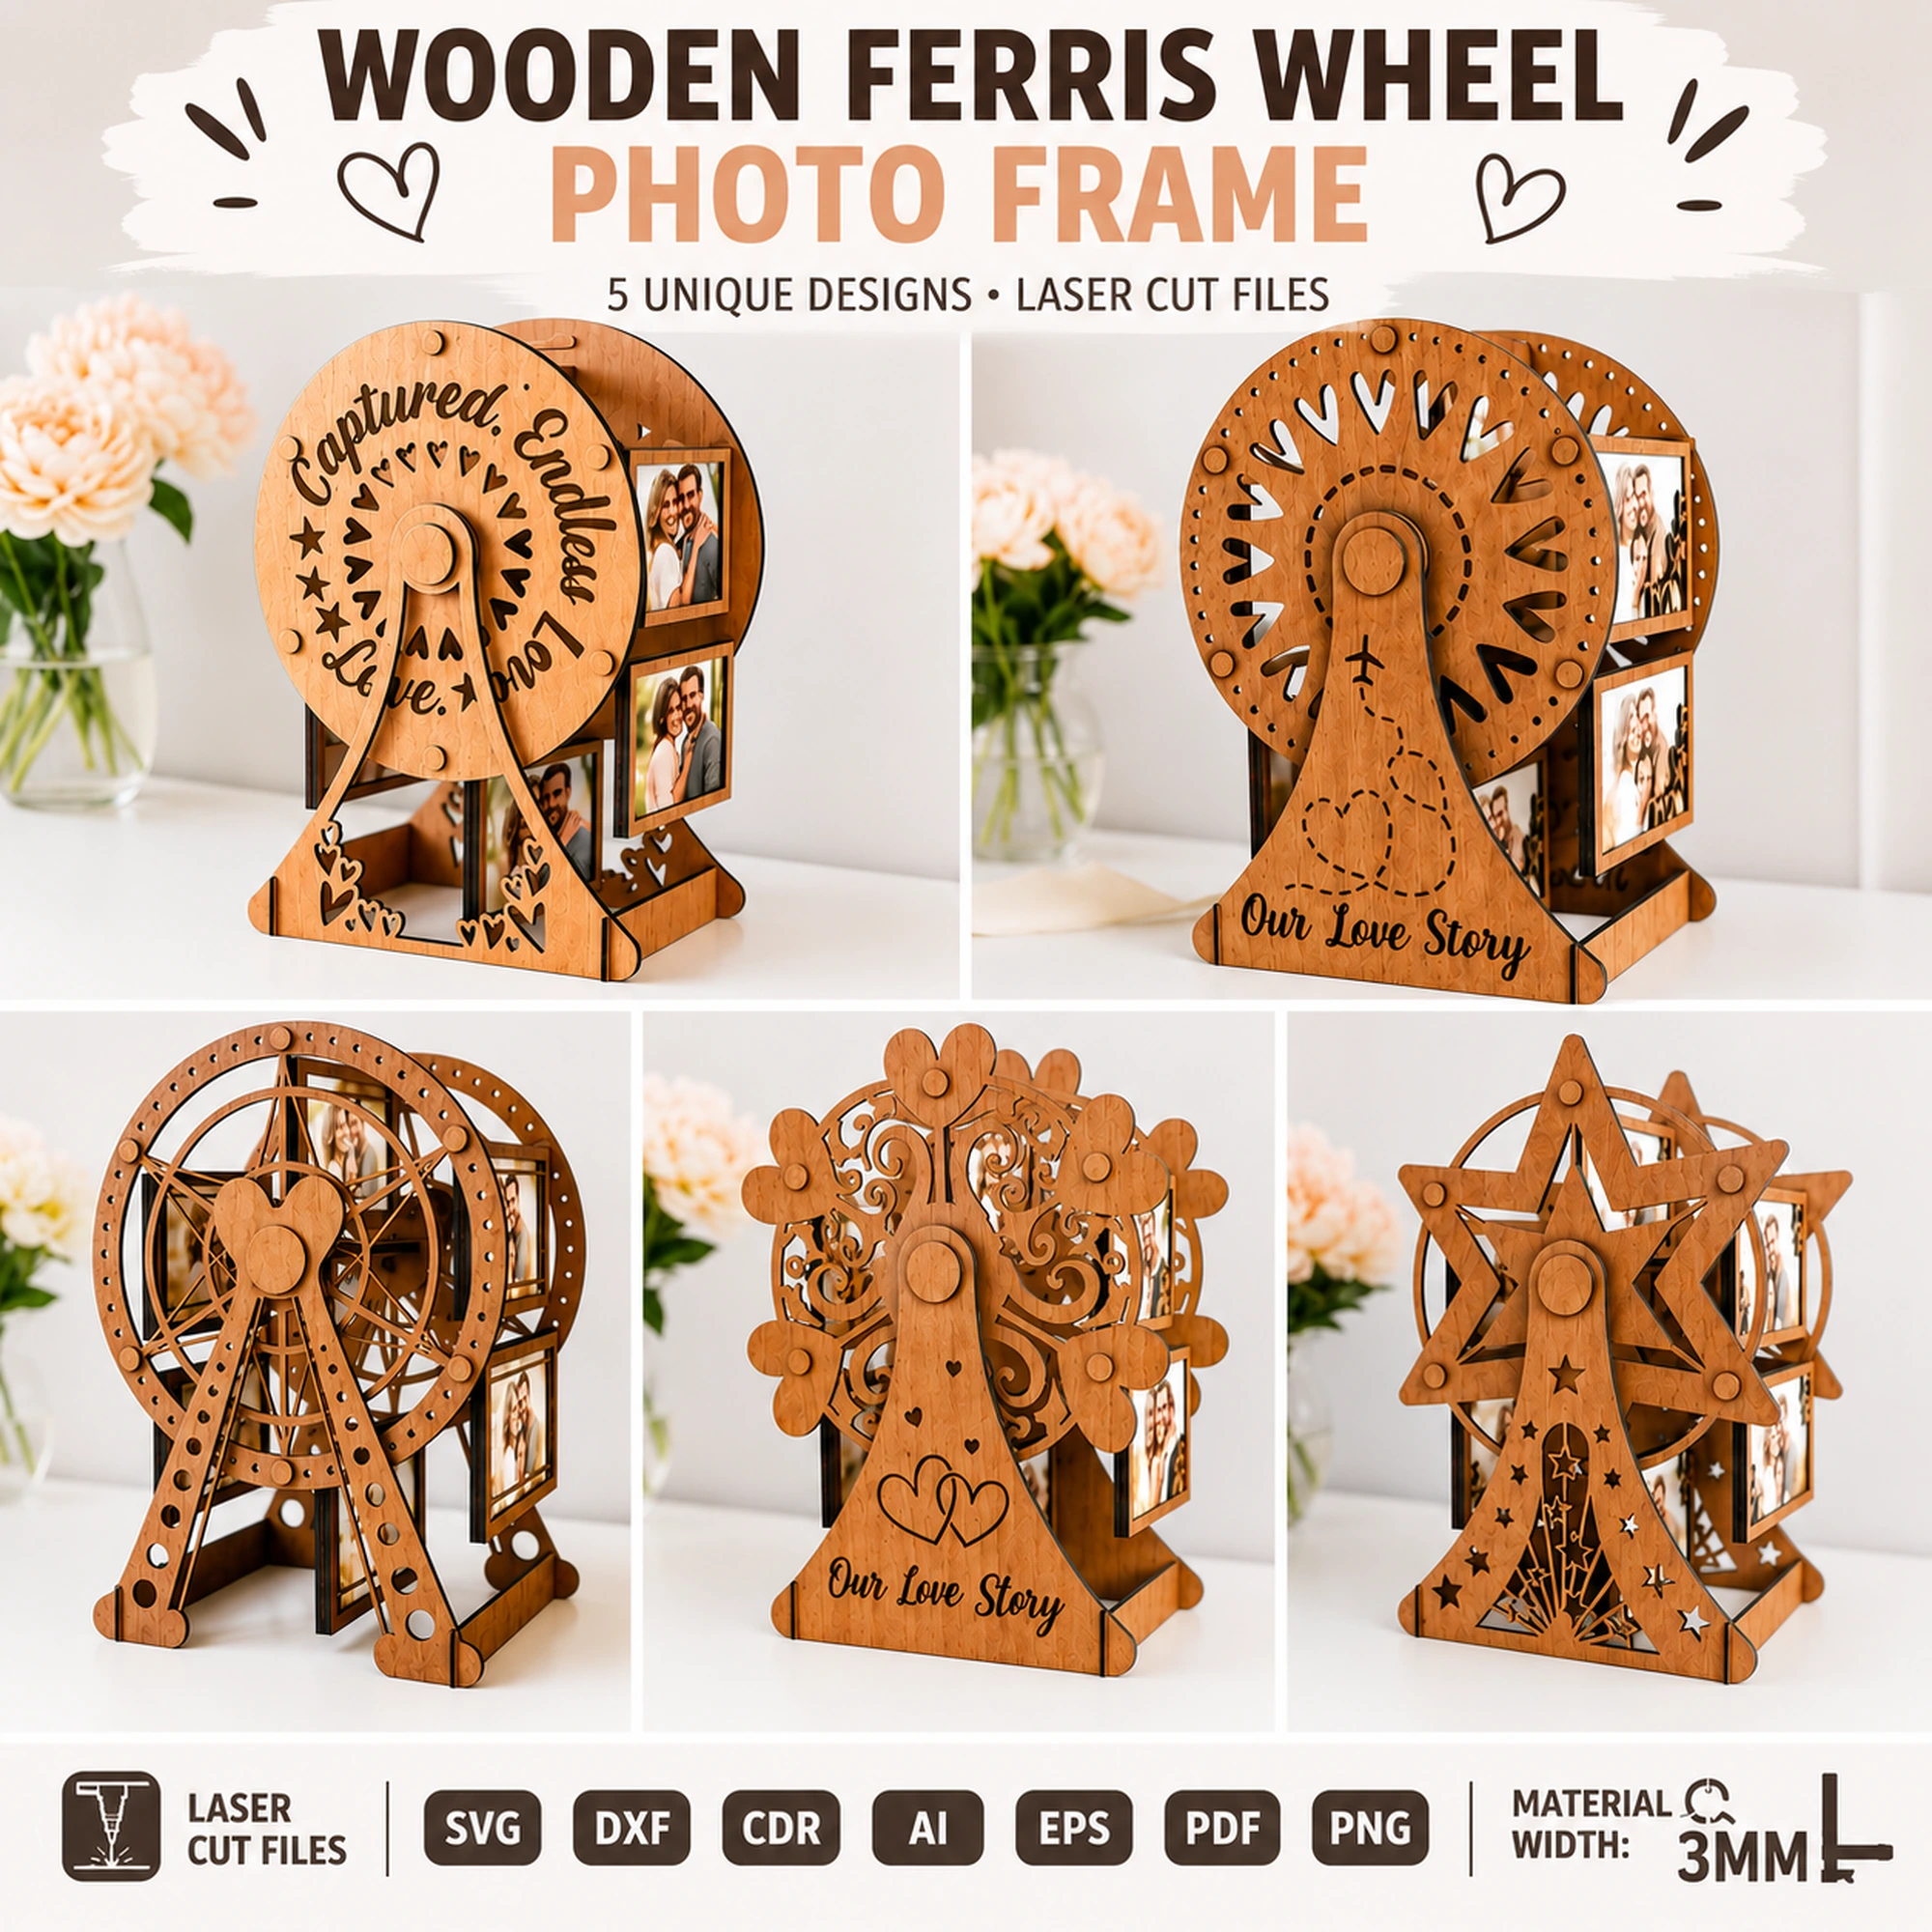
The Wooden Ferris Wheel Photo Frame Bundle includes five rotating wooden picture-display designs and seven file formats: SVG, DXF, CDR, AI, EPS, PDF, and PNG. Having several formats gives you options, but it does not mean every format should be used in the same way. The safest workflow is to choose one editable master file, verify how it imports, and keep an untouched copy of the original download.
This guide explains what each included format is generally used for and how to prepare a file before cutting. It does not assume that a particular program preserves layers, dimensions, colors, or line assignments automatically. Import behavior can vary by software version and by the settings used when a file was exported.
Start With a Controlled Working Copy
Keep the downloaded bundle in a read-only or backup folder. Create a separate working folder for the design you want to prepare. Rename the working copy clearly so you can return to the original if an edit changes a contour, scale, or object position.
Before choosing a format, decide what you need to do:
- For straightforward vector inspection and editing, begin with SVG.
- For a CAD-oriented exchange workflow, inspect DXF.
- For editing in CorelDRAW, consider CDR.
- For editing in Adobe Illustrator, consider AI.
- For older vector workflows, EPS can provide another exchange option.
- Use PDF only after confirming that your application imports editable paths rather than a flattened page.
- Treat PNG as a raster reference unless you intentionally need a raster operation.
These are starting points, not compatibility guarantees. Check the import documentation for your installed software and inspect the result on screen before sending anything to a machine.
SVG: A Practical First Inspection Format
SVG stores vector shapes and is often a useful first choice for reviewing cut geometry. Import the SVG into your design or laser application, then confirm the document units and overall scale. Do not assume the imported size is correct simply because the file opened without an error.
Zoom in closely on several parts of the ferris wheel design. Check whether curves remain smooth, whether closed shapes are still closed, and whether any duplicated paths appeared during import. Select a few objects to confirm that they are editable paths rather than one flattened image.
If the application assigns operations by color or layer, review those assignments manually. A color visible in the artwork is not automatically a cutting instruction. Decide which contours should be cut or engraved based on your own inspection and machine workflow.
DXF: Useful for CAD-Oriented Workflows
DXF is commonly used to exchange two-dimensional geometry between CAD and fabrication applications. Its main advantage is broad support in CAD-oriented workflows, but unit interpretation can differ between programs.
When importing DXF, record the unit option you select. Measure a known overall dimension if one is available in your project documentation. If no reference dimension is supplied, compare the imported geometry with another included vector format before changing scale.
Inspect curves carefully. Some applications represent curves as many short segments, while others use arcs or splines. If the geometry looks distorted, do not repair it by guessing. Compare the same part in SVG, CDR, AI, EPS, or PDF and choose the cleanest verified source for your workflow.
CDR and AI: Editing in Their Native Applications
CDR is associated with CorelDRAW, while AI is associated with Adobe Illustrator. These formats can be convenient when you already use the corresponding application. Open the file, inspect the document units, and review the object structure before making changes.
Do not assume that every object is organized into named layers or that effects are suitable for laser output. Expand, simplify, or convert objects only when you understand how the change affects the paths. Save your edited version under a new filename.
If you add a name, date, or decorative element to a photo-frame design, keep the new artwork separate until you have checked its size and position. Convert text according to the requirements of your production workflow, and verify that the result does not overlap slots, edges, or moving parts.
EPS and PDF: Exchange and Verification Options
EPS remains useful in some established vector workflows. Import it into a compatible vector application and check whether curves, groups, and scale arrived as expected. If the EPS import creates unexpected clipping areas or fragmented shapes, compare it with the SVG or another included vector file.
PDF can contain vector paths, raster images, or a mixture of both. The file extension alone does not prove that all elements are editable vectors. After importing the PDF, zoom in and select the artwork. Confirm that the contours you intend to use are actual paths. If the application imports only a page image, choose one of the dedicated vector formats instead of tracing automatically.
Automatic tracing can alter curves, introduce extra nodes, and create duplicate outlines. For a design with fitted or rotating parts, those changes may affect assembly. Use an original vector format whenever it imports correctly.
PNG: Reference and Raster Use
PNG is a raster image format. It can be useful as a visual reference, a thumbnail, or a source for an intentional raster engraving workflow. It is not the preferred source for precision cutting because it does not contain editable vector contours in the same way as SVG, DXF, CDR, AI, or EPS.
If you use PNG for engraving, choose settings through a separate material test. Do not combine an untested raster operation with the full cut job. Keep the PNG aligned only after you have confirmed the intended size and placement.
A Safe Preflight Before Cutting
Whichever format you choose, perform the same preflight:
- Confirm units and overall scale.
- Inspect curves and corners at high zoom.
- Check for open contours where a closed shape is expected.
- Look for duplicate or overlapping paths.
- Review every operation assignment manually.
- Confirm that added text or artwork does not interfere with nearby geometry.
- Save an edited copy without overwriting the original.
- Run a small material and fit test before committing to the complete project.
Material thickness and machine behavior vary. Measure the actual material rather than relying only on its nominal label. If a fitted connection needs adjustment, change a working copy and document the value used. Avoid scaling the entire project merely to correct one connection unless the design instructions specifically call for global scaling.
Choosing the Best File for Your Setup
There is no single best format for every user. The best choice is the format that imports cleanly into your software, preserves the intended scale, and lets you inspect the actual paths before production.
Start with SVG for a general vector review, DXF for a CAD-centered process, CDR or AI when working in the corresponding editor, and EPS or PDF as additional exchange options. Use PNG for reference or a deliberate raster task. If two formats import differently, compare them before editing and select the version with the cleanest verified geometry.
The Wooden Ferris Wheel Photo Frame Bundle is available through the LaserNestDesignsART Etsy shop. Review the current Etsy listing for the included download details and listing terms before purchasing. This is a digital product; no physical item will be shipped.