Finishing Laser-Cut Animal Napkin Holders: A Maker's Guide
Learn how to finish laser-cut animal napkin holders with sanding, painting, and sealing tips for a polished, durable result.
Laser-cut wooden napkin holders bring a playful touch to any table, and the finishing step is where they truly come to life. Whether you’re crafting for your own home or planning a small batch for a craft fair, the right finishing techniques can turn a simple cut-out into a polished piece that people want to display. This guide walks through the practical steps—from sanding to sealing—so you can get clean, durable results with your laser-cut animal napkin holder project.
Why Finishing Matters
A freshly cut napkin holder often has charred edges, a slightly rough texture, and a raw wood look that doesn’t yet feel “finished.” Finishing isn’t just about appearance—it also protects the wood from moisture, grease, and everyday handling. Napkin holders sit on dining tables, where spills and fingerprints are common. A good finish makes the piece easier to wipe clean and helps it last longer.
For makers who sell their work, finishing can also be a signature touch. A consistent, well-executed finish signals quality and care, which can set your pieces apart at markets or in an online shop. Even if you’re just making a gift, a thoughtful finish shows the recipient that you put in the extra effort.
Preparing Your Workspace and Materials
Before you start, set up a clean, well-ventilated area. Sanding creates dust, and finishing products may release fumes, so work in a space with good airflow. Cover your work surface with newspaper or a drop cloth to catch drips and dust.
Gather your supplies: fine-grit sandpaper (around 220 to 320 grit), a soft cloth or tack cloth, wood filler or putty (if needed), primer, paint or stain, and a clear sealer. You’ll also want small brushes or foam applicators for even coverage. Having everything within reach helps you work efficiently.
If your napkin holder came as a digital file, you’ve likely already cut the pieces from plywood or MDF. Before finishing, inspect each piece for any loose fibers or rough edges. A quick pass with sandpaper can smooth these areas and help the finish adhere better.
Sanding for a Smooth Base
Sanding is the foundation of a good finish. It removes the charred layer left by the laser and smooths out any rough spots. Start with a medium grit (around 220) to knock down the worst of the texture, then move to a finer grit (320) for a silky feel.
Focus on the edges, where the laser tends to leave more residue. Use light, even strokes, and be careful not to round over any delicate details like ears or tails. For tight corners, a small piece of folded sandpaper or a sanding stick can help.
After sanding, wipe away all dust with a tack cloth or a slightly damp lint-free cloth. Let the wood dry completely before moving on. Any leftover dust can create a rough finish or cause paint to bubble.
Priming and Painting
Priming is optional but recommended, especially if you’re painting with light colors or using MDF. A thin coat of primer seals the wood and gives paint a uniform surface to grip. It also helps prevent the wood’s natural tannins from bleeding through.
When choosing paint, acrylic craft paint works well for small wooden projects. It’s water-based, easy to clean up, and available in a wide range of colors. For a more natural look, you can skip the paint and use a wood stain or a clear finish instead.
Apply paint in thin, even coats. A foam brush or a small spray gun can give a smooth finish, but a regular brush works fine if you use light strokes. Let each coat dry completely before adding another. Two or three thin coats usually provide better coverage than one thick coat, which can drip or leave brush marks.
If you want to add details like eyes or spots, use a fine brush or a paint pen. Let the paint dry fully before handling the piece further.
Sealing for Durability
A clear sealer protects your paint job and the wood from moisture and wear. For a napkin holder that will see regular use, a water-based polyurethane or a clear acrylic sealer is a good choice. These dry clear and are food-safe once fully cured, though you should always check the product label.
Apply the sealer in thin, even coats, following the grain of the wood. A brush or a spray can both work. Let each coat dry, then lightly sand with a very fine grit (like 400) between coats to remove any raised grain or dust nibs. Two or three coats will give a durable finish that can handle daily use.
If you prefer a matte look, choose a matte sealer. For a subtle sheen, a satin or gloss finish adds a bit of polish. Test on a scrap piece first to see how it looks on your wood.
Assembly and Final Touches
Once all pieces are finished and dry, it’s time to assemble your napkin holder. Most laser-cut designs use tab-and-slot joints, so they fit together without glue. Dry-fit the pieces first to make sure everything aligns. If any joint is too tight, sand the tab slightly. If it’s too loose, a small amount of wood glue can secure it.
After assembly, check for any gaps or rough spots. You can touch up paint or sealer as needed. Add felt pads to the bottom if the holder will sit on a delicate table surface—this prevents scratches and adds a professional touch.
Finally, step back and admire your work. A well-finished napkin holder is not just functional; it’s a small piece of art that brings a smile to the table.
Troubleshooting Common Finishing Issues
Even experienced makers run into problems. Here are a few common issues and how to fix them:
- Paint not sticking: This often happens if the wood wasn’t sanded enough or had dust on it. Sand lightly, wipe clean, and apply a primer before repainting.
- Brush marks in paint: Thin coats and a good brush help. If you see marks, sand lightly between coats and use a foam brush for the final coat.
- Bubbles in sealer: This can happen if you shake the can or apply too thick. Stir gently, apply thin coats, and let each dry fully.
- Uneven color on MDF: MDF absorbs paint unevenly. A coat of primer or a sanding sealer can help even out the surface.
Caring for Your Finished Napkin Holder
To keep your napkin holder looking its best, wipe it with a soft, damp cloth when needed. Avoid soaking it in water or putting it in the dishwasher. If the finish starts to wear over time, you can apply another coat of sealer to refresh it.
With proper care, a finished wooden napkin holder can last for years, becoming a favorite part of your table setting or a cherished gift.
Ready to Start Your Project?
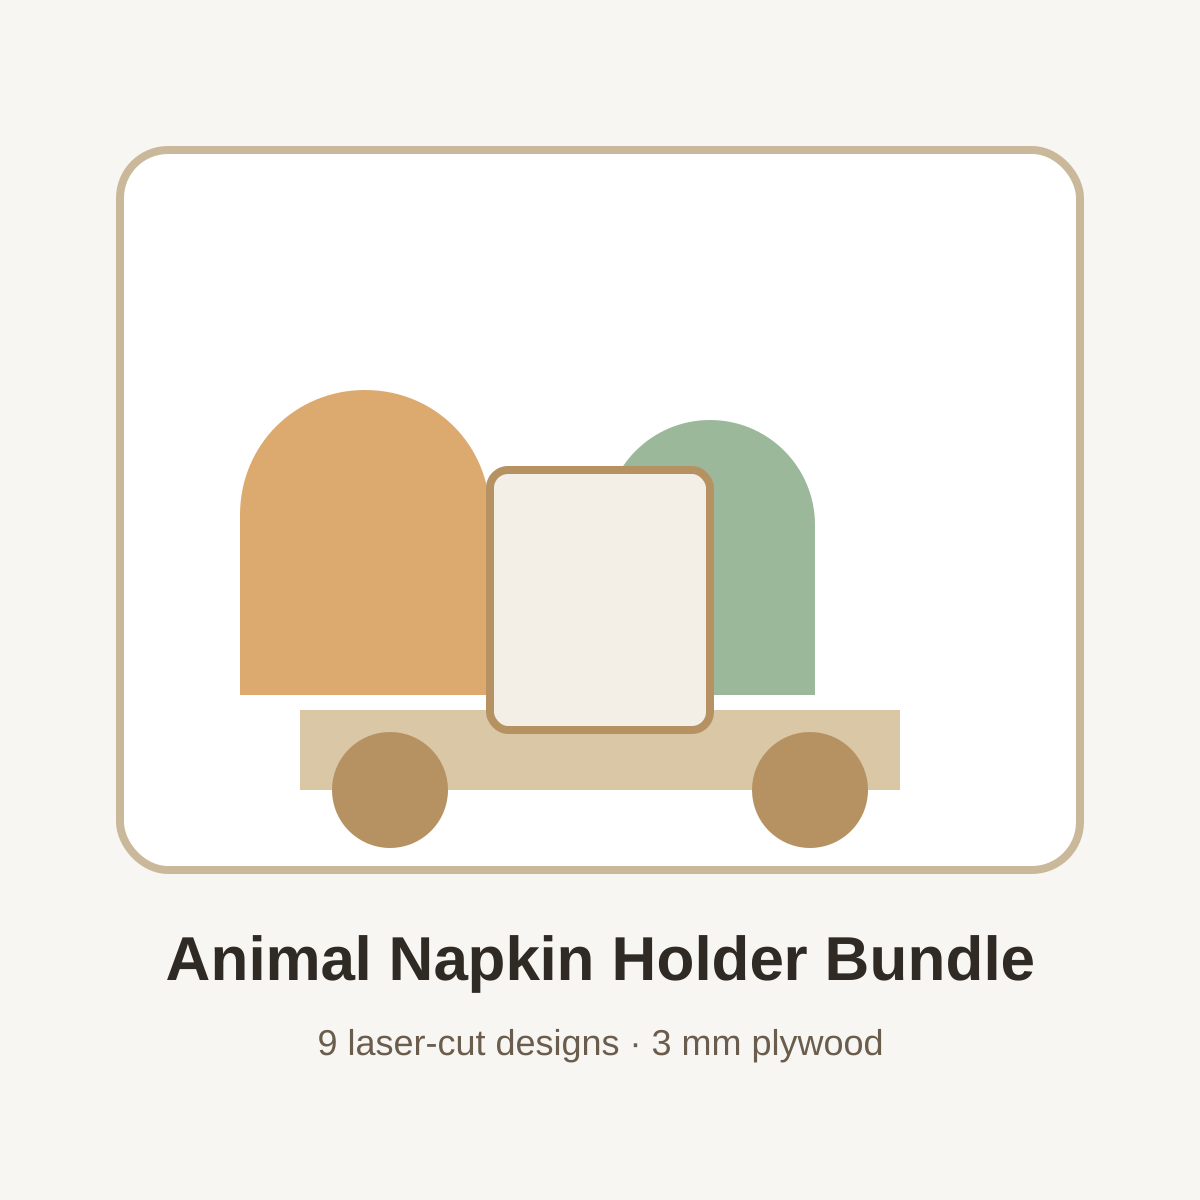
If you’re looking for a fun laser-cutting project, consider the Animal Napkin Holder SVG Bundle from LaserNest. This digital download includes nine wooden animal cart designs in SVG, DXF, and PDF formats, so you can cut them with your preferred software and machine. Each design is ready to cut, and with the finishing tips in this guide, you’ll be able to create beautiful, durable napkin holders that are perfect for your home or as handmade gifts.
Visit the LaserNest Etsy shop to get your bundle today and start crafting your own animal-themed table decor.