Gifting Handmade Laser-Cut Robot Models: A Maker’s Guide
Learn how to create and gift a charming 3D wooden robot model using laser-cut interlocking parts. Perfect for makers and crafters.
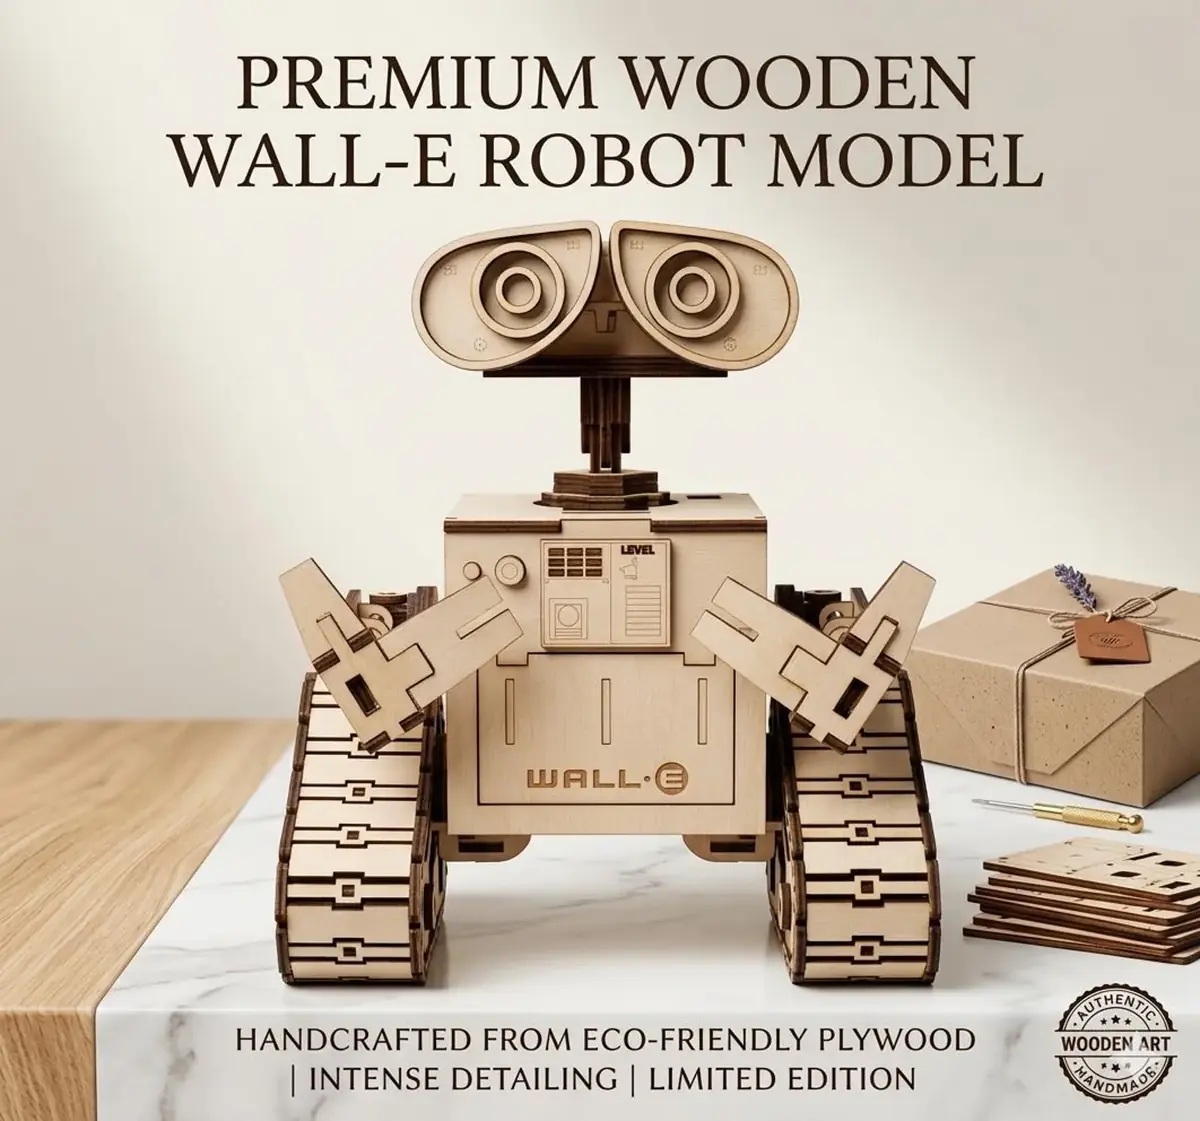
If you enjoy laser cutting, you know the satisfaction of watching a flat sheet of wood transform into something dimensional and delightful. One of the most rewarding projects to make and give is a 3D wooden robot model. These interlocking puzzles combine clever engineering with nostalgic charm, making them a standout gift for friends, family, or even yourself.
In this guide, we’ll explore why robot models are a fantastic maker project, how to approach assembly, and creative ways to personalize and present your finished piece. Whether you’re new to laser cutting or a seasoned maker, you’ll find practical tips to elevate your next build.
Why Choose a 3D Wooden Robot Model?
A 3D wooden robot model is more than just a decoration—it’s an experience. The process of assembling interlocking parts without glue (or with minimal adhesive) is both meditative and rewarding. These models often feature articulated joints or poseable elements, adding a playful touch.
For gifting, a robot model appeals to a wide audience: tech enthusiasts, sci-fi fans, children, and anyone who appreciates handmade craftsmanship. Because it’s made from wood, it has a warm, natural aesthetic that fits into modern home decor. And since you’re creating it yourself, each piece carries a personal touch that store-bought items lack.
From a maker’s perspective, these projects are an excellent way to practice precision cutting and assembly. The interlocking design requires accurate vector geometry, which is a hallmark of premium laser-cut files. When the parts fit together snugly, it’s a testament to good design and careful cutting.
Tips for Successful Assembly
Before you start cutting, ensure your material is suitable. Choose a material like plywood or MDF for your laser cutter, and test your settings to achieve clean cuts.
When you receive your laser-cut files—commonly in SVG, DXF, CDR, EPS, or PDF formats—open them in your preferred software (LightBurn, Inkscape, Adobe Illustrator, etc.). Check that all pieces are properly nested and that there are no overlapping lines. Review the provided files to understand the assembly order before cutting.
After cutting, gently remove the pieces from the sheet. Use a small file or sandpaper to clean any minor burrs. Dry-fit the parts first to see how they interlock. Many designs use tabs and slots that hold together without glue, but you can add a drop of wood glue for extra stability if desired.
Assembly tip: Work from the inside out. Start with the core structure (like the body or head) and attach limbs and details last. If the model has moving parts, ensure they move freely before finalizing the fit.
Personalization and Finishing Ideas
One of the best parts of making a laser-cut robot model is the opportunity to personalize it. Here are a few ideas:
- Paint or stain: Use acrylic paints to add color to specific parts—maybe a red body or silver accents. A clear coat of polyurethane protects the finish.
- Engrave a message: If your laser cutter supports engraving, add a name, date, or short message on the base or back of the model.
- Mix materials: Combine wood with acrylic or metal accents for a steampunk or futuristic look.
- Add lighting: A small LED inside the robot’s chest or eyes can make it glow. Use a battery holder and switch for a safe, portable light.
For gifting, consider the presentation. Place the assembled robot in a clear box or on a wooden stand. You could also gift the unassembled kit in a bag with a note, letting the recipient enjoy the building process themselves.
Gifting Scenarios and Occasions
A handmade wooden robot model fits many occasions:
- Birthdays: A unique gift for a friend who loves robots or sci-fi.
- Holidays: A thoughtful, handmade present for family members.
- Housewarming: A decorative piece that adds character to a new home.
- Corporate gifts: Small batch models with company logos engraved can be memorable promotional items.
- Fundraisers: Sell assembled models at craft fairs or online to support a cause.
Because the model is made from wood, it’s durable and long-lasting. It can sit on a desk, shelf, or mantelpiece as a conversation starter.
Where to Find Quality Files
For a reliable starting point, look for laser-cut files that include multiple formats (SVG, DXF, CDR, EPS, PDF) to ensure compatibility with your software and machine. A detailed interlocking robot puzzle, for example, provides a satisfying build with clear assembly intent. Files from reputable designers often include accurate vector geometry, which saves you time troubleshooting fit issues.
When choosing a design, consider the level of detail. Some models have dozens of pieces and intricate joints, while others are simpler for beginners. Pick one that matches your skill level and the time you want to invest.
Conclusion
Creating a 3D wooden robot model is a fulfilling project that combines laser cutting craftsmanship with the joy of giving. Whether you assemble it yourself or share the kit with a friend, the result is a unique, handmade gift that stands out. With careful cutting, thoughtful personalization, and creative presentation, your robot model will be cherished for years to come.
So fire up your laser cutter, choose a design, and start making. Your next favorite gift might just be a little wooden robot.