Creative Gifting Ideas for Laser-Cut Camper Van Models
Discover thoughtful ways to gift a laser-cut wooden camper van model. Perfect for retro vehicle fans, travel lovers, and DIY crafters.
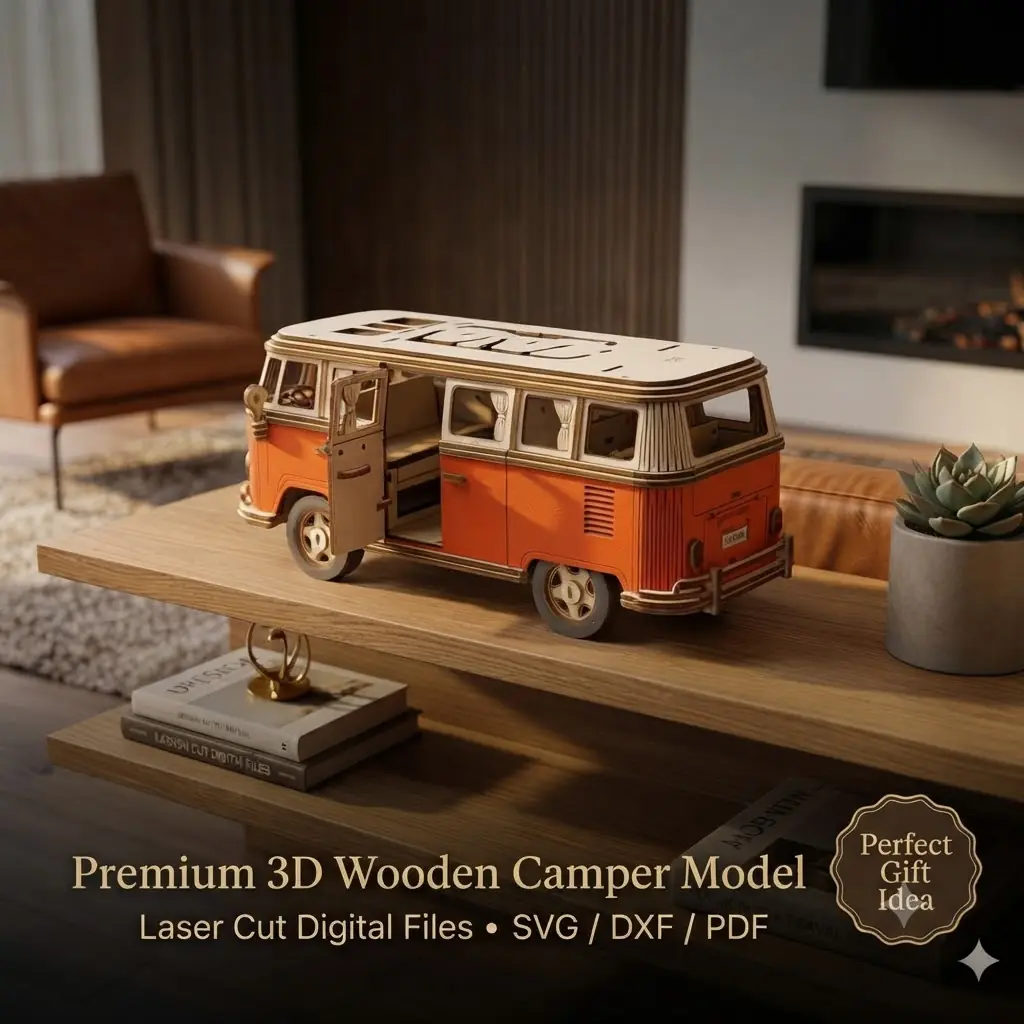
If you enjoy laser cutting, you know that a well-designed model can be more than just a project—it can become a meaningful gift. A 3D wooden camper van model, with its interlocking parts and retro charm, offers plenty of opportunities for creative giving. Whether you’re making for a friend, family member, or customer, here are some thoughtful ways to present a laser-cut camper van.
Why a Camper Van Model Makes a Great Gift
A retro bus-style camper van has a timeless appeal. It evokes road trips, freedom, and a sense of adventure. For someone who loves vintage vehicles, camping, or simply unique decor, a wooden camper van model can be a delightful surprise. Because you can cut the interlocking parts yourself, the recipient gets the joy of assembling them—or you can assemble the model for them and present it as a ready-to-display piece.
This model works for many occasions. A birthday, anniversary, or even a retirement gift becomes more personal when it reflects shared memories. If the recipient owns a real camper van, the mini version can sit on their dashboard or shelf as a charming reminder. The fact that you made it adds a layer of thoughtfulness that store-bought items often lack.
Personalizing the Model for the Recipient
One of the best aspects of laser-cut models is how easily they can be customized. Before cutting, you can engrave a name, date, or short message on the side or base of the camper van. For example, add the recipient’s initials or a special date like “Our First Road Trip 2024.” You can also choose wood species or stain colors that match their style. A light birch finish gives a clean, modern look, while a darker walnut stain feels more rustic.
Beyond engraving, you can experiment with paint or wood-burning accents. Thin basswood or plywood takes acrylic paint well, letting you match the van’s color to a favorite team, a real vehicle, or a playful palette. If you have a rotary attachment, you could even engrave around curved edges for a truly custom touch. The key is to keep the design balanced so the engraving complements the model without overwhelming it.
Pairing the Model with Themed Accessories
To make the gift even more special, consider pairing the camper van model with small themed items. For instance, you could include a tiny wooden campfire set, a miniature tree, or a small sign that says “Adventure Awaits.” These extras can be cut from scrap wood and add to the storytelling. Alternatively, present the model in a gift box lined with map-printed paper or a fabric that resembles a campsite.
If you want to go further, create a small kit with multiple accessories. A laser-cut surfboard leaning against the van, a wooden camp chair, or even a miniature dog figure can build a whole scene. For travel lovers, tuck in a tiny luggage piece or a road sign. These details show extra effort and make the gift feel curated. You can finish all pieces with a light coat of wood oil or spray varnish to protect them and enhance the natural grain.
Assembling vs. Kit Presentation
Decide whether to assemble the model yourself or give the pieces as a kit. An assembled model is ready for display and works well for someone who may not enjoy crafting. A kit, on the other hand, offers a fun activity for the recipient. If you choose to give the pieces as a kit, package them in a clear bag or small box, and include a printed or handwritten assembly guide. You can also add a note explaining that the parts interlock snugly, often requiring no glue, which makes assembly straightforward.
When presenting an assembled model, take time to prepare the surfaces. Lightly sand edges to remove any scorch marks and apply a finish that matches the recipient’s decor. For a kit, group parts by section and number them if the guide references stages. This small organization goes a long way in making assembly enjoyable rather than confusing. You might also add a small tube of wood glue for those who prefer a permanent bond, even though the model is designed to hold together without it.
Choosing the Right Wood and Finish
The material you choose affects both the cutting process and the gift’s final look. Baltic birch plywood is popular for its clean edges and smooth surface, while MDF offers a uniform appearance but can be harder to engrave. Thin hardwoods like maple or cherry bring a premium feel but may require adjusted power settings. Whatever you pick, test-cut on a scrap piece first to dial in your laser’s settings.
After cutting, you can leave the wood natural for a minimalist look, or apply a stain, paint, or clear coat. A simple beeswax finish gives a soft sheen and feels pleasant to the touch. If the model will be handled often, a durable varnish protects against wear. For a vintage vibe, consider a distressed technique: lightly sand edges after painting to reveal the wood beneath. This pairs perfectly with the camper van’s retro style.
Gifting for Small Business Customers
If you sell laser-cut items, a camper van model can be a popular product for gift shops or craft fairs. Offer it in different sizes or with optional engraving. You might also create a bundle that includes the model, a set of paints or stains, and a brush. This appeals to customers who want a hands-on project. Remember to clearly describe the file formats you provide—SVG, DXF, and PDF—so buyers know they can use the design with laser cutters that support these file types.
Consider themed packaging that aligns with your brand. A kraft box with a sticker showing the assembled van creates a professional unboxing experience. Include a care card with finishing tips or your contact information for future orders. If you sell at markets, display a finished model on a small turntable so people can see all angles. This draws attention and starts conversations about the laser-cutting process.
Display Ideas for the Finished Model
Once assembled, the camper van model looks great on a shelf, desk, or mantel. It can also be hung on a wall if you add a small bracket or use a floating shelf. For a more immersive display, create a diorama with a painted background of mountains or a campsite. This turns the model into a conversation piece and shows off the craftsmanship.
Another idea is to mount the camper van on a wooden base with a title plaque. For example, “The Johnsons’ Road Trip 2024” engraved beneath the model turns it into a keepsake. If the recipient has a collection of miniatures, this piece fits right in with other travel-themed decor. The compact size means it won’t clutter a space, yet it commands attention with its detailed silhouette.
Packaging and Presentation Tips
The way you wrap the gift can be as creative as the model itself. Use a box that mimics a tiny garage or a suitcase to play on the travel theme. Fill with shredded paper or wood wool for a natural touch. If the model is a kit, you might include a progress card where the recipient can mark each step as they assemble it—a fun way to build anticipation.
For a zero-waste approach, wrap using fabric remnants or a reusable tin. Attach a small tag explaining the materials and the fact that no glue is needed (though optional) so the recipient knows what to expect. Even a simple ribbon in a vintage hue adds charm without much cost. Presentation shows you value the act of giving, and that alone makes the gift memorable.
Conclusion
A laser-cut wooden camper van model is a versatile and heartfelt gift. With a little personalization and creative packaging, you can turn a simple project into a memorable present. Whether you’re making for a loved one or for customers, the retro charm of the camper van is sure to bring a smile. The interlocking design makes it accessible for all ages, and the customization options let you tailor it to any personality or occasion. So fire up your laser, pick out some quality wood, and start crafting a gift that celebrates adventure and craftsmanship.