How to Make a Laser-Cut Airplane Ceiling Lamp for a Child's Room
Learn how to plan, cut, and assemble a laser-cut airplane ceiling lamp. Tips on materials, lighting, and finishing for a charming kids' room decor project.
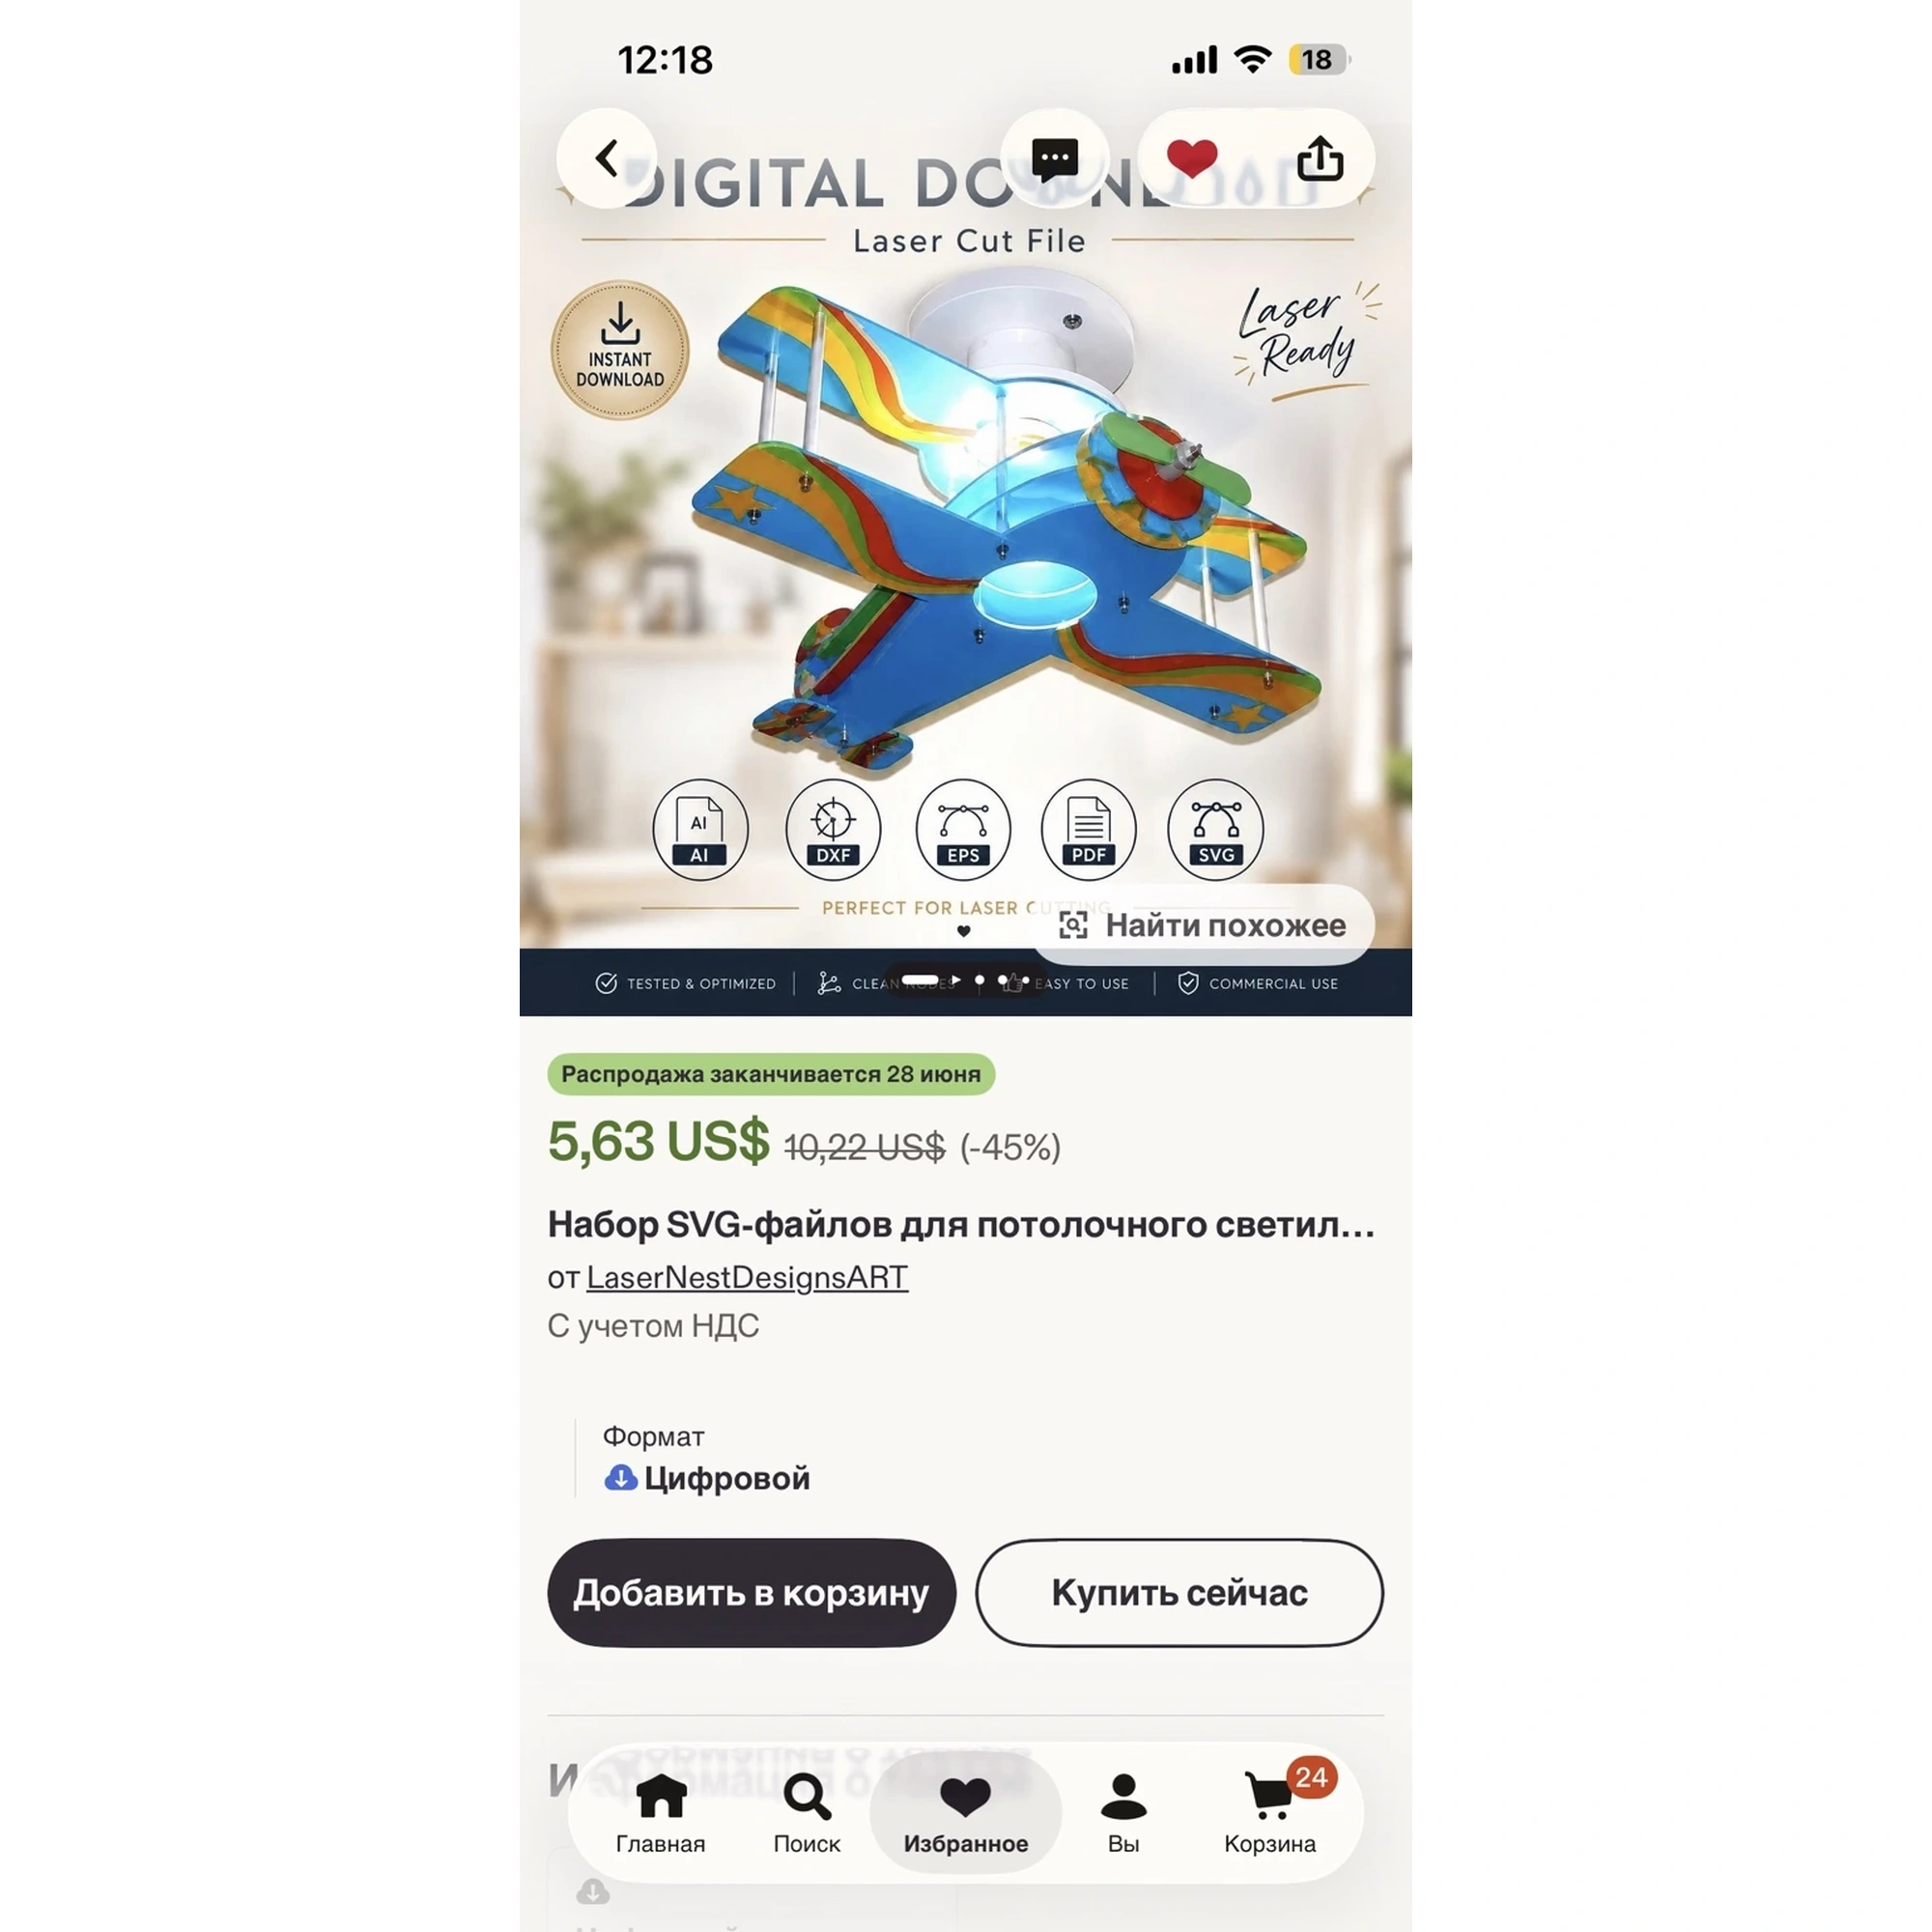
A child’s room becomes a place for imagination when the ceiling holds a small airplane ready for takeoff. A laser-cut wooden airplane ceiling lamp turns an ordinary light fixture into a conversation piece that fits a travel-themed nursery or a big-kid room. For makers, this project is a satisfying blend of precise vector cutting and simple electrical assembly. Whether you are new to laser cutting or have a busy Etsy shop, understanding how to plan and build a wooden ceiling lamp will help you create a safe, durable piece that families will treasure.
This guide walks through the key decisions: choosing materials, preparing your files, assembling the lamp, and adding a finish. We will also look at how a ready-made digital file, such as the Airplane Ceiling Lamp Laser Cut Files from LaserNest, can simplify the process. The goal is to give you a clear roadmap so you can cut with confidence and avoid common pitfalls.
Why Choose a Wooden Airplane Ceiling Lamp?
A ceiling lamp is more than a light source; it is a focal point. A wooden airplane silhouette adds warmth and character that plastic store-bought fixtures often lack. Because the lamp is mounted overhead, it does not take up floor or shelf space, making it ideal for small rooms. The soft glow through the wood creates a cozy atmosphere for bedtime stories or playtime.
From a maker’s perspective, a ceiling lamp project is a great way to practice working with layered or interlocking parts. It also introduces basic electrical wiring, which is a valuable skill for custom lighting projects. If you sell at craft fairs or online, personalized lamps are popular gifts for baby showers and birthdays.
Planning Your Project: Materials and Safety First
Before you cut, think about the environment. A ceiling lamp will be near a bulb, so heat and fire safety are critical. Always use LED bulbs, which stay cool compared to incandescent or halogen bulbs. Check the bulb socket and wiring to ensure they meet local electrical codes. If you are unsure, consult an electrician.
For the wood, plywood is a common choice for laser-cut projects because it cuts cleanly and is sturdy enough for a lamp shade. When selecting plywood, look for a smooth surface without voids or warping. Baltic birch is a favorite among makers for its consistent layers and minimal splintering. However, any good-quality plywood can work if it cuts cleanly. Always do a test cut with your specific material to confirm the settings.
Preparing Your Laser Files
The Airplane Ceiling Lamp Laser Cut Files come in SVG, DXF, AI, EPS, and PDF formats. This variety ensures compatibility with most laser software, including LightBurn and the software that comes with Glowforge and xTool machines. Choose the format that matches your workflow. SVG is widely used and editable, while DXF is common for CAD-style programs. AI and EPS are vector formats that work well with Adobe Illustrator. PDF is a universal option for printing or direct import.
Before cutting, open the file in your design software and inspect the layers. Look for any overlapping lines or missing cut paths. Set your machine’s parameters based on your material test. Always run a small test piece to dial in the perfect cut.
Assembly: From Flat Pieces to a 3D Lamp
Once your pieces are cut, dry-fit them together before applying any glue. This lets you see how the parts interlock and identify any areas that need sanding. Use fine-grit sandpaper to smooth edges and remove any char from the laser. Be careful not to round off the tabs that fit into slots.
Use wood glue designed for porous surfaces, and clamp the pieces while the glue dries. Wipe away any excess glue with a damp cloth.
For the electrical parts, you will need a lamp socket, cord, and plug. Some makers prefer to use a pendant light kit, which includes the socket and cord pre-wired. Thread the cord through the top of the lamp before securing the socket. Make sure the socket is firmly attached and the wires are properly connected. If you are not comfortable with wiring, have an electrician do the final connection.
Finishing and Mounting
A clear finish protects the wood and enhances its natural grain. You can use a spray-on polyurethane or a brush-on varnish. Apply thin coats and let each dry completely. Avoid covering the areas where the bulb will sit with thick paint, as it could trap heat. If you want to add color, use a non-toxic paint or stain. Let the finish cure for the recommended time before installing the bulb.
To mount the lamp, you will need a ceiling hook or a light fixture box. If you are replacing an existing light, follow the manufacturer’s instructions for your home’s wiring. If you are installing a new fixture, turn off the power at the breaker and use a voltage tester to confirm the wires are dead. Secure the lamp’s mounting bracket to the ceiling box, then attach the lamp. Hang the airplane so it is level and clear of any obstructions.
Troubleshooting Common Issues
If your pieces do not fit together, check that you cut at the correct size. Some software may scale the file unexpectedly. Verify the dimensions in your design program before cutting. If the tabs are too tight, sand them slightly. If they are too loose, you can add a small amount of glue or use a filler.
If the wood burns excessively, adjust your laser settings. Lower the power or increase the speed. Also, make sure the lens is clean and the air assist is working properly. A test cut on scrap material will help you find the sweet spot.
If the lamp does not turn on, check the wiring connections and the bulb. Make sure the socket is compatible with the bulb type. LED bulbs are recommended for their low heat output.
Creative Variations and Personalization
Once you master the basic airplane lamp, you can customize it. Paint the airplane in your child’s favorite colors, or add a name using a vinyl decal or engraving. You could also use different wood species for a contrasting look. Some makers add a remote-controlled LED light kit for convenience.
If you are selling lamps, offer personalization options like a child’s name or a custom paint color. This adds value and makes each piece unique. Always test your personalization files before cutting to ensure they are positioned correctly.
Conclusion
A laser-cut airplane ceiling lamp is a rewarding project that combines woodworking, electronics, and creativity. With careful planning, the right materials, and a reliable file, you can create a stunning piece that will delight children and adults alike. The Airplane Ceiling Lamp Laser Cut Files from LaserNest give you a head start, but the real magic comes from your craftsmanship. So gather your materials, fire up your laser, and let your imagination take flight.