How to Make and Gift a Laser-Cut Wooden Flower Bouquet
Discover creative ways to make, personalize, and gift a layered laser-cut wooden flower bouquet. Perfect for makers and small craft businesses.
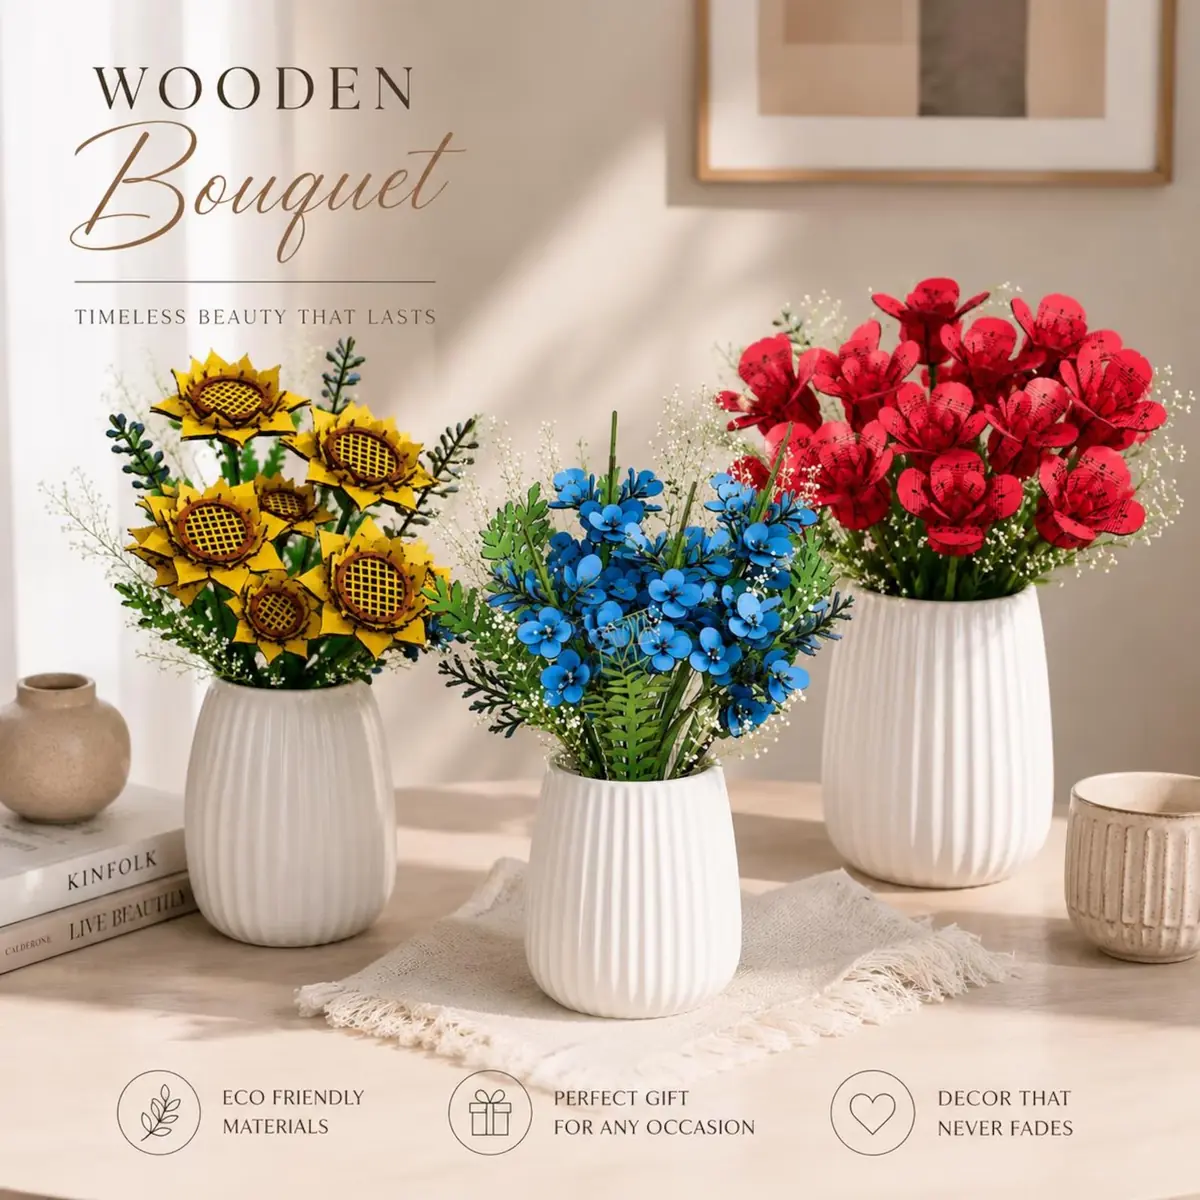
A laser-cut wooden flower bouquet is a versatile project that combines the precision of digital fabrication with the warmth of handcrafted decor. Whether you download our layered wooden flower bouquet file for a personal hobby or to stock your craft business inventory, the vector artwork opens up endless creative possibilities. This guide walks you through understanding the design, assembling with professional results, adding personal touches, and finding the right gifting opportunities.
Understanding the Layered Design
The digital bouquet file uses multiple overlapping layers to create realistic floral depth. Each petal, leaf, and stem is a separate vector shape, letting you cut pieces from thin wood sheets and then stack them. The file includes standard formats like SVG, DXF, AI, EPS, and PDF, so it imports easily into most laser software environments.
Before you cut, spend a few minutes reviewing the layer arrangement. Identify which pieces form the background, middle, and foreground. Some designs label the layers, but it’s always wise to toggle visibility in your software to confirm the stacking order. This quick check prevents assembly mix-ups later.
Material choice makes a noticeable difference. Baltic birch plywood offers a smooth, consistent surface that takes paint and stain evenly. Basswood is lightweight with a creamy tone that looks lovely untreated. If you want a richer hue, try cherry or walnut veneer plywood. Because every laser behaves differently, run a small test on a scrap of your chosen material to dial in speed and power before cutting the actual pieces.
Assembly and Finishing Techniques
After cutting, dry-fit the layers first. This lets you spot any alignment issues and sand away tiny burn marks or rough spots. Use fine-grit sandpaper to gently smooth edges—a quick pass is usually all that’s needed. Clean off dust with a microfiber cloth before gluing.
Wood glue works best because it dries clear and strong. Apply it sparingly with a toothpick or fine-tip applicator. Begin with the back layer and add each subsequent piece, pressing firmly and holding for a few seconds. For designs with stems, attach them after the flower head is assembled. If the bouquet has multiple blooms, build them one by one and then arrange.
While the glue sets, use clamps or a heavy book to keep everything flat. Drying time varies, but waiting at least an hour is safe before handling.
For finishing, you have several routes. A clear matte or satin spray sealer preserves the natural wood look without changing the color. If you prefer a soft sheen, wipe on a thin coat of mineral oil or a beeswax blend, then buff gently. To add color, acrylic paint adheres well to raw wood. Apply thin layers to avoid warping, and let each coat dry completely. Wood stains are another option; they tint the wood while allowing the grain to show. After staining, a clear topcoat seals the surface. Whatever finish you choose, always work in a well-ventilated area and follow the product instructions.
Personalization Ideas
Engraving turns a generic bouquet into something truly personal. Use your laser’s engrave function to add a name, date, or short message on a petal or leaf. Position the text so it flows with the flower’s curve—an arched phrase following a petal’s outline looks elegant. You could also engrave a small motif, like a heart or star, in the center of the bloom.
Color is another powerful tool. Match the flower’s palette to a recipient’s favorite shades, or coordinate for a specific event. A gradient effect, where each layer is a slightly different tone of the same color, creates a subtle ombré appearance. Mixing complementary colors across the bouquet adds vibrancy.
For weddings, wooden bouquets are a popular alternative to fresh flowers. Engrave the couple’s initials and wedding date on a hidden piece. Bridesmaids can carry smaller versions in the wedding colors, and these become lasting keepsakes. Attach a ribbon around the stems to complement the outfits. Tiny faux pearls or crystal beads glued into the flower centers add a bridal shimmer.
During the holidays, tailor the bouquet to the season. Paint deep reds and greens for Christmas, or use bright yellow and orange for a fall centerpiece. Add a wooden leaf with a laser-engraved holiday greeting. For Valentine’s Day, a single rose design painted in shades of pink and red makes a romantic gesture.
You can also integrate the bouquet into other decor. Mount the finished flower on a shadowbox frame with a photo in the center. Or attach a magnet to the back for a refrigerator piece. The lightweight wood makes these adaptations easy.
Gifting Scenarios
A wooden flower bouquet never wilts, so it suits occasions where you want a lasting token of appreciation. Here are some ideas:
- Mother’s Day: A handmade bouquet shows thoughtfulness and effort. Personalize it with a short message like “Mom, you’re the best.”
- Weddings: Use these as centerpieces, bridal bouquets, or cake toppers. They become cherished mementos the couple can display at home.
- Sympathy: Offer a lasting tribute that requires no care—a quiet reminder of support during a difficult time.
- Teacher Appreciation: A unique gift that stands out from typical presents. Add a small engraved apple or a thank-you note.
- Anniversaries: Mark a milestone with a bouquet that mirrors the original wedding flowers. Engrave the number of years together.
- Housewarming: Welcome new homeowners with a decorative bouquet that adds warmth to their space without the maintenance of real plants.
- Birthdays: Customize with the recipient’s birth month flower and favorite colors. Pair with a handmade card.
When gifting, present the bouquet in a simple kraft box tied with twine, or place it in a small vase lined with moss. A personalized tag enhances the thoughtfulness. Because the piece is lightweight and durable, it’s easy to mail, making it a great option for long-distance giving.
Whether you’re selling these at craft fairs or creating a one-of-a-kind present, a laser-cut wooden flower bouquet is a project that rewards attention to detail. With thoughtful material choices, careful assembly, and personal touches, it becomes more than a decoration—it becomes a keepsake.