Maximizing Small Studio Storage with Rotating Organizers
Learn how rotating organizers can help laser-cutting makers maximize small studio storage. Practical tips for paint, tools, and supplies.
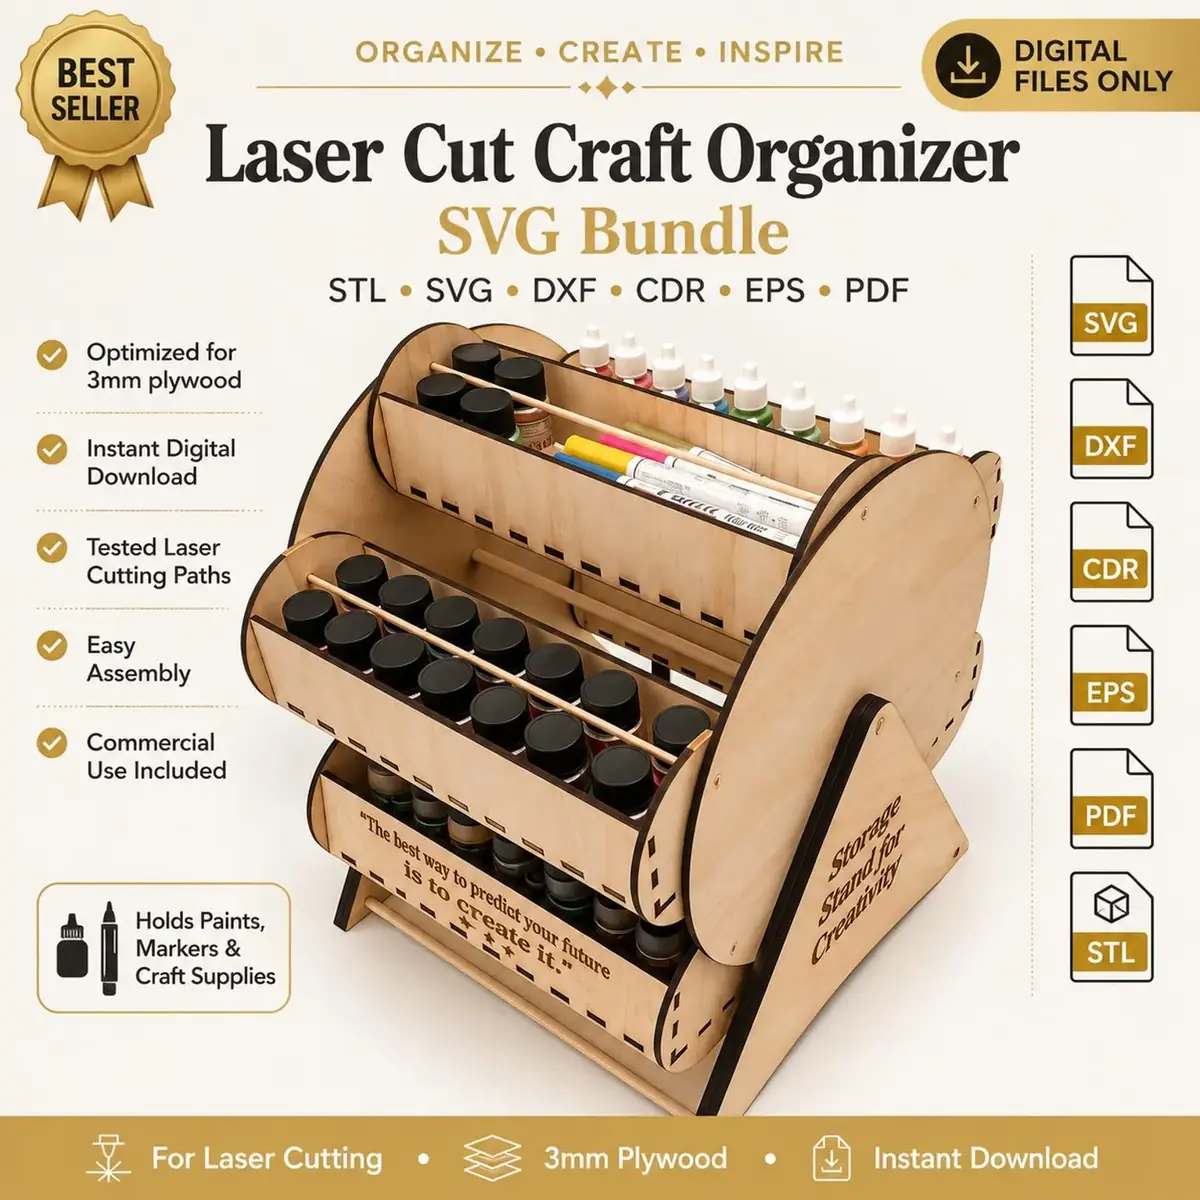
If you run a laser cutting business or hobby from a small studio, you know the struggle: materials, tools, and half-finished projects compete for every inch of space. One of the smartest ways to reclaim your workspace is to think vertically and rotationally. A rotating organizer can turn a cramped corner into a functional storage hub, keeping frequently used supplies within arm’s reach without sacrificing floor space.
In this guide, we’ll explore how rotating organizers can help you maximize small studio storage, what to look for when choosing one, and practical ways to integrate them into your workflow. Whether you’re storing paint bottles, cutting tools, or small hardware, a little planning can make a big difference.
Why Rotating Organizers Work in Small Studios
Rotating organizers are designed to give you access to many items from a single footprint. Instead of pulling out drawers or reaching into deep shelves, you simply spin the unit to find what you need. This is especially useful in a studio where every square foot counts.
For laser cutting makers, the most common storage pain points are:
- Paint and finishes: Small bottles of acrylic, wood stain, and sealant tend to multiply.
- Cutting tools and accessories: Blades, nozzles, and cleaning supplies need a home.
- Small parts: Screws, magnets, and dowels are easy to lose.
A rotating organizer can address all of these. By using vertical space, you free up countertops and shelves for other tasks. And because the unit spins, you can store more items in a compact area without digging through piles.
Choosing the Right Rotating Organizer for Your Needs
Not all rotating organizers are the same. When selecting one for your studio, consider the following:
- Size and capacity: Think about what you need to store. A small unit might hold a few dozen paint bottles, while a larger one can accommodate tools and supplies.
- Shelf design: Look for shelves with raised edges or lips to prevent items from sliding off when you rotate the unit.
- Material: Wooden organizers can be sturdy and attractive, but they may require assembly. Plastic or metal options are also available.
- Base stability: A heavy base or non-slip feet can prevent tipping, especially if you load it unevenly.
If you’re handy with a laser cutter, you might even consider making your own. The Rotating Craft Organizer Laser Cut Files from LaserNestDesignsART include SVG, DXF, CDR, EPS, PDF, and STL formats, so you can cut the pieces from plywood and assemble a custom organizer that fits your exact space. This approach lets you choose the size and finish that matches your studio’s style.
Practical Ways to Use a Rotating Organizer in Your Studio
Once you have a rotating organizer, here are some practical ways to put it to work:
1. Paint and Finish Storage
If you use multiple paints and finishes, a rotating organizer can keep them sorted by color or type. Place the unit near your finishing station so you can spin to the right bottle without leaving your workbench. Use small labels on the shelves or bottles to make identification even faster.
2. Tool and Accessory Caddy
Use a rotating organizer as a caddy for frequently used tools: tweezers, small screwdrivers, sanding sticks, and cleaning brushes. Keep it on your cutting table or nearby so you can grab what you need without searching through drawers.
3. Small Parts and Hardware
Small parts like screws, magnets, and dowels can be stored in small containers on the shelves. Group them by type or project. A rotating organizer makes it easy to see all your options at a glance.
4. Project-Specific Kits
If you work on multiple projects at once, dedicate a shelf or two to each project. Store the files, materials, and small parts together. When you’re ready to work, just spin to that project’s section.
Integrating a Rotating Organizer into Your Workflow
To get the most from your organizer, think about where you place it and how you use it daily.
- Location: Put it near your primary work area, but out of the way of foot traffic. A corner or beside your desk works well.
- Rotation: Make sure the unit can spin freely without hitting walls or other furniture.
- Loading: Distribute weight evenly to keep the unit stable. Heavier items on lower shelves are a good rule of thumb.
- Maintenance: Wipe down shelves occasionally to remove dust and debris, especially if you store paints or finishes that might spill.
DIY Rotating Organizer: A Laser Cutting Project
For makers who enjoy laser cutting, building your own rotating organizer can be a rewarding project. The Rotating Craft Organizer Laser Cut Files are designed for this purpose. They come in multiple formats, so you can use them with your preferred software and machine.
Here’s a general approach to building one:
- Choose your material: Plywood is a common choice for laser-cut organizers. Always test with your material to ensure proper fit.
- Cut the pieces: Use your laser cutter to cut the shelves, base, and any connecting parts. Follow the vector lines carefully.
- Dry fit: Before gluing, assemble the pieces without adhesive to ensure everything fits. This is a good time to make adjustments.
- Assemble and finish: Glue the parts together, then sand and finish as desired. A clear coat or paint can protect the wood and add a personal touch.
Remember to test your settings on scrap material first.
Maintaining an Organized Studio Over Time
An organizer only helps if you keep it organized. Here are a few habits to maintain order:
- Label everything: Use a label maker or handwritten tags to identify contents.
- Return items after use: Make it a rule to put things back in their designated spot.
- Declutter regularly: Every few months, go through your supplies and remove anything you no longer use.
- Adjust as needed: As your projects change, reorganize the shelves to match your current needs.
Final Thoughts
A rotating organizer is a simple but powerful tool for small studio storage. By using vertical space and making items accessible, it can help you work more efficiently and enjoy your creative space more. Whether you buy one or make your own with laser-cut files, the key is to choose a design that fits your workflow and to keep it organized.
If you’re ready to build your own, check out the Rotating Craft Organizer Laser Cut Files from LaserNestDesignsART. They’re available in multiple formats and can be a great addition to your studio. Happy making!