How a Rotating Craft Organizer Can Transform Your Creative Studio
Discover how a rotating craft organizer helps laser-cutting makers keep paint bottles tidy and accessible in a small studio.
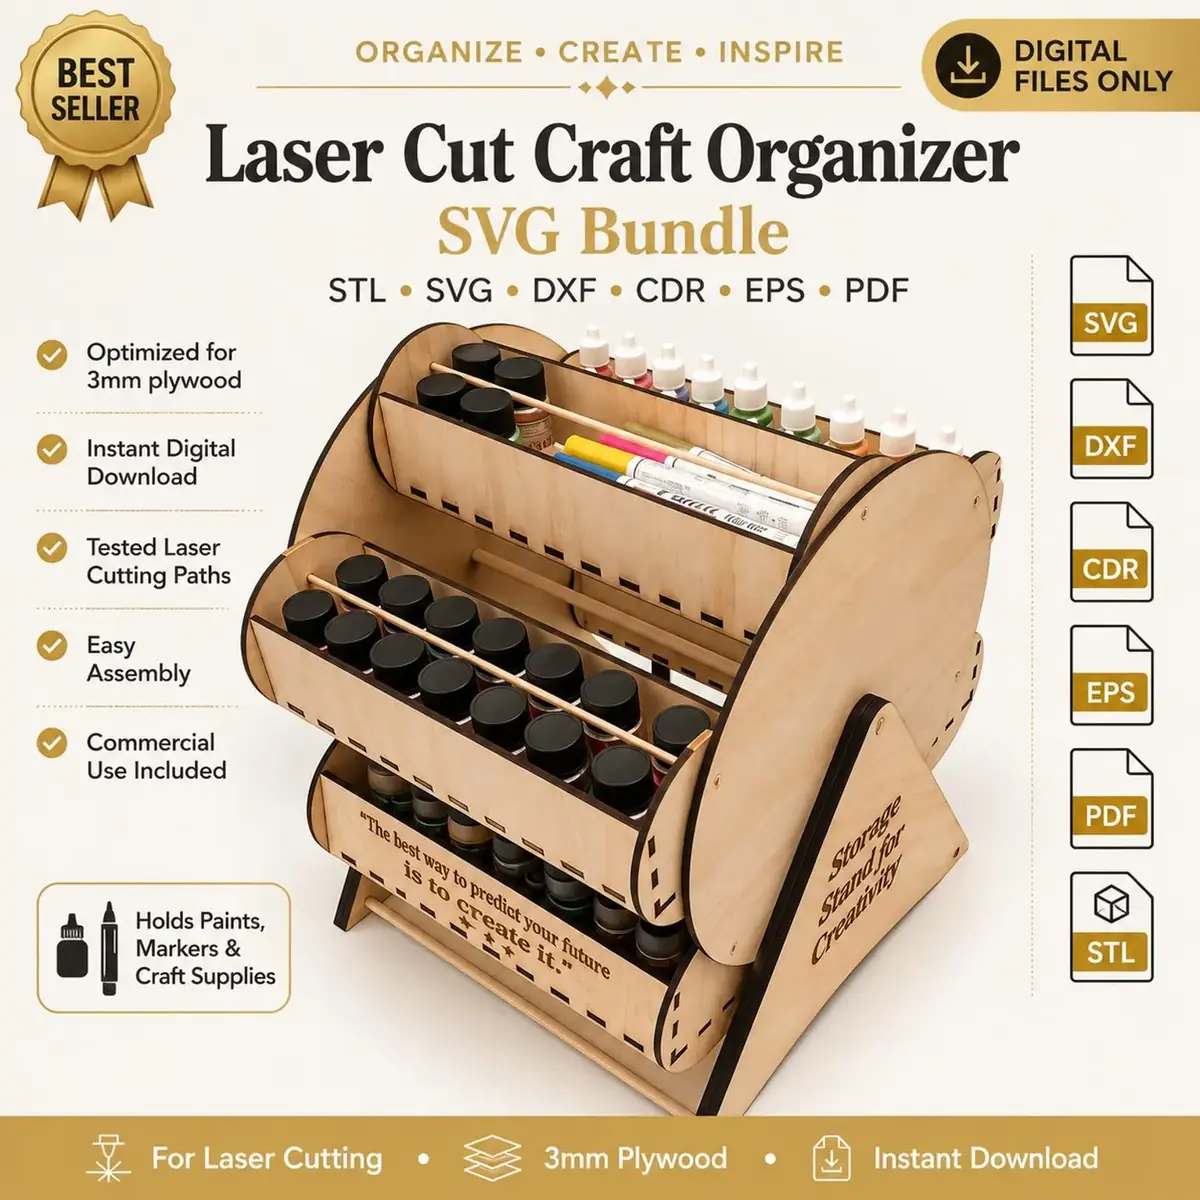
If you spend any time in a creative studio—whether you’re a laser-cutting enthusiast, a painter, or a small-batch maker—you know that supplies multiply fast. Paint bottles, markers, glue, and small tools can quickly take over every flat surface, turning a productive workspace into a cluttered mess. A rotating craft organizer offers a simple, space-saving solution that keeps everything within arm’s reach while adding a touch of handmade charm to your workspace. Not only does it tame the chaos, but it also becomes a project you can be proud of, cut and assembled with your own laser cutter.
Why a Rotating Craft Organizer Works for Makers
A rotating craft organizer is designed to hold containers—typically paint bottles, but also markers or small jars—in a layout that spins for easy access. Instead of digging through a drawer or shuffling bottles on a shelf, you can give the organizer a gentle turn and grab exactly what you need. The spinning motion eliminates the frustration of buried supplies, making your workflow smoother and more enjoyable.
For laser-cutting makers, this type of organizer is especially appealing because it can be cut from plywood or acrylic using a home laser cutter. The result is a functional piece that also showcases your skills. Building it yourself means you can customize every aspect, from the material to the finish, ensuring it fits perfectly with your studio aesthetic. Plus, it’s a satisfying project that demonstrates the precision of laser cutting.
Getting the Right Digital File
When you purchase a digital file for a rotating craft organizer, you receive vector files in formats like SVG, DXF, CDR, EPS, PDF, and STL. These formats are commonly used with laser-cutting software, giving you flexibility to work with your preferred setup. The key is to pick a design that matches your style and the supplies you want to store.
Before starting, take a moment to review the file in your chosen software. Some designs may include separate layers for scoring, engraving, and cutting, allowing you to add personal touches like a logo or a name. If you’re new to laser cutting, these files often come with a basic instructions sheet, but the assembly is typically straightforward. Prefer to use LightBurn? SVG and DXF files import smoothly. Work with a Glowforge? PDFs are compatible. The STL option even lets you 3D-print components if you prefer a hybrid approach, though most makers will stick to laser cutting for the wood or acrylic parts.
Personalizing Your Organizer
One of the best parts of making your own organizer is the ability to personalize it. Choose wood species that match your studio decor—baltic birch plywood gives a clean, modern look with its light color and uniform grain, while walnut or cherry adds warmth and a touch of elegance. For a more industrial vibe, cut it from opaque acrylic in a color that complements your space. You can also mix materials: use wood for the tiers and acrylic for the base, for instance.
Painting or staining the pieces before assembly is another way to make the organizer uniquely yours. A coat of bright spray paint can turn it into a statement piece, while a natural oil finish lets the wood grain shine. Consider engraving a monogram or a small design on a visible surface—some design files include a designated engraving area, or you can add one yourself using your laser software. Personalization not only makes the organizer fit your studio but also turns it into a conversation starter when fellow makers visit.
Assembly Tips for a Clean Finish
Assembling the organizer is a satisfying step that requires a bit of patience. Here are some tips to get a professional result:
- Test fit before gluing. Dry-fit all pieces to make sure they align properly. Sand any tight spots lightly with fine-grit sandpaper. This step prevents misalignments that can cause wobbling.
- Use wood glue sparingly. Apply glue only to the joints, and wipe away excess with a damp cloth before it dries. For acrylic, use a solvent cement designed for that material.
- Clamp or weight the assembly. While the glue dries, use clamps or heavy books to keep everything flat and aligned. Some designs may incorporate interlocking tabs for structural stability, reducing the need for clamping.
- Add a felt pad or rubber feet. Attach small felt pads to the bottom to prevent scratches on your desk and improve stability. If the organizer feels top-heavy, a wider base or additional weight can help.
- Check the rotation. Once assembled, test the spin. It should move smoothly. If there’s friction, a little wax or silicone lubricant on the central pivot can work wonders.
Gifting Ideas for Fellow Creatives
A rotating craft organizer makes a thoughtful, handmade gift for anyone who loves to create. Because you can customize the finish, each organizer can be tailored to the recipient’s taste. Consider these occasions:
- Housewarming: A new studio or craft room deserves an organizer that keeps supplies tidy. Pair it with a starter set of paints for the ultimate welcome.
- Birthday: Is a friend or family member into miniature painting, nail art, or calligraphy? An organizer filled with their favorite supplies shows you understand their passion.
- Holiday craft fair: If you sell your laser-cut items, a rotating organizer is a popular item that appeals to painters, calligraphers, and mixed-media artists. Display a few with different finishes to attract buyers.
- Thank-you gift: For the teacher, coworker, or mentor who always encourages your creative side, a personalized organizer is a lasting token of appreciation.
- Small business boost: If you run a craft business, gifting an