Personalizing the Rocket Space Organizer for a Child's Room
Learn to personalize and assemble the Rocket Space Organizer laser-cut file for a unique kids' room decor piece with painting, engraving, and finishing tips.
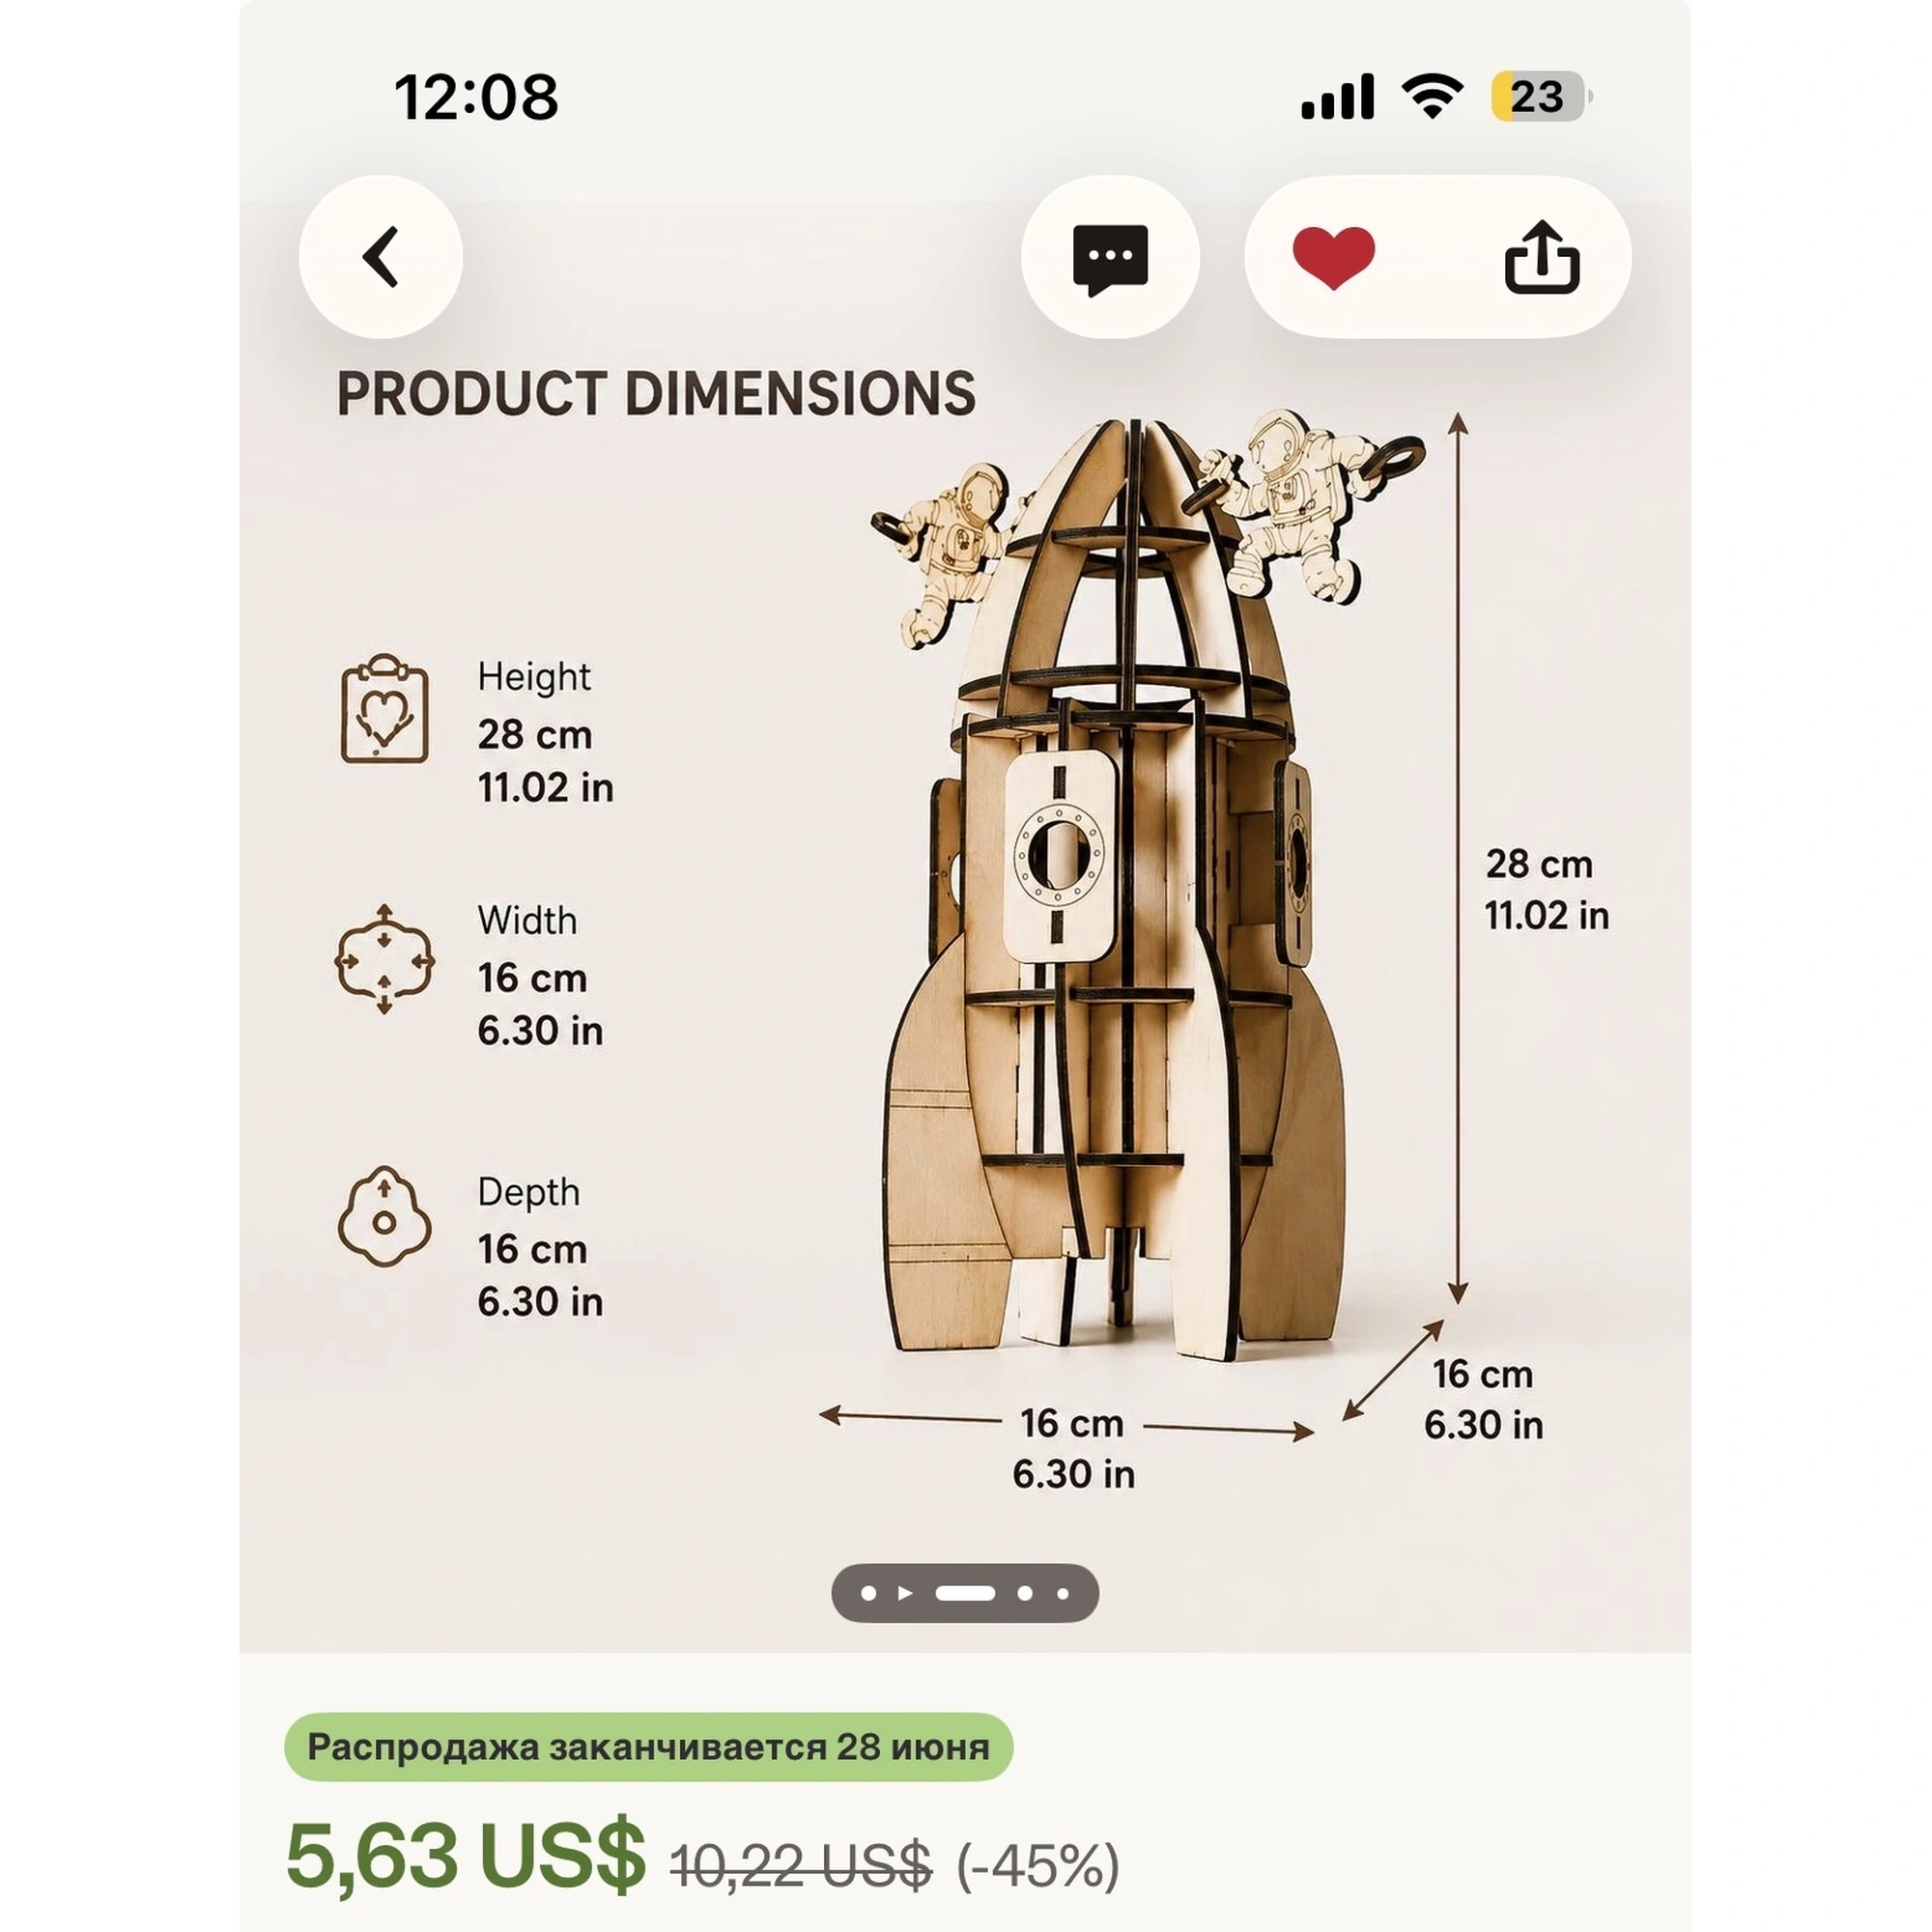
A child’s bedroom is a place for imagination, and a space-themed organizer can turn everyday clutter into a launchpad for creativity. The Rocket Space Organizer from LaserNestDesignsART is an astronaut-themed wooden shelf and display organizer that combines function with fun. In this guide, we’ll walk through how to personalize and assemble this laser-cut project, making it a one-of-a-kind addition to any kid’s room.
Why Personalize the Rocket Space Organizer?
Personalization transforms a standard laser-cut project into a meaningful keepsake. The Rocket Space Organizer already features charming astronaut details, but adding a child’s name, favorite colors, or custom accents makes it truly theirs. This organizer can hold books, toys, art supplies, or small treasures, and its space theme sparks curiosity and adventure.
For makers, personalization is an opportunity to showcase creativity. Whether you’re crafting for your own child or creating a gift, small custom touches can elevate the project from a simple shelf to a cherished room decoration. The process also allows you to match the organizer to existing room decor, making it a cohesive part of the space.
Getting Started with the Rocket Space Organizer Files
The Rocket Space Organizer comes in multiple file formats: SVG, DXF, AI, EPS, and PDF. This variety ensures compatibility with popular laser software like LightBurn, Inkscape, and Adobe Illustrator. Before cutting, open the file in your preferred program and review the design. Look for layers that can be customized, such as the rocket body or side panels, where you might add engraved text.
Always check the file’s assembly instructions. A well-designed file will have labeled parts and a logical order. Dry-fitting the pieces before gluing helps you understand how they go together and where personalization can be applied without interfering with tabs and slots. Take time to study the cut paths and identify any areas that might need adjustment for your specific laser cutter.
Personalization Ideas
Here are some ways to make the Rocket Space Organizer unique:
- Name engraving: Add the child’s name to the rocket body or a side panel. Use your laser software’s text tool to create a simple, readable font. Engrave before cutting to ensure alignment. Consider adding a short inspirational phrase or the date for a commemorative touch.
- Color schemes: Let the child choose their favorite colors. Paint the rocket in bright reds and oranges, or go for a calming pastel palette. Acrylic paints work well on wood; apply a primer first for even coverage. You can also use wood stains to highlight the natural grain while adding a tint.
- Themed accessories: Cut additional small stars, planets, or an astronaut figure from the same material. These can be painted and placed on the shelves as decorative accents. They can also be used as stencils for painting patterns on the organizer itself.
- Glow-in-the-dark accents: Use glow-in-the-dark paint on stars or planets for a fun nighttime effect. This is especially magical in a child’s room. Apply it to the rocket’s windows or exhaust flames for an extra cosmic feel.
- Mixed materials: Incorporate other materials like acrylic or thin metal sheets for contrast. For example, cut a clear acrylic window for the rocket’s porthole to give it a more realistic look.
Assembly Tips for a Flawless Finish
Once your pieces are cut and personalized, assembly is the next step. Follow these tips for a smooth process:
- Dry fit first: Assemble the pieces without glue to check alignment. This helps you spot any issues before they become permanent. Pay attention to how the tabs and slots interlock, and make minor adjustments if needed.
- Use wood glue: Apply a thin layer of quality wood glue to the joints. Press firmly and wipe away excess. For a stronger bond, consider using a glue specifically designed for woodworking.
- Clamp and hold: Use clamps or rubber bands to hold pieces together while the glue dries. This prevents gaps and ensures a tight fit. If clamps aren’t available, heavy books or weights can work in a pinch.
- Sand gently: If edges are rough, sand lightly with fine-grit sandpaper before gluing. Be careful not to remove too much material. Sanding after assembly can also smooth out any uneven joints.
- Finish with a sealant: After the glue dries, apply a clear sealant or varnish to protect the wood and enhance its appearance. Choose a non-toxic, child-safe finish, especially if the organizer will hold toys or books.
Finishing Touches
After assembly, consider adding a backing panel to prevent items from falling through, or mount the organizer on the wall with brackets if it’s a shelf. For a freestanding organizer, ensure it has a stable base. You might also include a small note or a set of matching bookmarks if gifting.
The Rocket Space Organizer’s astronaut theme makes it a standout piece. Its shelf design is perfect for displaying small toys or books, and the detailed vector geometry ensures parts fit together snugly. To keep it looking fresh, periodically dust it with a soft cloth and avoid placing it in direct sunlight to prevent fading.
Conclusion
Personalizing the Rocket Space Organizer is a rewarding project that combines creativity with practicality. By adding custom engravings, colors, and accessories, you can create a piece that will be cherished for years. Whether you’re a seasoned maker or a beginner, the process is as enjoyable as the result. So gather your materials, fire up your laser cutter, and let your imagination take flight.
Ready to start? The Rocket Space Organizer laser-cut files are available on the LaserNestDesignsART Etsy shop. Happy making!