How to Plan a Freestanding Animal Toilet Roll Holder Laser Project
Learn how to evaluate and prepare a freestanding animal toilet roll holder laser project, from material choice to assembly planning.
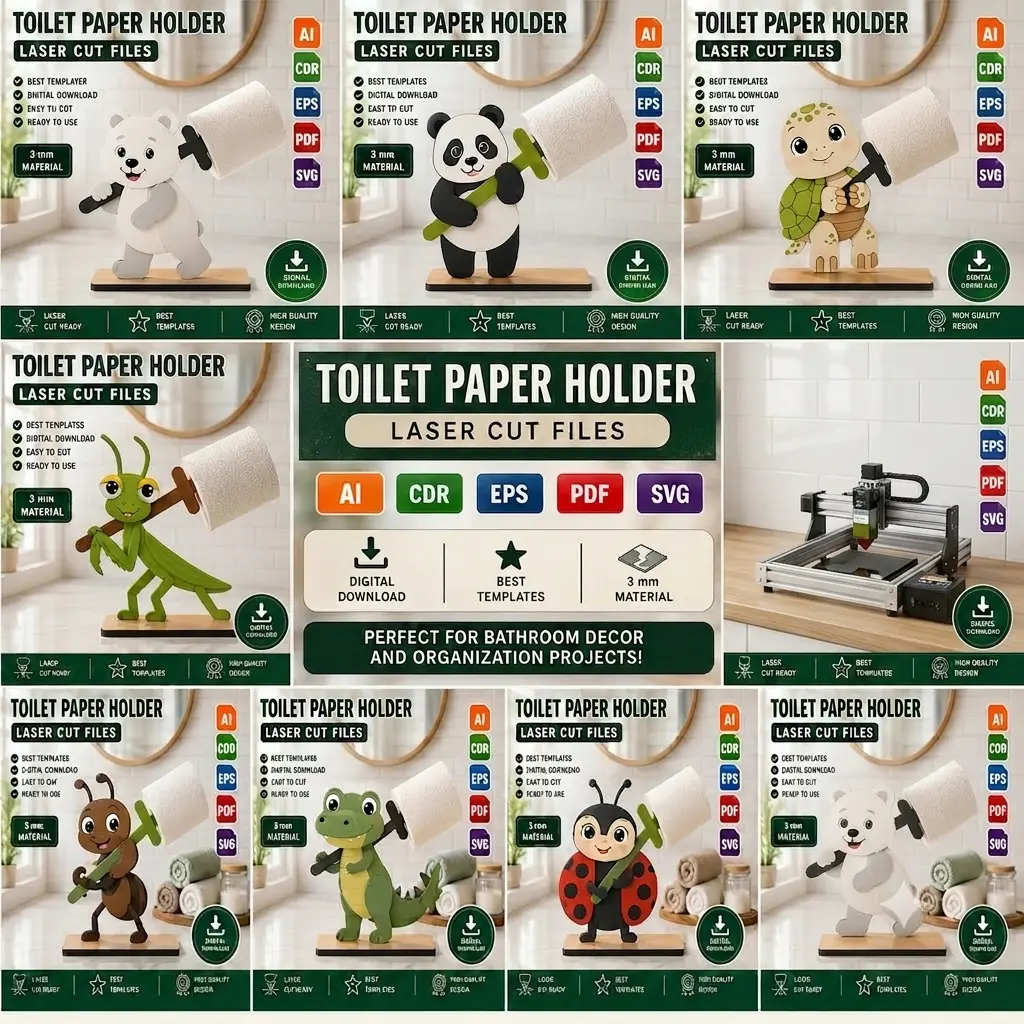
Planning a laser-cut project before you open the design file can save time, material, and frustration. This is especially true for freestanding models like the animal toilet roll holder, where balance and fit are key. In this guide, we’ll walk through the steps to evaluate and prepare such a project, ensuring a smooth workflow from file to finished piece.
Understanding the Design
Freestanding animal toilet roll holders are typically composed of interlocking parts that form a stable base and a holder for the roll. The design relies on precise slots and tabs to hold together without glue, though adhesive can be used for added stability. Before cutting, take time to study the vector file. Look for:
- Slot widths: These should match your material thickness exactly for a snug fit.
- Tab lengths: Ensure they are long enough to provide stability but not so long that they protrude awkwardly.
- Base design: A wide, flat base helps prevent tipping. Check that the center of gravity is low.
If you are using a design like the Animal Toilet Roll Holder Bundle, which includes twelve freestanding animal designs optimized for 3 mm plywood, always verify the dimensions in your software before cutting. Open the file and inspect each layer. The bundle includes multiple file formats (SVG, AI, CDR, EPS, PDF), so choose the one that integrates best with your laser software. Look for any nested groups that might affect cutting order, and ungroup them if needed to assign proper power and speed settings.
A common oversight is assuming that the file is scaled correctly for your machine. Measure the overall dimensions of the assembled model within the software to ensure it fits your workspace and the standard toilet roll size. The animal designs are typically cute, compact shapes, so they work well on smaller machines like the Glowforge or xTool as well as larger CO2 lasers.
Choosing the Right Material
Material choice affects both appearance and functionality. For freestanding models, plywood is a popular option because it is strong, lightweight, and takes paint or stain well. The design is optimized for 3 mm plywood, so using a different thickness may require adjusting slot widths. If you plan to use a thicker material, you will need to modify the slots in your design software to avoid loose joints.
Consider the finish you want. Baltic birch plywood has a smooth surface and minimal voids, making it ideal for painting or leaving natural. MDF is another option but is heavier and may not hold up as well in humid environments. For a more rustic look, use plywood with visible grain. Always check the sheet for warping before loading it into the machine; a warped sheet can lead to inconsistent cuts or focus issues. If the plywood has a thin veneer layer, ensure it is rated for laser cutting to avoid air pockets that can catch fire.
When preparing the material, you may want to lightly sand the surface to improve adhesion for paints or stains after cutting. Masking tape can also be applied to reduce scorching, especially if you plan to leave the wood natural. Keep in mind that the thickness tolerance of 3 mm plywood can vary slightly between brands. A digital caliper is a handy tool to measure exact thickness and adjust kerf compensation accordingly.
Preparing Your Workflow
Once you have your design and material, set up your workflow:
- Import the file: Open the SVG, AI, CDR, EPS, or PDF in your laser software. Check that all layers are correctly assigned for cutting and engraving. Some designs include engrave lines for decorative details—double-check that these are set to the appropriate speed and power to avoid cutting through.
- Test fit: If possible, cut a small test piece to check slot fit. Adjust kerf compensation if needed. A test piece with a few slots and tabs can reveal whether the fit is too tight or too loose before you commit an entire sheet.
- Nesting: Arrange parts to minimize waste. The animal designs may have multiple pieces; group them efficiently on your material. Use the software’s nesting feature if available, or manually rotate pieces to squeeze them into odd spaces. Remember to leave a small border around each part to prevent scorching or damage to adjacent pieces.
- Power and speed settings: Use settings appropriate for your material. Since the design is optimized for 3 mm plywood, start with manufacturer recommendations for that thickness. Perform a material test if you are using an unfamiliar brand. Write down the successful settings for future reference.
- Ventilation and fire safety: Ensure your laser has proper exhaust and never leave it unattended while cutting. Plywood can produce flammable fumes, so good airflow is essential.
Assembly Planning
Freestanding models often require careful assembly order. Lay out all pieces before gluing. Dry-fit the main structure to ensure everything aligns. For the toilet roll holder, the roll should slide on easily but not be loose.
Consider adding a small amount of glue to permanent joints, but avoid gluing parts that may need to be disassembled for cleaning or storage. Some makers prefer to keep the model fully interlocking for easy flat-pack shipping or storage. Use wood glue sparingly and wipe away excess immediately with a damp cloth. Clamps or rubber bands can hold parts in place while the glue dries.
If a slot is too tight, you can lightly sand the tab or use a file to widen the slot. If it is too loose, a thin shim of wood veneer or a dab of glue mixed with sawdust can tighten the fit. The animal designs often have delicate parts like ears or tails—handle these gently during assembly to avoid snapping.
For a truly professional finish, consider adding a clear coat after assembly to protect the wood and enhance the grain. A satin polyurethane spray works well and doesn’t require sanding between coats if applied lightly.
Personalization Ideas
While the design comes ready to cut, you can personalize it to make it unique. Engrave a name or date on the base. Paint the animal in realistic or whimsical colors. Use different wood stains for a two-tone effect. The freestanding nature of the design means it can be placed in any room, so match the finish to your decor.
You can also add a small hook or magnet to the side for holding extra toilet rolls or a small brush. If you’re making these as gifts, consider pairing them with a set of matching coasters or a decorative tray cut from the same plywood.
Conclusion
Planning a freestanding animal toilet roll holder laser project involves understanding the design, choosing the right material, and preparing your workflow for assembly. By taking these steps, you ensure a successful cut and a sturdy, attractive final product. Whether you are making one for your home or as a gift, careful planning pays off. Once you master the process, you can experiment with the other animal designs in the bundle to create a whole menagerie of useful decor items.