How to Plan a Laser-Cut Craft Paint Organizer for a Small Studio
Plan a practical laser-cut paint organizer with better storage zones, clean vector files, material tests, and an efficient assembly workflow.
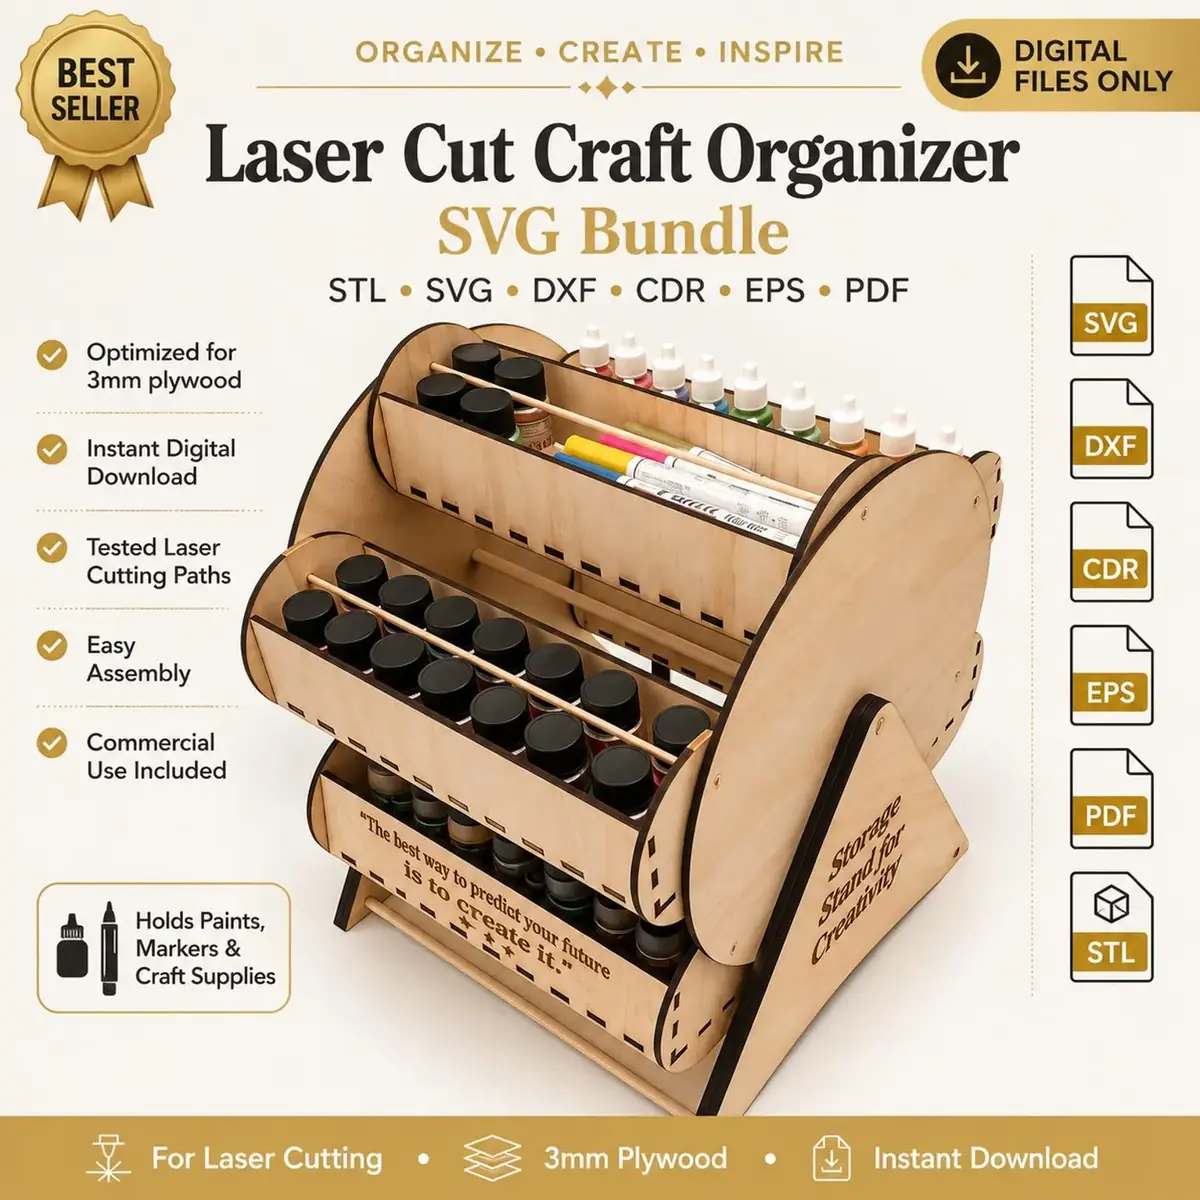
A well-planned craft organizer does more than hold supplies. It reduces the time spent searching for a paint color, keeps frequently used tools within reach, and helps a small work surface feel more intentional. For laser-cutting makers, an organizer is also a useful design exercise because it combines storage planning, repeatable parts, structural joints, and clean vector preparation in one project.
The best result begins before any file reaches the laser. Instead of starting with an attractive shape and hoping it fits your collection, begin with the objects you use every week. Paint bottles, markers, brushes, glue, cutting tools, and small hardware all need different kinds of access. A rotating organizer can bring several storage zones into a compact footprint, but only when those zones are planned around real supplies and a realistic workflow.
Start With an Inventory of Your Supplies
Empty the area you want to organize and group similar items together. Count the paint bottles you actively use, separate tall tools from short ones, and identify anything that must remain upright. This simple inventory prevents a common mistake: creating many identical openings even though the contents vary in size and shape.
Measure representative items rather than relying on a label or product category. Two bottles described as the same capacity may have different caps or bases. Markers may be round, triangular, or fitted with clips. Brushes need enough height to protect their tips. Record the widest point, overall height, and the amount of clearance needed to remove each item comfortably.
Next, divide the collection into three groups:
- daily-use supplies that should be easiest to reach;
- occasional supplies that can occupy lower or less prominent areas;
- overflow items that belong in a separate drawer or bin.
An organizer should support the way you work, not become a display for every item you own. Leaving a little open capacity is often more useful than filling every available space on the first day.
Create Storage Zones Instead of One Repeated Grid
A practical layout uses zones with distinct purposes. One section might hold paint bottles, another may support brushes and pens, and a shallow area can collect clips, blades, or small accessories. Grouping supplies by task makes the organizer easier to understand at a glance.
Think about visibility as well as capacity. If every bottle sits at the same height, labels in the rear may be hidden. Staggered levels or open sides can improve identification without increasing the overall footprint. Avoid making compartments so deep that short items disappear below the edge.
For a rotating design, distribute storage around the center rather than placing every heavy item on one side. You do not need a complicated calculation to improve balance. Arrange similar loads across opposite zones, then test the organizer while it is only dry-fitted. If one side consistently feels heavier, revise the placement before gluing.
Also consider hand movement. A decorative outer wall may look polished, but it should not block fingers from lifting a bottle. Openings need enough surrounding space for comfortable use. Smooth access is more valuable than fitting one extra item into a crowded panel.
Plan for Material and Machine Variables
Material labeled with a nominal thickness can vary, so measure the actual sheet before finalizing joints. A slot designed from an assumed value may be loose on one sheet and tight on another. Create a small test piece containing the key joint before cutting the full organizer. This uses little material and provides direct evidence about the fit.
Kerf, focus, material composition, and machine condition can all influence the finished cut. For that reason, avoid copying someone else’s settings without testing. Use the recommendations for your own machine and material as a starting point, then make a small sample. The goal is a clean edge and a joint that assembles without damaging the parts.
Pay attention to grain direction when using plywood with a visible face. Consistent orientation can make repeated panels look more deliberate. Protect finished surfaces during handling, and keep decorative engraving away from joint areas where glue or friction may obscure it.
If you plan to paint or seal the organizer, consider the finishing sequence during design. Coatings can change the fit of close joints. Masking connection areas or finishing visible faces before final assembly may provide a cleaner result.
Prepare Clean Vector Files Before Cutting
Organizers often contain repeated circles, slots, dividers, and support panels. Repetition makes file preparation especially important: one unnoticed duplicate line can be reproduced across many parts. Inspect the design at high zoom and remove overlapping paths before export.
Use clear layer names for cutting, engraving, and reference geometry. Keep notes and measurements on a non-output layer so they cannot be sent to the laser accidentally. When several pieces look similar, add a small engraved identifier outside the finished visible area or prepare a separate assembly map.
Before cutting, check that:
- closed shapes are actually closed;
- repeated openings use consistent geometry;
- decorative elements do not cross structural joints;
- no hidden duplicates remain beneath visible paths;
- the document scale and units are correct;
- every required part is present on the layout.
Save an untouched master file before arranging pieces for a particular sheet. This makes later revisions easier because the original geometry remains organized and readable.
Dry-Fit Before Committing to Final Assembly
Lay out all cut parts and compare them with the assembly map. Remove loose debris from slots and edges, but do not force a joint that clearly does not fit. A forced connection can split a panel or distort the structure. It is better to adjust the file and recut one part than to damage several completed pieces.
Build the organizer in a logical sequence. Internal dividers are usually easier to position before outer panels close the structure. Repeated shelves or rings should remain aligned while the frame is being assembled. Use a flat work surface and check the organizer from several angles as you progress.
Dry-fit the complete structure before applying adhesive. Confirm that storage openings remain accessible and that the rotating form has comfortable clearance around its contents. Load a few representative supplies during this test. The organizer may feel balanced when empty but behave differently when one section holds taller or heavier items.
If adhesive is appropriate for the chosen material, apply it sparingly and follow the manufacturer’s instructions. Excess glue can squeeze onto visible surfaces and interfere with finishing. Allow the structure to cure fully before adding supplies or testing repeated rotation.
Make the Rotating Feature Serve the Workflow
Rotation should solve an access problem, not exist only as a novelty. Place the organizer where it can turn without striking a wall, monitor, lamp, or nearby container. Check the widest loaded dimension, because brushes and tools may extend beyond the wooden frame.
Arrange the most frequently used zone so it can return to a natural starting position. If several people share the workspace, simple category labels can help everyone return supplies to the correct section. A consistent home for each item keeps the organizer useful after the first week.
Clean the base area regularly so dust and small scraps do not interfere with movement. Avoid overloading one section simply because an opening is available. If your supply collection changes, revise a removable insert or upper panel instead of rebuilding the entire organizer.
Decide Whether to Design or Start With a Digital Plan
Designing from scratch offers full control over dimensions and storage zones, but it also requires time for geometry, testing, and assembly planning. A prepared digital plan can be a practical starting point when its overall purpose matches your workspace.
The LaserNest Rotating Craft Organizer is a digital paint-storage plan for creative studios. Its catalog includes SVG, DXF, CDR, EPS, PDF, and STL formats. Because machines, materials, and personal supplies vary, review the file, measure your material, and run a joint test before the complete cut. The purchase is delivered digitally through Etsy; no physical organizer is shipped.
Whether you adapt a prepared file or build your own layout, treat the first version as a tested prototype. Record any fit adjustments and keep the revised master file with clear notes. Those small documentation habits make future replacements or variations much easier.
Build Around the Way You Actually Create
A successful craft organizer is not the one with the most openings. It is the one that makes your normal work easier. Inventory the supplies you use, create purposeful storage zones, measure real materials, clean the vector geometry, and dry-fit every structural part before final assembly.
This process produces more than a tidy desktop. It creates a repeatable design method that can be applied to tool racks, marker stands, hardware trays, and other workshop storage projects. Start with your workflow, test one decision at a time, and let the final organizer reflect the way your studio truly operates.