How to Plan a Layered Welcome Sign for Laser Cutting
Learn how to plan a layered welcome sign project for laser cutting, from material selection to assembly prep, ensuring clean cuts and easy assembly.
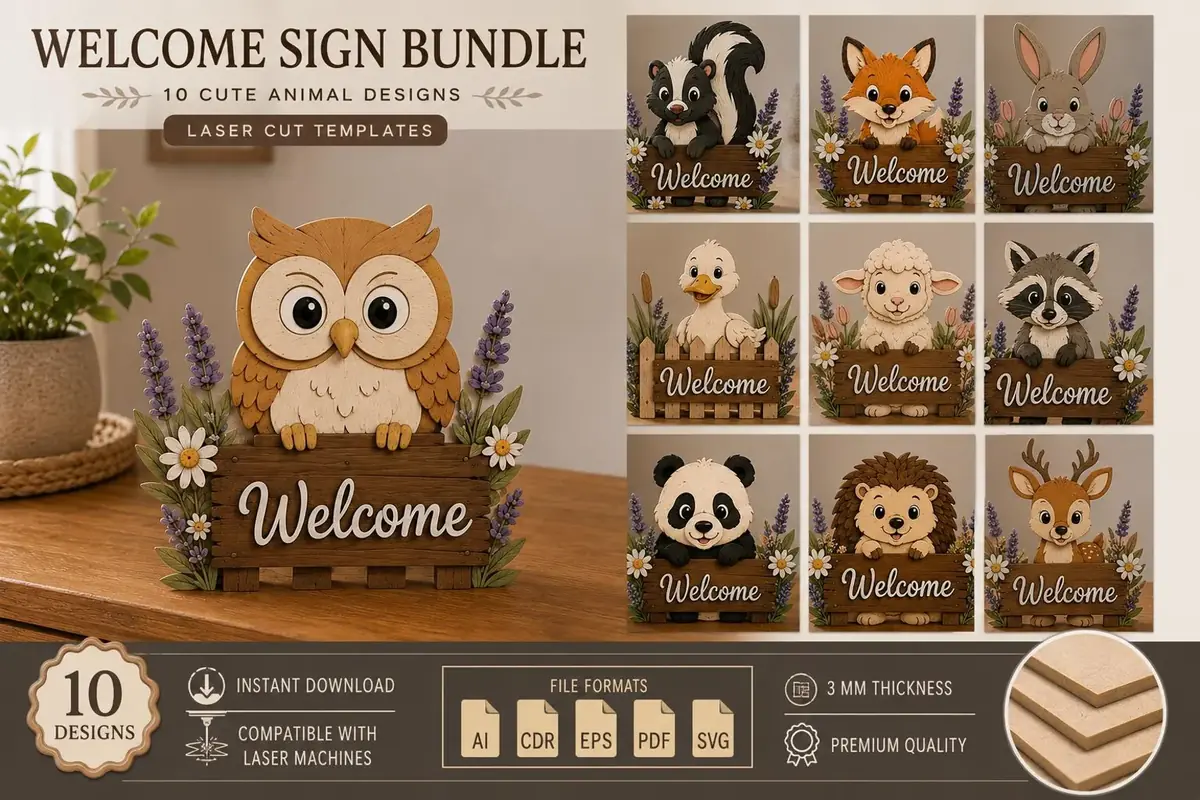
A layered welcome sign is a classic laser-cutting project that combines typography, texture, and depth. Whether you’re making it for your own front door or as a gift, planning ahead saves material, time, and frustration. This article walks through the key steps to prepare a layered sign project—from choosing materials to organizing your workflow—so your cuts come out clean and assembly goes smoothly.
Understanding Layered Sign Construction
Layered signs use multiple sheets of material stacked to create a 3D effect. Typically, a base layer provides the main shape, and upper layers add text, borders, or decorative elements. Each layer is cut separately and then glued together. The welcome sign collection provides templates for creating layered signs. Before you start cutting, take time to understand how the layers fit together. Look at the preview images or open the design in your software to see which parts belong to which layer. This helps you plan material thickness and order of assembly.
Choosing the Right Material
Material choice affects both the look and the cutting process. For a farmhouse-style sign, common choices include Baltic birch plywood, MDF, or solid wood like cedar. Thickness is critical: if your design expects a certain thickness, using a different one will throw off the fit. Measure the vector lines to confirm intended thickness, or refer to any instructions included with the design. Also consider the finish—raw wood can be stained or painted, while pre-finished materials save time. Avoid materials with heavy resin or glue lines that may cause uneven burning or poor adhesion. If you’re new to layered signs, start with a consistent material like Baltic birch of the same thickness for all layers.
Preparing Your Design Files
Most layered sign designs come in multiple file formats such as SVG, DXF, CDR, and PDF. Choose the format that works best with your laser software. Before cutting, open the files and check for:
- Correct scaling (verify dimensions match your material size)
- No overlapping or duplicate lines
- Proper nesting to minimize waste
- Score lines vs. cut lines (if your software distinguishes them)
Some designs include a combined file with all layers color-coded. This can be helpful for alignment but may need separation for cutting different materials. Take time to organize your layers in your software—label them clearly (e.g., “Base”, “Text”, “Border”) so you don’t mix them up.
Material Preparation and Cutting Order
Prepare your material by ensuring it is flat and clean. Warped or dirty material can cause focus issues and poor cuts. If your material has a front and back (like plywood with a good side), mark which side faces up. Cut the layers in order from bottom to top—this way you can test fit as you go. Start with the base layer, then the next, and so on. Keep each layer’s pieces together in labeled bags or trays. If your design includes small pieces like letters, consider cutting them on a separate sheet to avoid losing them among larger parts.
Assembly Planning
Assembly is where the sign comes to life. Before gluing, do a dry fit of all layers to ensure everything aligns. Use a flat surface and check that edges match. If pieces are tight, you may need to sand lightly. For gluing, wood glue works well for porous materials, but cyanoacrylate (super glue) can be used for small parts. Apply glue sparingly to avoid squeeze-out. Clamp or weight the layers while drying. If your sign has multiple layers, you can glue them in stages—attach the top two layers first, then add the base. This prevents misalignment.
Finishing Touches
Once the glue is dry, you can sand edges lightly to remove any burn marks or fuzz. Apply a finish like polyurethane, wax, or paint. If you plan to paint, consider doing so before assembly for cleaner lines. For a farmhouse look, a distressed paint finish or stain works well. Finally, add hanging hardware—keyhole slots, sawtooth hangers, or simple nails. Make sure the hardware is rated for the sign’s weight.
Common Mistakes to Avoid
- Using different material thicknesses without adjusting the design: Always verify layer thickness matches the file.
- Cutting all layers at once without checking fit: Test fit each layer as you go.
- Over-gluing: Too much glue can warp the sign or seep out and ruin the finish.
- Ignoring grain direction: For a cohesive look, align wood grain consistently across layers.
Conclusion
Planning a layered welcome sign project doesn’t have to be overwhelming. By understanding the construction, choosing the right materials, preparing your files, and organizing your workflow, you set yourself up for success. The welcome sign collection provides a solid foundation, but your planning makes the difference between a frustrating experience and a beautiful finished piece. Take it step by step, and enjoy the process of creating a custom sign that welcomes guests with style.