How to Plan a Freestanding Animal Toilet Roll Holder Laser Project
Learn how to evaluate and prepare a freestanding animal toilet roll holder laser-cut project, from material choice to assembly planning, for clean results.
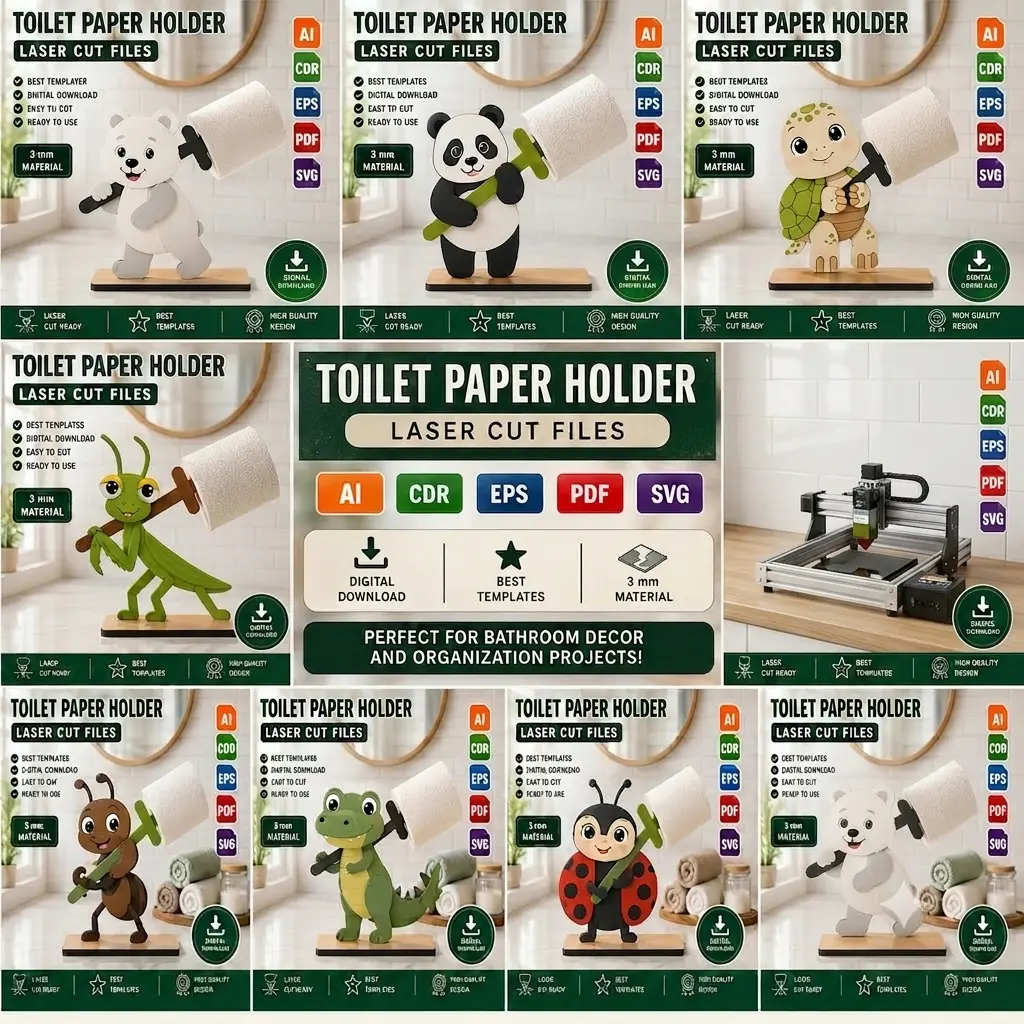
If you enjoy laser cutting functional home decor, a freestanding animal toilet roll holder is a fun project that combines whimsy with everyday use. Before you open the design in your software, a little planning goes a long way toward a smooth build. This article walks you through the key considerations—material choice, file preparation, assembly strategy, and finishing—so your finished piece looks great and works well. The Animal Toilet Roll Holder Bundle includes twelve unique animal designs, all optimized for 3 mm plywood, giving you plenty of options to match your style. Whether you’re a seasoned maker or just starting out, this guide will help you avoid common pitfalls and achieve a professional look.
Choosing the Right Material
Most freestanding animal toilet roll holder designs are optimized for 3 mm plywood. This thickness provides enough rigidity for the structure to stand on its own while keeping the animal details crisp. Baltic birch plywood is a popular choice because it has few voids and a consistent surface for engraving or painting. You can also use medium-density fiberboard (MDF) if you plan to paint the piece, but be aware that MDF produces more dust and may require sealing.
Steer clear of materials that are significantly thinner than 3 mm, as the freestanding base may warp or tip easily. On the other hand, much thicker materials can cause the interlocking slots to bind or become too tight, complicating assembly. Sticking with 3 mm plywood gives you the most reliable fit with the provided vector files, which are calibrated for this thickness.
Before committing your full sheet, always run a small test cut on a scrap of the same material. This lets you verify that your laser settings produce clean cuts without excessive charring, and that the tabs fit snugly into the slots. Adjust power, speed, or frequency if needed—you want a crisp edge with a light brown color, not heavy burn marks.
Understanding the Design Structure
A freestanding toilet roll holder typically consists of interlocking parts: a base, a central pole or body, and the animal head or silhouette. The animal shape often forms the top, with a cutout or arm that holds the roll. Because the design is freestanding, the base must provide enough stability to prevent tipping when a full roll is loaded. The base usually has a wider footprint and may include feet or decorative elements that double as stabilizers. Understanding how these parts fit together before you start cutting helps you anticipate any alignment challenges. For example, check the orientation of the slots: some designs have the base slots facing upward while others have them on the side, affecting assembly order. Take a few minutes to study the vector layout and even do a paper mockup if needed.
Preparing Your Files for Laser Cutting
When you receive the vector files, they are typically ready to cut, but a quick review is essential. Open the files in your preferred software—LightBurn, Adobe Illustrator, or CorelDRAW—and confirm that the line colors or layers correspond to your laser’s cut/engrave settings. If the design includes engraving details (like eyes or fur texture), set those to a lower power or faster speed to avoid cutting through. Check that all parts are on separate layers and that the cut order makes sense for your machine’s work area. For a project with multiple animals, you can nest parts from different designs on one sheet to save material. However, be careful not to overcrowd the sheet; leave small tabs or spacing between pieces to prevent flashback or small parts from falling through the honeycomb. Always run a small test of a critical joint before cutting the entire sheet.
Assembly Preparation and Workflow
Assembly is where planning really pays off. Dry-fit every joint before reaching for glue. Sometimes plywood thickness varies slightly by manufacturer, so you might need to sand tabs or widen slots with a file. A set of needle files and some fine-grit sandpaper are handy tools to have at your workstation. If a joint is too loose, you can carefully add a thin layer of glue or even a small shim of veneer. For a strong and clean bond, use a glue suitable for wood, such as PVA or cyanoacrylate (CA) glue with activator. Apply glue sparingly to avoid squeeze-out that can mar the finish. Consider using clamps or rubber bands to hold parts while they set, especially on the base where stability is crucial. Some makers prefer to assemble the base and body first, then attach the top animal section last. Work in a sequence that allows you to access all joint angles. If a design includes small, delicate parts, handle them carefully and allow the assembly to cure fully before handling.
Finishing and Customization
You can leave the plywood natural, but many makers enjoy adding color or a protective coat. If you plan to paint, stain, or seal, do it before final assembly, especially for intricate areas. Mask off slots to prevent finish from building up and making assembly difficult. Acrylic paints work well for bright colors, while wood stains can highlight the grain. Use a clear topcoat for a durable, wipeable surface, which is handy in a bathroom. The animal details offer a great canvas for personalization—you could paint each animal to resemble a pet or add a name with engraving. Since the bundle includes twelve designs, you might make a set for different holidays or rooms. Just remember that any added finish must be fully dry before loading toilet paper to avoid transferring chemicals.
Testing and Refinement
After completing your first holder, test it with a standard toilet roll. The fit should be snug enough to keep the roll in place but loose enough to allow easy changing. If the arm or slot is too tight, sand it down slightly. If too loose, you can add a dot of hot glue to the inside of the slot or a small piece of felt to create friction. Also check stability on the intended surface: tile, laminate, or wood. A small piece of non-slip shelf liner under the base can prevent sliding without altering the design. You may also want to check that the roll turns freely without scraping the wood, which could be resolved with a light sanding of the contact points. Document your settings and any adjustments so that the next build is even faster.
A freestanding animal toilet roll holder is a quick yet satisfying laser project that adds personality to any bathroom. With thoughtful material selection, careful file prep, and a planned assembly sequence, you can produce a sturdy and charming holder. Whether you make one for yourself or as a gift, the twelve designs in the bundle give you endless variety. Now, fire up your laser and bring these critters to life!