How to Plan a Laser-Cut Plant Stand Project
Learn how to evaluate and prepare a laser-cut plant stand project before cutting. Covers material choice, assembly planning, and file preparation tips.
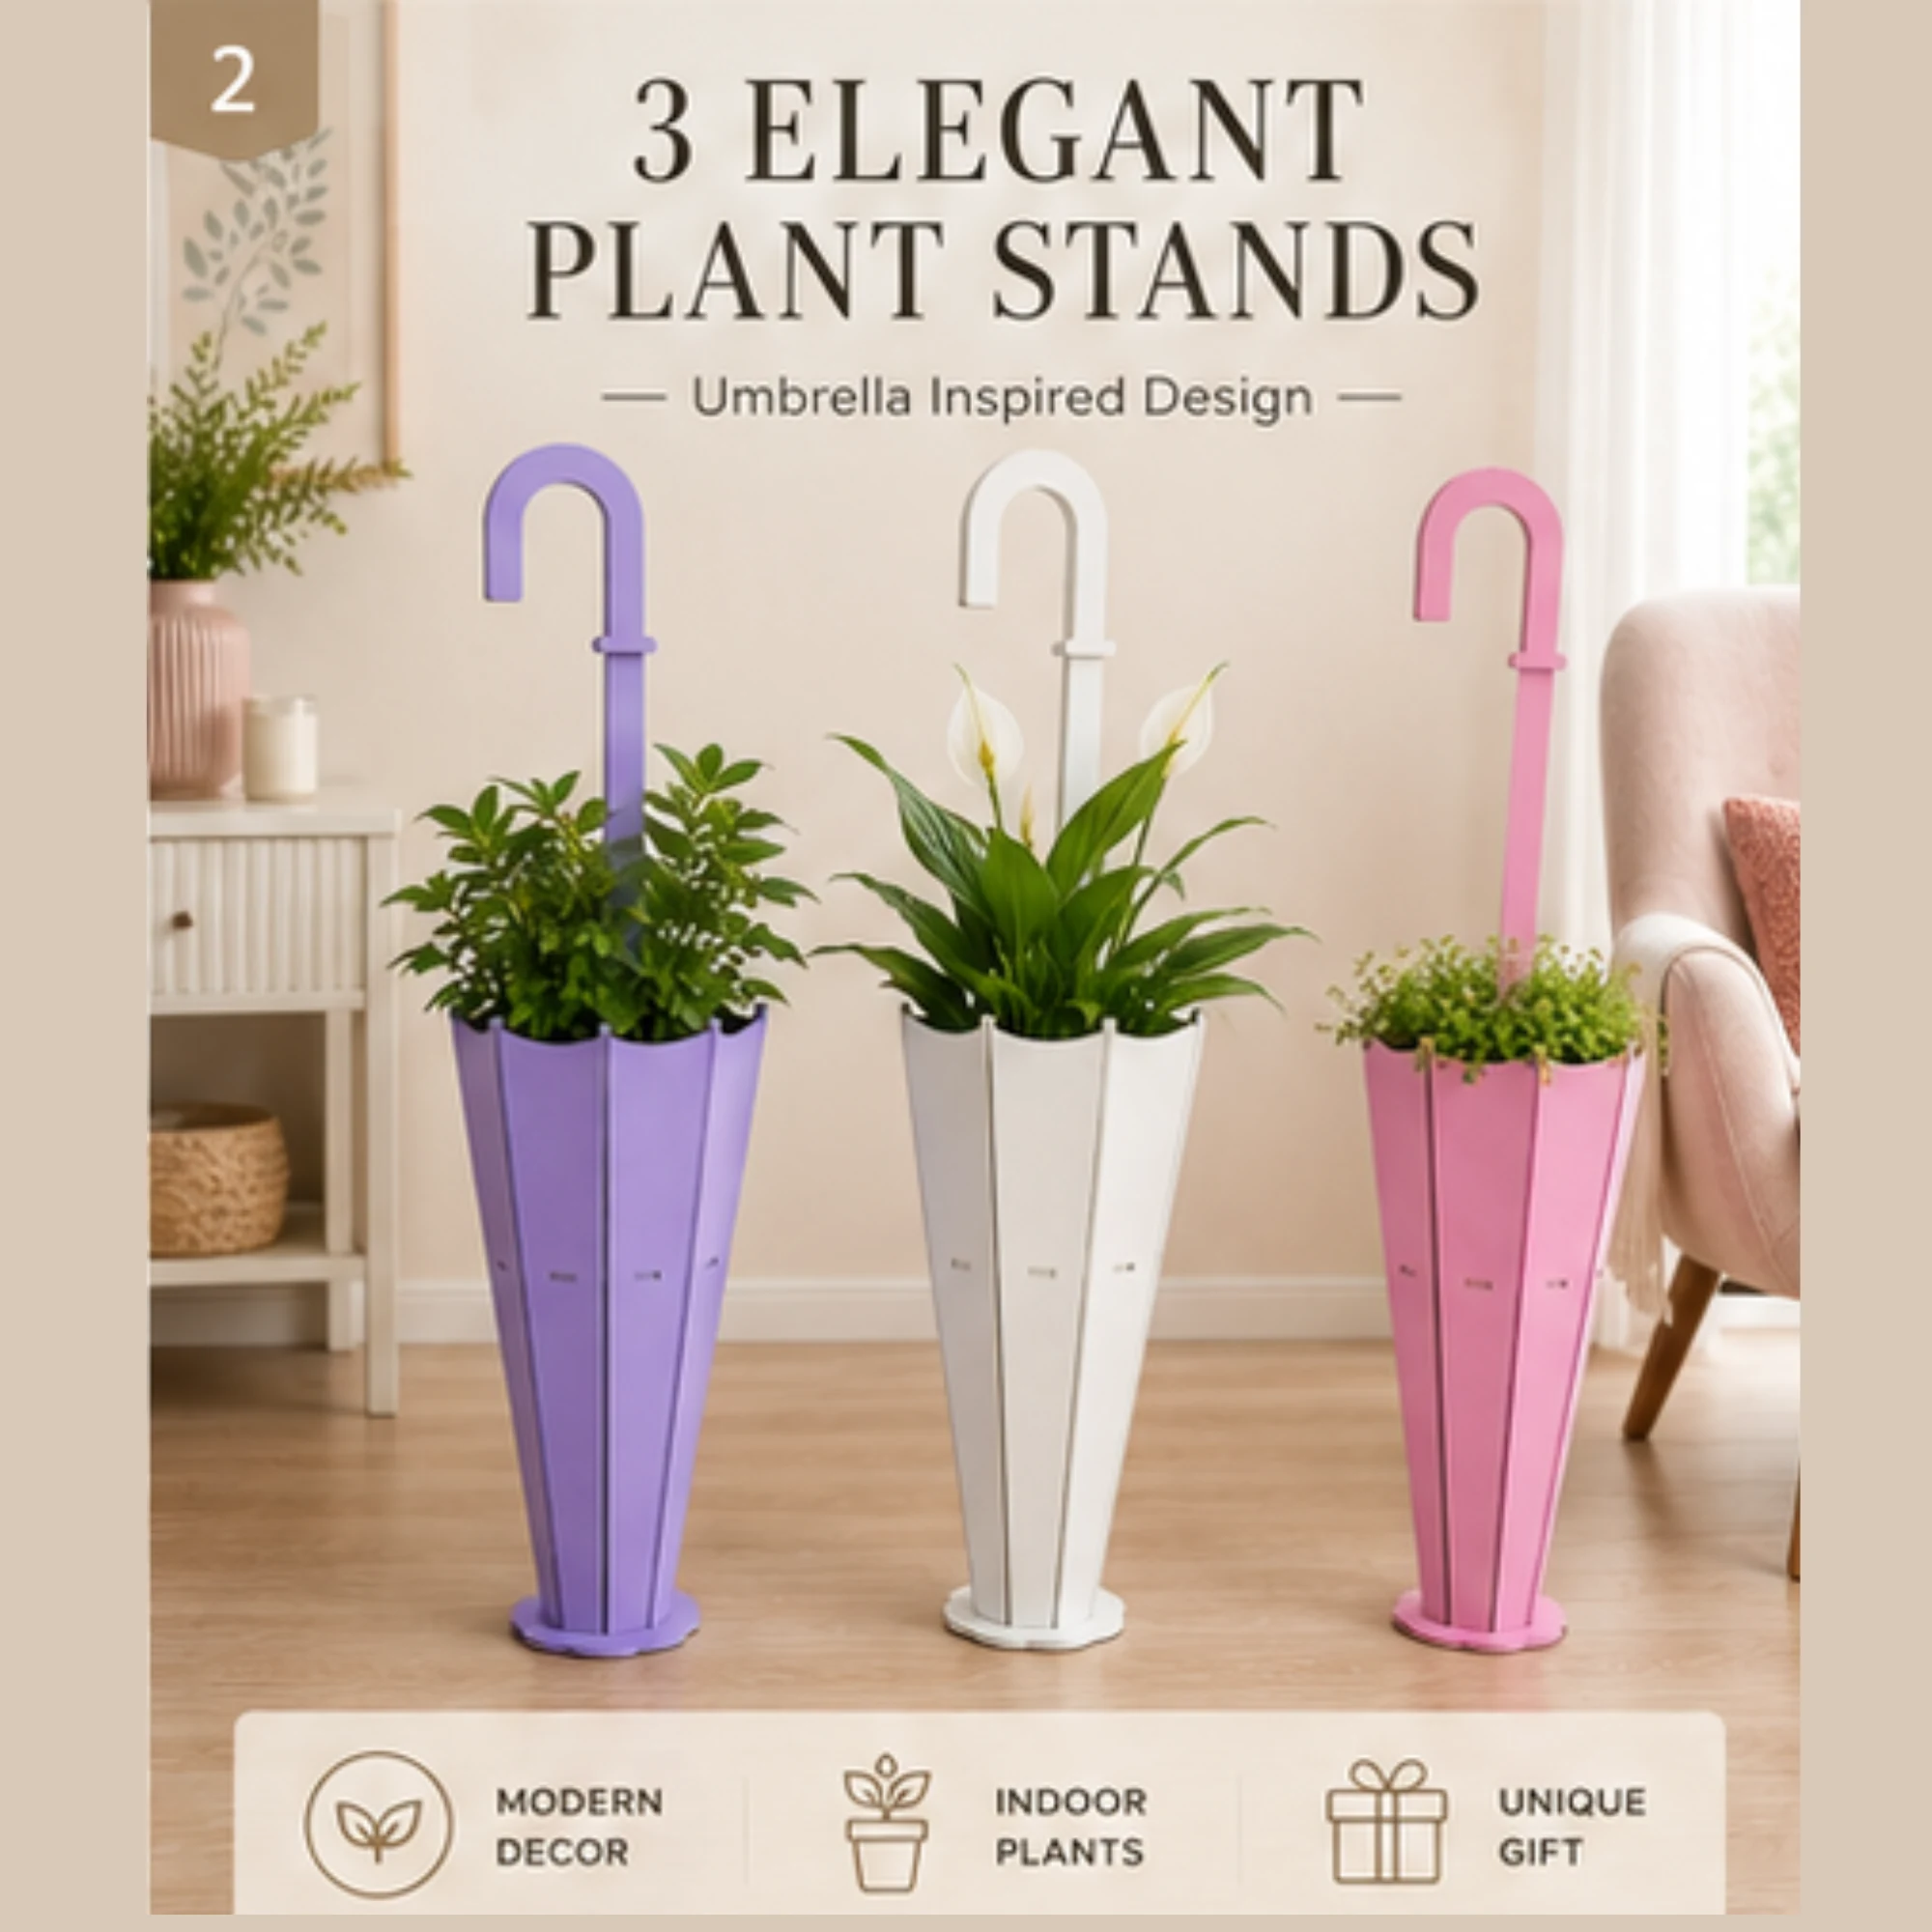
Planning a laser-cut project before you open your design software can save time, material, and frustration. Whether you are new to laser cutting or have some experience, taking a few minutes to think through the steps helps you avoid common mistakes. This article walks through how to evaluate and prepare a laser-cut plant stand project, using a decorative indoor flower pot holder as an example.
Evaluating the Design and Its Parts
Before you cut, look at the design files closely. A plant stand project typically includes several interlocking pieces that form the legs, shelves, and decorative elements. Open the file in your preferred vector software—such as LightBurn, Adobe Illustrator, or CorelDRAW—and check the following:
- Layer structure: Are the cut lines and engrave lines on separate layers? Many laser cut files use color-coded layers (e.g., red for cut, blue for engrave). Make sure you understand which layer does what.
- Joint types: Look for tabs, slots, and notches. These allow the pieces to fit together without glue or hardware. Verify that the tabs match the slot widths. If you are unsure, measure a few joints with the software’s ruler tool.
- Number of pieces: Count the individual parts. Knowing the total helps you plan your material layout.
- Orientation: Some pieces may need to be mirrored or rotated for proper assembly. Check if the design includes left and right versions of symmetrical parts.
Choosing the Right Material
Material choice affects both the look and the strength of your plant stand. For indoor use, plywood is a popular option because it is affordable, easy to cut, and takes stain or paint well. Here are a few considerations:
- Thickness: The design is typically made for a specific material thickness. Using a different thickness can cause joints to be too loose or too tight. If you must use a different thickness, you may need to adjust the slot widths in your software.
- Wood type: Baltic birch plywood offers a smooth surface and consistent thickness. MDF is cheaper but heavier and produces more dust. Hardwoods like oak or maple are durable but more expensive and may require higher power settings.
- Finish: If you plan to stain or paint the stand, choose a material that accepts finish well. Sand the edges lightly after cutting to remove char marks.
Preparing Your Workflow
Once you have evaluated the design and selected material, set up your workflow:
- Import the file into your laser software. The plant stand files are available in CDR, DXF, and PDF formats. Choose the format that works best with your software.
- Check dimensions. Ensure the file is sized correctly for your material. Scale if needed, but keep proportions locked.
- Arrange parts on your material to minimize waste. Group small pieces together. Leave at least 1/4 inch between parts to prevent heat buildup.
- Set power and speed. Start with manufacturer-recommended settings for your material and machine. Run a test cut on scrap to verify the settings cut through cleanly without excessive charring.
- Engrave first, then cut. If the design includes engraving, set that layer to run before the cut layer. This prevents the piece from shifting.
Assembly Planning
After cutting, assembly is the next step. Here are tips to make it go smoothly:
- Dry fit first. Before applying any glue, try fitting all pieces together. This helps you see if any joints need sanding or if you misidentified a part.
- Use a mallet or clamp. For tight joints, a rubber mallet or a clamp can help seat pieces without damaging the wood.
- Glue sparingly. Many interlocking designs are self-supporting. Use wood glue only on joints that need extra strength, such as where legs meet the base. Wipe off excess glue immediately.
- Follow the assembly order. Some designs have a recommended sequence. For example, you might assemble the base first, then add the legs, then the top shelf.
Customizing Your Plant Stand
One of the joys of laser cutting is personalization. You can customize a plant stand project in several ways:
- Change the finish. Stain the wood a dark walnut for a classic look, or paint it a bright color to match your decor.
- Add a monogram or design. If the file has a blank area, you can engrave a name, date, or small graphic.
- Modify the height. If you need a taller stand, you can scale the design vertically, but be aware that scaling may affect joint fit. Test on scrap first.
Troubleshooting Common Issues
Even with careful planning, issues can arise. Here are a few common ones and how to handle them:
- Loose joints: If pieces wobble after assembly, the material may be thinner than expected. Add a drop of glue or a thin shim to tighten the fit.
- Tight joints: If pieces are hard to push together, sand the tabs lightly with fine-grit sandpaper. Do not force them, or the wood may crack.
- Burn marks: Reduce power or increase speed slightly. Also, ensure your lens is clean and your air assist is working.
- Warped pieces: Large flat pieces can warp if cut too quickly. Use a slower speed or a lower power pass to reduce heat.
Final Thoughts
Planning a laser-cut plant stand project is about understanding the design, choosing the right material, and preparing your workflow. By taking these steps before you hit “start,” you set yourself up for a successful cut and a sturdy, attractive finished piece. Whether you are making a plant stand for yourself or as a gift, the extra time spent planning pays off in the final result.