How to Plan and Prepare a Laser-Cut 3D Wooden Camper Van Project
Learn how to evaluate, plan, and prepare a 3D wooden camper van laser-cut project before you start cutting. Tips on materials, assembly, and finishing.
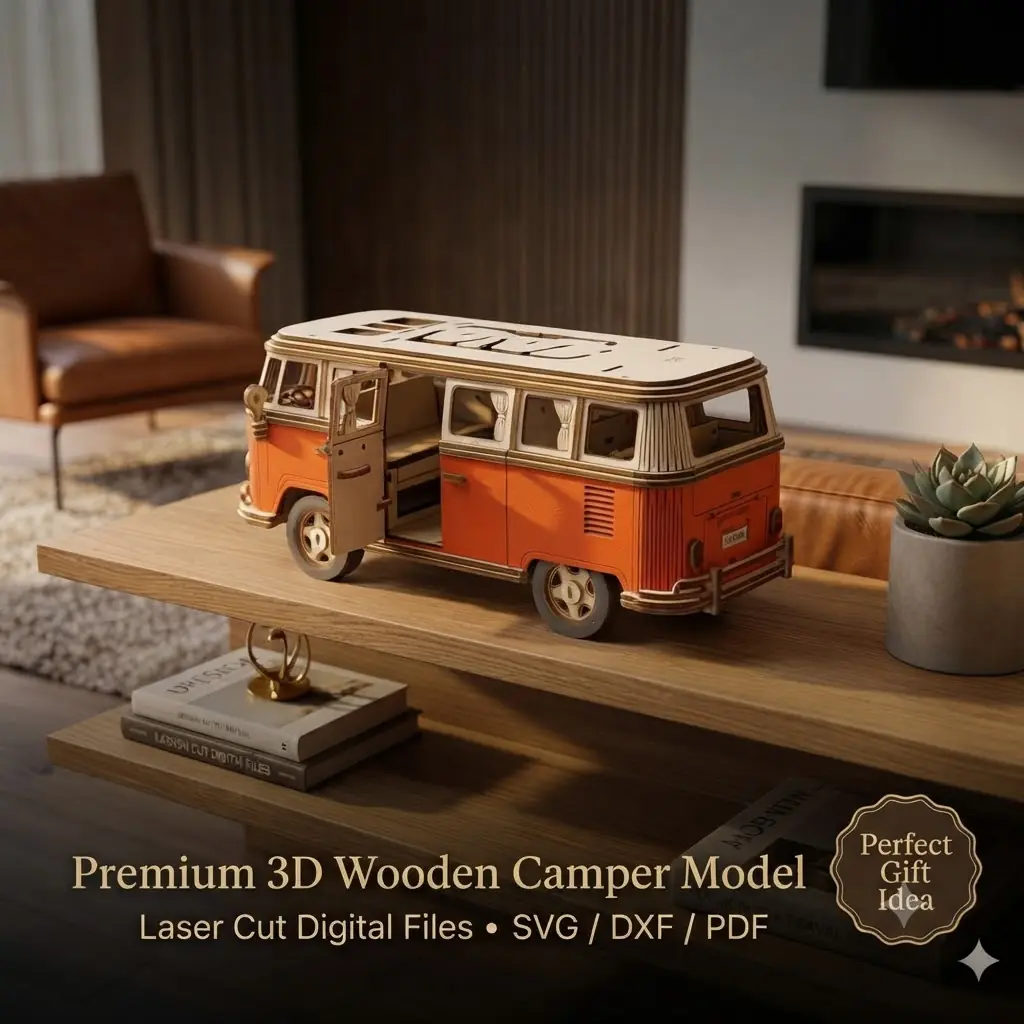
Building a 3D wooden camper van with a laser cutter is a rewarding project that combines precision cutting with creative assembly. But before you open your design software or load material into your machine, a little planning goes a long way. This article walks you through the key steps to evaluate, prepare, and set up your project for success.
Understanding the Project Scope
A 3D wooden camper van model typically consists of multiple interlocking parts that fit together without glue. The design is often inspired by retro bus shapes, giving it a nostalgic look. Before you start, take a moment to understand the full scope:
- Number of parts: The model includes multiple interlocking components such as the body, wheels, windows, and other details. Refer to your design files for the exact count.
- Assembly method: Interlocking tabs and slots mean parts snap together. No fasteners or adhesives are required, though some makers choose to add glue for permanence.
- Material considerations: The design is intended for plywood or MDF of a consistent thickness. Using material that is too thick or thin may affect the fit of the interlocking parts.
Knowing these basics helps you gather the right supplies and set realistic expectations for your build time.
Choosing the Right Material
Material selection is crucial for a clean cut and sturdy final model. Here are factors to consider:
- Thickness: Check your design files for the intended material thickness. Use a material that matches the specification exactly to ensure a snug fit.
- Wood type: Baltic birch plywood is a popular choice for its smooth surface and consistent thickness. MDF is another option, but it produces more dust and may require sealing before painting.
- Finish: If you plan to stain or paint, choose a wood with minimal voids. Sanding edges after cutting can improve the look.
Always test a small piece of your material with the same settings you plan to use for the full project. This ensures your laser settings are dialed in.
Preparing Your Design Files
Most 3D camper van designs come in SVG, DXF, or PDF formats. Here’s how to prepare them:
- Check file integrity: Open the file in your preferred software (LightBurn, Inkscape, Adobe Illustrator). Look for missing lines, overlapping vectors, or stray points.
- Verify scale: Ensure the design is sized correctly for your material. Some files include a test piece or a ruler for scale reference.
- Organize layers: If the file uses color-coded layers for cut, engrave, or score, keep them intact. This makes it easy to assign laser settings.
- Add tabs if needed: Some designs include small bridges to hold parts in place during cutting. If not, consider adding your own to prevent pieces from shifting.
Taking these steps reduces the chance of errors during cutting.
Setting Up Your Laser Cutter
Once your file is ready, set up your machine:
- Focus and alignment: Ensure your laser is properly focused for the material thickness. A misaligned beam can cause burn marks or incomplete cuts.
- Power and speed: Use manufacturer-recommended settings for your material type and thickness. Perform a test cut on a scrap piece to fine-tune the results.
- Air assist: Use air assist to reduce charring and keep cuts clean.
- Bed preparation: Place your material on a honeycomb or pin bed to allow airflow and prevent back-reflections.
Run a small test cut on a scrap piece to confirm settings before cutting the full design.
Assembly Tips
After cutting, you’ll have a pile of wooden pieces. Here’s how to assemble them:
- Sort parts: Lay out all pieces and group them by size or function. Some designs include a reference image or numbered parts.
- Dry fit first: Before applying any glue, try fitting pieces together. Interlocking tabs may need gentle sanding if they’re too tight.
- Use tools: A small mallet or clamp can help seat stubborn joints. Be careful not to break thin parts.
- Work in stages: Assemble the main body first, then add details like wheels and windows. Follow the logical order of the design.
If you plan to paint or stain, do so before final assembly to avoid getting finish in the joints.
Finishing Your Model
A finished camper van can be displayed as-is or enhanced with:
- Sandpaper: Lightly sand edges to remove char marks and smooth surfaces.
- Wood stain or paint: Apply with a brush or spray. Mask off areas you want to keep natural.
- Sealant: A clear coat protects the wood and gives a professional look.
- Lighting: Some makers add LED lights inside for a glowing effect. Plan for this during assembly.
Remember that finishing is optional—many makers love the natural wood look.
Common Mistakes to Avoid
- Skipping the test cut: Always test your settings on scrap material.
- Using the wrong material thickness: This is the most common cause of poor fit.
- Rushing assembly: Take your time to ensure tabs align correctly.
- Ignoring vector errors: Fix any broken lines or overlaps in your design file before cutting.
By planning ahead, you’ll save time and materials, and end up with a beautiful 3D wooden camper van model.
Final Thoughts
A laser-cut 3D camper van is a fantastic project for makers of all skill levels. With careful preparation—choosing the right material, verifying your design files, and setting up your laser correctly—you can achieve great results. Whether you display it on a shelf or give it as a gift, the satisfaction of building something with your own hands (and laser) is unmatched.
Remember, every project is a learning experience. Don’t be afraid to experiment with different woods or finishes. Happy making!