Rotating Craft Organizer: Laser Preparation Guide
Prepare your laser cutter and materials for a rotating paint storage rack. Tips on file formats, settings, and dry assembly. Ideal for makers and craft studios.
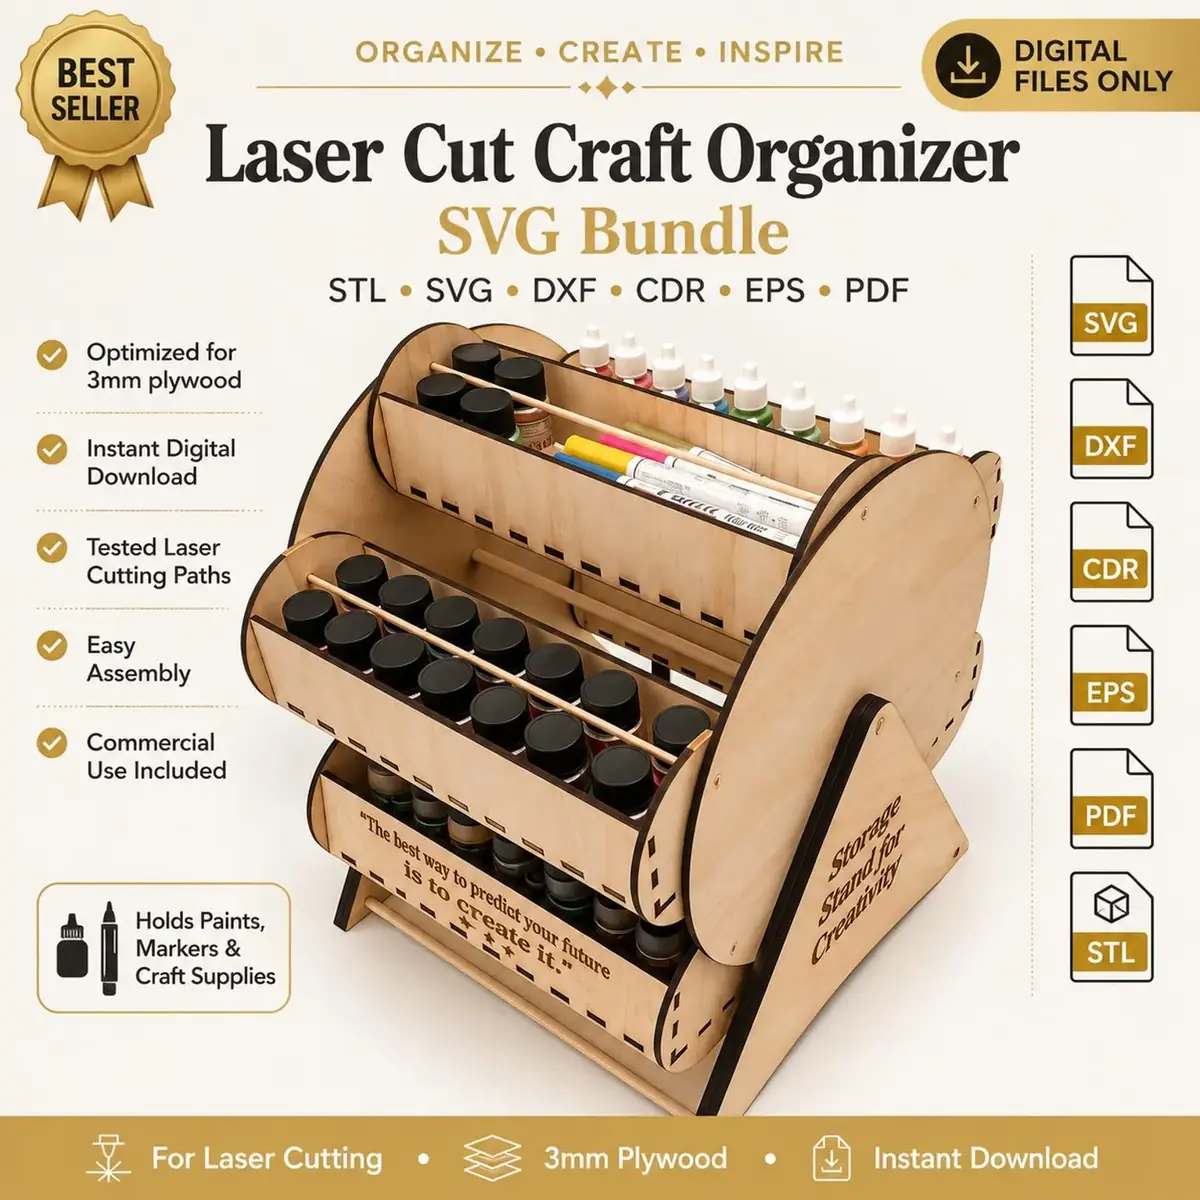
A rotating craft organizer can transform a cluttered creative studio into an efficient workspace where paint bottles, brushes, and small tools are always within reach. Before you open any design files, investing time in preparation will help you avoid wasted material, recuts, and assembly frustration. This guide walks you through the critical steps to evaluate, set up, and plan your laser‑cut project so the final rack spins smoothly and stands up to daily use.
Evaluating Materials and Establishing Accurate Cuts
Start by reviewing the design files with your vector software. Look for clues about the intended material thickness: many laser‑cut organizers rely on slots and tabs, and the slot width should match your sheet stock. If the slot width is designed for a certain thickness, your material must match that thickness exactly. Use calipers to check actual material thickness—nominal sizes often differ from reality. Common choices for organizers are baltic birch plywood (rigid, fine‑grained) or medium‑density fiberboard (consistent, paints well). Avoid warped sheets, which cause alignment headaches.
Also plan for the overall sheet size needed. Open the design and determine whether all pieces fit on your laser bed. If your machine has a smaller work area, you might need to rearrange parts or cut in batches. When previewing the layout, leave extra room around the perimeter so the laser head doesn’t crash into clamps or the honeycomb frame.
Laser kerf—the material removed by the beam—directly affects joint fit. It varies with focus and power, so you must dial it in by cutting a small test rectangle and measuring the resulting hole versus the drawn rectangle. Adjust the design’s slot width or your machine’s kerf compensation setting until a dry fit feels snug without forcing. This step is especially important for a rotating organizer, where multiple tiers must align around a central axis without binding.
Configuring Your Laser Cutter Settings for This Project
Each laser cutter behaves differently on the same material, so generic power‑speed charts are only a starting point. Begin with the material manufacturer’s recommended settings, then create a test grid that varies power and speed across small squares. Evaluate the backside of each square: you want a clean through‑cut with minimal scorching and no excessive smoke marks. For common plywood thicknesses, a CO₂ laser might require moderate power and speed settings, but yours will need testing.
If your organizer design includes engraved labels or decorative details, those require separate settings. Engraving should mark the surface without cutting through. Reduce power significantly compared to cutting, and increase speed. Run an engraving test on a scrap piece to ensure the mark is visible and crisp.
Pay attention to focus. Many organizers are cut from relatively thin stock, so a slight focus error can widen the kerf and weaken joints. Clean your lens and confirm the focal distance with a ramp test if you haven’t done so recently. After focusing, always secure your material flat to the bed; even a tiny warp can throw off the focal point and produce incomplete cuts.
If the design uses multiple layers or colored lines to distinguish cut‑from engrave layers, verify those assignments in your laser software (like LightBurn). You may need to assign each color a separate power‑speed profile. Double‑check that score lines meant for folding are not set to cut through, and that inner cuts (like screw holes) are performed before outer profiles to prevent parts from shifting.
Understanding the Vector File Formats and Software Workflow
The rotating craft organizer files are delivered in several formats to support a wide range of software. SVG and DXF are the most common for laser work; both contain scalable vector paths and import cleanly into LightBurn, LaserGRBL, or similar. CDR is native to CorelDRAW, while EPS and PDF are universal exchange formats that preserve the design’s layers and dimensions. An STL file is also included—this is a 3D mesh, not a flat vector. You can open it in a viewer to understand how the parts assemble in three dimensions, but it is not directly used for laser cutting. Use it as a reference when you’re unsure how a bracket or spacer should be oriented.
Before sending the file to your machine, open it in your preferred application and look for any missing elements. Scaling issues are common when importing DXF or EPS files; always check that one known dimension (such as a slot width) matches the real‑world value. Lock the aspect ratio and use the software’s measurement tool to verify. Some formats may group objects together—ungroup them so you can assign cut lines individually.
If you plan to customize the organizer (for example, adding spaced holes for specific bottle diameters), now is the moment to edit the vector paths. Keep structural elements like the central support and tier alignment tabs unchanged to preserve the rotation mechanism. When adding text or artwork for engraving, convert fonts to outlines or paths to avoid missing font issues on your laser computer.
Planning Assembly Without Pre‑Supplied Instructions
Digital design files often rely on the maker to interpret the assembly logic through careful examination of the parts. Start by isolating all components that have similar tab patterns or mirror symmetries. Lay them out in your workspace and group them by function: base, central shaft (or stacked hubs), tiered shelves, and any retaining clips or pins.
Perform a completely dry fit before applying glue. If your test kerf cuts came out slightly snug, sand the tab edges lightly with fine‑grit sandpaper until the parts slide together with friction. Avoid forcing pieces—tight joints can crack thin ply or distort the overall structure. For a rotating organizer, check that each shelf level can spin independently (if designed) or that the whole assembly rotates freely on its base. If the movement feels sticky, examine for burrs in the central hole or a misaligned base plate.
Many rotating organizers depend on a central sleeve or threaded rod that isn’t included with the digital file. You may need to source a dowel, bearing, or lazy Susan hardware separately. If the design is purely friction‑fit, ensure the central support is robust enough to bear the weight of loaded bottles without drooping. Reinforce with wood glue on permanent joints, but keep any moving contact surfaces dry. A tiny dab of beeswax or paraffin on the rotation point can smooth motion without attracting dust.
Label each part with painter’s tape as you sort, especially if you cut multiples. A post‑cut checklist reduces the chance you’ll install a shelf upside down. If the design includes symmetrical pieces that are not identical (like left/right brackets), mark them in a way that won’t show after finishing.
Adding Finish and Final Workspace Setup
After assembly, sand all exposed edges with fine‑grit sandpaper to remove scorch marks and soften corners. Apply a clear sealer—spray lacquer or wipe‑on polyurethane—to protect against moisture and paint spills. If you plan to paint the organizer, do it before installing the rotating mechanism so you can coat the shelves evenly. Allow sufficient drying time before reassembling.
When loading the organizer onto your workbench, distribute weight evenly across the tiers. Heavier bottles belong on lower shelves to keep the center of gravity low and reduce tipping. If the organizer sits on a desk, consider adding thin rubber feet to the base to prevent sliding. A well‑prepared organizer not only saves space but also becomes a statement piece that shows off your laser‑cutting craft. Document your settings and any modifications you made to the files—this journal will shorten the learning curve for your next laser project.