Sanding and Finishing Laser-Cut Wooden Truck Models
Learn how to sand, finish, and protect laser-cut wooden truck models. Tips on smoothing edges, choosing finishes, and avoiding common mistakes.
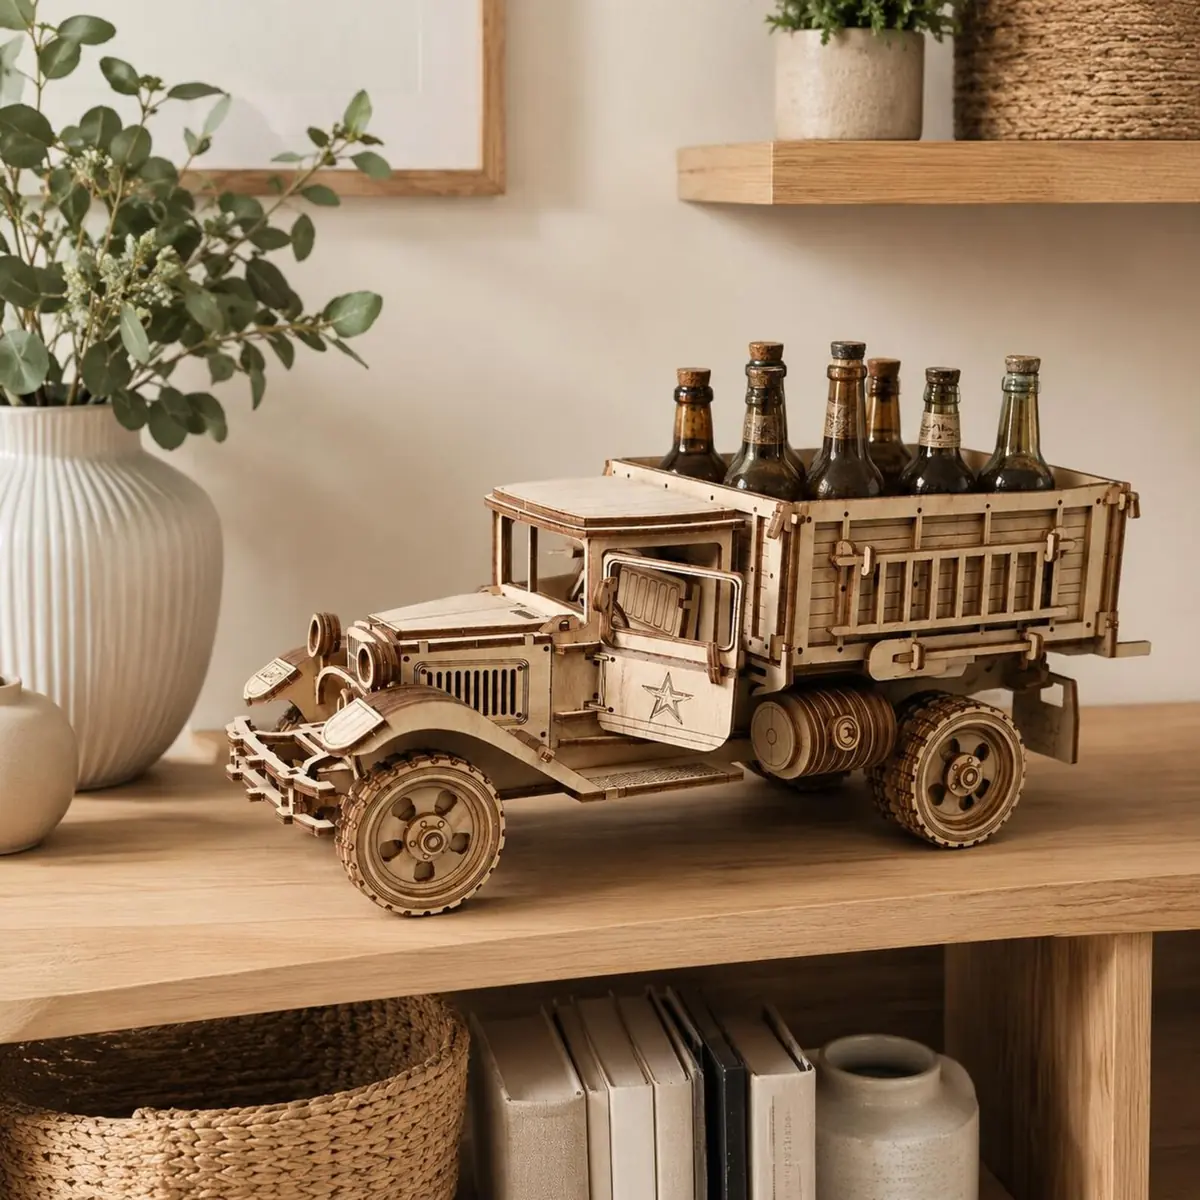
Laser-cut wooden models have a charm that’s hard to beat. The crisp edges, the layered details, and the natural grain of the wood all come together to create something special. But if you’ve ever assembled one of these kits, you know that the raw cut edges can feel rough, and the bare wood can look a little unfinished. That’s where sanding and finishing come in.
Whether you’re building a vintage truck bottle carrier for your kitchen counter or a gift for a friend, taking the time to sand and finish the wood makes a huge difference. It smooths out the rough spots, brings out the grain, and protects the piece from dust, moisture, and everyday wear. In this guide, we’ll walk through the basics of sanding and finishing laser-cut wooden models, with practical tips you can use on your next project.
Why Sanding Matters for Laser-Cut Wood
Laser cutting leaves behind a thin layer of charred wood along the cut edges. This is normal—the laser burns as it cuts—but it can leave a dark, sooty residue that feels rough to the touch. Sanding removes that residue and smooths the edges, making the pieces fit together more cleanly and feel nicer in your hands.
Sanding also helps with assembly. Many laser-cut models use tab-and-slot joints, where pieces slide together. If the edges are rough or slightly oversized due to char, the joints can be tight and difficult to fit. A light sanding can ease those connections without making them loose.
Finally, sanding prepares the surface for finishing. Whether you plan to paint, stain, or seal the wood, a smooth surface helps the finish go on evenly and adhere better. Skipping this step can leave you with blotchy stains or paint that doesn’t stick well.
Choosing the Right Sandpaper
For laser-cut wood, you don’t need a heavy-duty sanding setup. A few sheets of fine-grit sandpaper and a sanding block (or just your fingers) are enough for most projects.
Start with a medium grit, around 120 to 150, to remove the char and smooth any rough edges. Then move to a finer grit, like 220, to polish the surface. If you want an extra-smooth finish, you can go up to 320, but that’s usually not necessary for decorative models.
For tight corners and small details, consider using a sanding stick or a folded piece of sandpaper. You can also use a small file or a craft knife to clean up stubborn spots, but be careful not to gouge the wood.
How to Sand Laser-Cut Wooden Pieces
Before you start sanding, make sure your work area is clean and well-lit. You’ll want to see the details clearly, especially on small parts.
-
Sand the edges first. Focus on the cut edges where the char is most visible. Use a light, even pressure and move in the direction of the grain if possible. For curved edges, use a gentle back-and-forth motion.
-
Sand the faces lightly. The flat surfaces usually don’t need much sanding, but a quick pass with fine grit can remove any residue and smooth the surface. Be careful not to sand away any engraved details.
-
Check the fit. As you sand, test the joints by dry-fitting the pieces together. If a tab is too tight, sand it a little more. If it’s too loose, you may need to add a small shim or glue it during assembly.
-
Dust off. After sanding, wipe each piece with a tack cloth or a soft brush to remove the sawdust. This is especially important before applying any finish.
Finishing Options for Wooden Models
Once your pieces are sanded and clean, you can choose a finish. The right finish depends on the look you want and how the piece will be used.
-
Clear sealants like polyurethane, varnish, or clear acrylic spray protect the wood without changing its color. They give a natural, matte, satin, or glossy sheen. These are great for pieces that will be handled or displayed.
-
Wood stains add color while letting the grain show through. They come in a range of shades, from light oak to dark walnut. Stains work best on bare wood, so apply them before any sealant.
-
Paint can give your model a bold, colorful look. Acrylic craft paints are easy to work with and clean up with water. You can paint the entire piece or just certain parts for contrast.
-
Natural oils like tung oil or linseed oil penetrate the wood and bring out the grain. They offer a low-sheen, hand-rubbed finish that feels nice to the touch. Oils need to be reapplied occasionally, but they’re easy to maintain.
How to Apply a Finish
Applying a finish is straightforward, but a few tips can help you get a professional result.
-
Work in a well-ventilated area. Many finishes have strong fumes, so open a window or work outside.
-
Use thin, even coats. Whether you’re brushing on polyurethane or spraying a sealant, thin coats dry faster and are less likely to drip or bubble.
-
Let each coat dry completely. Check the label for drying times. Between coats, you can lightly sand with fine grit (like 320) to smooth any bumps, then wipe off the dust.
-
Consider finishing before assembly. For complex models, it’s often easier to finish the individual pieces before putting them together. This ensures every surface is covered, including the inside of joints. Just be careful not to get finish on the tabs and slots where glue will go—or use a glue that bonds well to finished wood.
-
Test on a scrap piece. If you’re using a new stain or paint, test it on a scrap piece of the same wood to see how it looks and how it interacts with the laser-cut surface.
Common Mistakes to Avoid
-
Sanding too aggressively. You can easily round off sharp corners or remove engraved details. Use light pressure and let the sandpaper do the work.
-
Skipping the dust removal. Dust can get trapped under the finish, leaving a rough texture. Always wipe the pieces clean before finishing.
-
Applying thick coats. Thick coats take longer to dry and can look uneven. Multiple thin coats are better than one thick one.
-
Forgetting to protect the piece. If you’re making a bottle carrier that will hold glass bottles, a clear sealant will help protect the wood from moisture and scratches.
Finishing a Vintage Truck Bottle Carrier
If you’re working on a vintage truck bottle carrier, you have a few options. The natural wood look is classic and fits the vintage theme. A clear matte or satin sealant will protect the wood while keeping it looking natural. If you want to add a pop of color, you could paint the truck body in a retro shade—like red or teal—and leave the wheels and bottle rack natural.
Remember, the truck carrier is designed to hold bottles, so it will see some weight and movement. A durable finish, like polyurethane, will help it hold up over time.
Final Thoughts
Sanding and finishing are the final steps that turn a laser-cut kit into a polished, heirloom-quality piece. It’s a satisfying part of the process, and the results are worth the extra time. Whether you’re a beginner or a seasoned maker, these techniques will help you get the most out of your wooden models.
If you’re looking for a new project, consider the Wooden Truck Bottle Carrier laser cut files. It’s a charming vintage design that makes a great gift or a fun weekend build. The files come in SVG, DXF, AI, EPS, and PDF formats, so you can use them with your preferred software. Happy making!