Understanding Laser-Cut File Formats: SVG, DXF, CDR, and PDF
Learn the differences between SVG, DXF, CDR, and PDF for laser cutting. A practical guide to choosing the right format for your workflow.
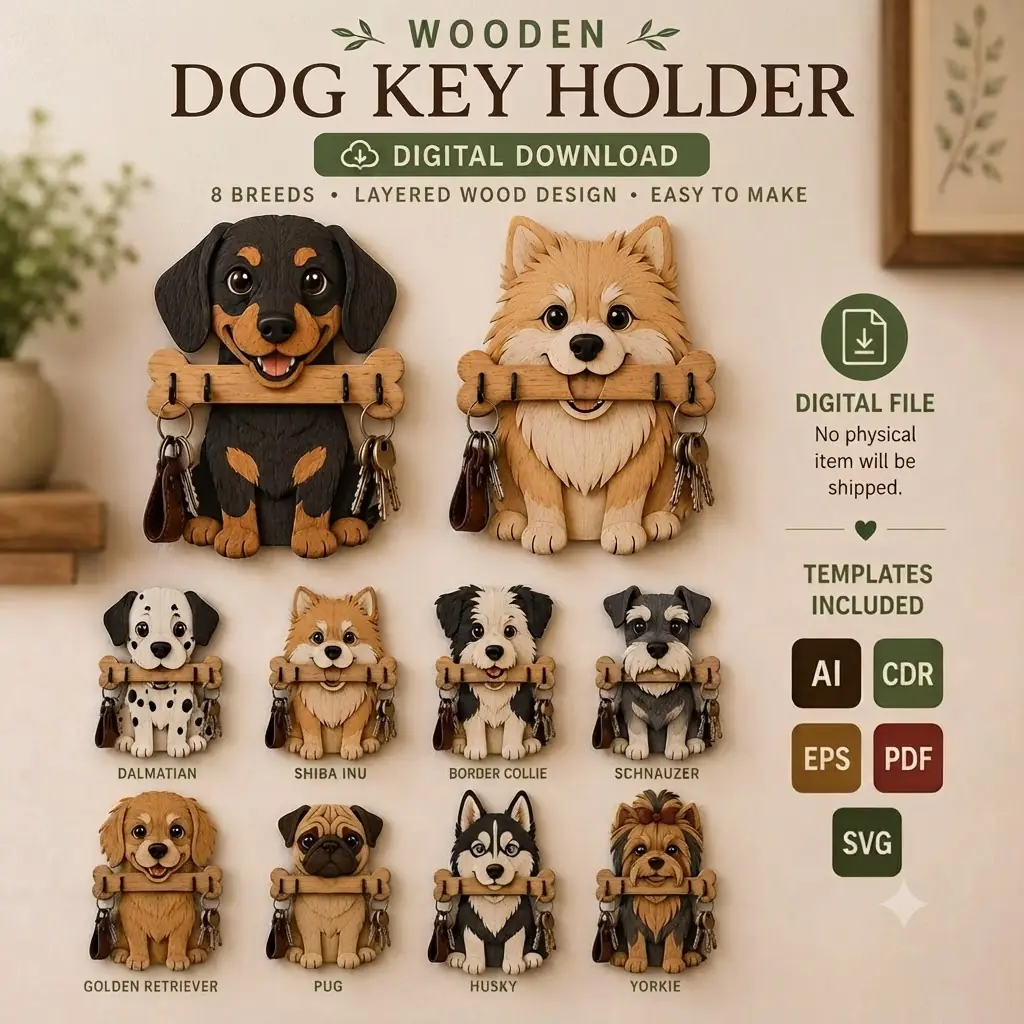
When you download a laser-cut design, you often see a list of file formats: SVG, DXF, CDR, PDF. Each serves a specific purpose, and knowing the differences can save you time and frustration. This guide explains what each format is, how it works with common laser software, and when to use which one.
What Are Vector File Formats?
Laser cutters read vector paths—lines and curves—rather than pixels. Vector formats store these paths mathematically, so they scale without losing quality. The four most common vector formats for laser cutting are SVG, DXF, CDR, and PDF. While all can contain vector geometry, they were created by different software companies and have unique strengths. Understanding these differences helps you pick the right file for your project, whether you are cutting, engraving, or scoring.
SVG: The Universal Web Standard
SVG (Scalable Vector Graphics) is an open standard developed by the World Wide Web Consortium. It is widely supported in web browsers, graphic design software, and many laser control programs. SVG files are text-based (XML), making them easy to edit with a simple text editor if needed. For laser cutting, SVG preserves layers, colors, and stroke widths, which is helpful when you want to assign different power or speed settings to different parts of a design. For instance, you might set one color for cut lines and another for score lines, and then map those to specific settings in LightBurn. Most LightBurn users find SVG a reliable choice for importing designs because it maintains this structural information clearly.
Another benefit of SVG is its compatibility with free software like Inkscape. If you need to tweak a design—resize a slot, adjust a curve—you can do it without expensive software. This makes SVG an excellent starting point if you are new to laser cutting or want to share files with a community that uses diverse tools.
DXF: The CAD Workhorse
DXF (Drawing Exchange Format) was created by Autodesk for AutoCAD. It is a standard in engineering and architecture, but it also works well for laser cutting. DXF files store 2D vector geometry and can include layers. However, they do not always preserve stroke colors or fill patterns the same way SVG does. If you use CAD software or prefer a format that many CNC machines accept, DXF is a solid option. Some laser software may require you to set line thicknesses after import, but the geometric accuracy remains high.
One practical advantage of DXF is its long history in manufacturing. Many older CNC routers and laser cutters were built with DXF in mind, so if you work with a shared makerspace machine or an older system, DXF might be your safest bet. Just be prepared to separate cut and engrave layers manually if the design uses colors to differentiate them.
CDR: CorelDRAW’s Native Format
CDR is the native format of CorelDRAW, a popular vector illustration program. If you use CorelDRAW, CDR files open directly with full editability—layers, colors, text, and effects remain intact. Many laser users who work in CorelDRAW prefer CDR because it avoids conversion issues. For example, if a design includes special fountain fills or PowerClip objects, those translate flawlessly only in CDR. Not all laser control software can open CDR files directly; you may need to export to SVG or PDF first if your laser’s driver does not have a CorelDRAW plugin. However, for day-to-day editing, nothing beats the convenience of the native format.
If you own CorelDRAW and plan to modify a design extensively—changing text, rearranging layers, or adjusting intricate details—starting from CDR preserves every aspect of the original artwork. Then you can export a clean SVG or PDF for the cutting stage.
PDF: Portable and Reliable
PDF (Portable Document Format) is everywhere. It can contain both vector and raster elements, but for laser cutting, you want a vector PDF. PDFs preserve geometry accurately and can be opened by almost any software. Many laser control programs, including LightBurn and some Glowforge interfaces, import PDFs directly. One advantage of PDF is that it embeds fonts and images, so the design looks the same on any computer. This makes PDF an excellent choice for sharing a design for review or proofing before cutting. You can email a PDF to a collaborator, and they see exactly what you see, without needing the original design software.
However, if you need to edit the design, PDF is less flexible than SVG or CDR. Edits are possible in vector software, but complex designs may lose some editability. Think of PDF as a final delivery format—perfect when you are ready to cut and want a file that just works.
Choosing the Right Format for Your Workflow
Your choice depends on the software you use. If you use LightBurn, SVG is often the best starting point because LightBurn handles SVG layers and colors well. If you use CorelDRAW, stick with CDR for editing, then export to SVG or PDF for cutting. If you use AutoCAD or other CAD software, DXF is natural. For sharing designs with others or for archival purposes, PDF is a safe bet because it is universally readable.
Many design bundles, like the 3D Dog Key Holder Bundle from LaserNestDesignsART, include all four formats (SVG, DXF, CDR, PDF) so you can choose what works best for your setup. This is especially helpful if you switch between software or want to share files with friends who use different programs. Downloading a multi-format bundle means you are never stuck with a file you cannot open, and you can experiment with different workflows to see which feels smoothest.
Tips for Working with Different Formats
- Check layers: Before cutting, verify that layers are correctly named or colored. Some formats may merge layers on import, so always double-check that your cut, score, and engrave operations are assigned to the right paths.
- Scale carefully: Ensure your software imports at the correct scale. Some formats may require you to set units (inches vs. mm). A mismatch can cause designs to be drastically too large or too small, so always verify the dimensions after import.
- Test on scrap: Always run a test cut on scrap material to confirm paths and settings. This is the best way to catch issues like double lines, offset paths, or missing details.
- Keep a master file: If you edit a design, save a copy in the native format of your editing software (e.g., CDR for CorelDRAW) so you can make changes later without losing work.
- Convert text to outlines: If your design includes text, convert it to paths before cutting, especially in formats like PDF. This prevents missing font errors on different machines.
- Look for open paths: Some laser software may ignore open paths or treat them differently. Check that all intended cut lines are closed shapes, unless you specifically need a single-stroke engrave.
- Use the preview function: Most laser software offers a preview of the cut paths. Use it to visually inspect the design and catch any anomalies before you start cutting.
Conclusion
Understanding file formats helps you get the most out of laser-cut designs. SVG, DXF, CDR, and PDF each have strengths, and having all four options ensures compatibility with any software. Whether you are a beginner or an experienced maker, knowing when to use each format will streamline your workflow and reduce errors. Next time you download a design, take a moment to pick the format that fits your tools—it makes a difference. And with a well-prepared bundle, you have the flexibility to adapt as your workshop grows.